
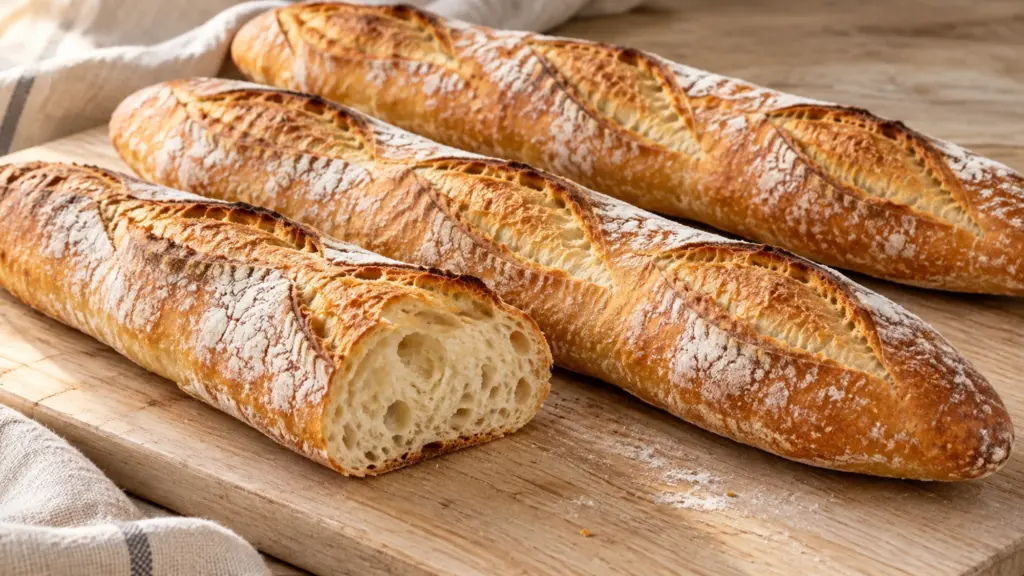
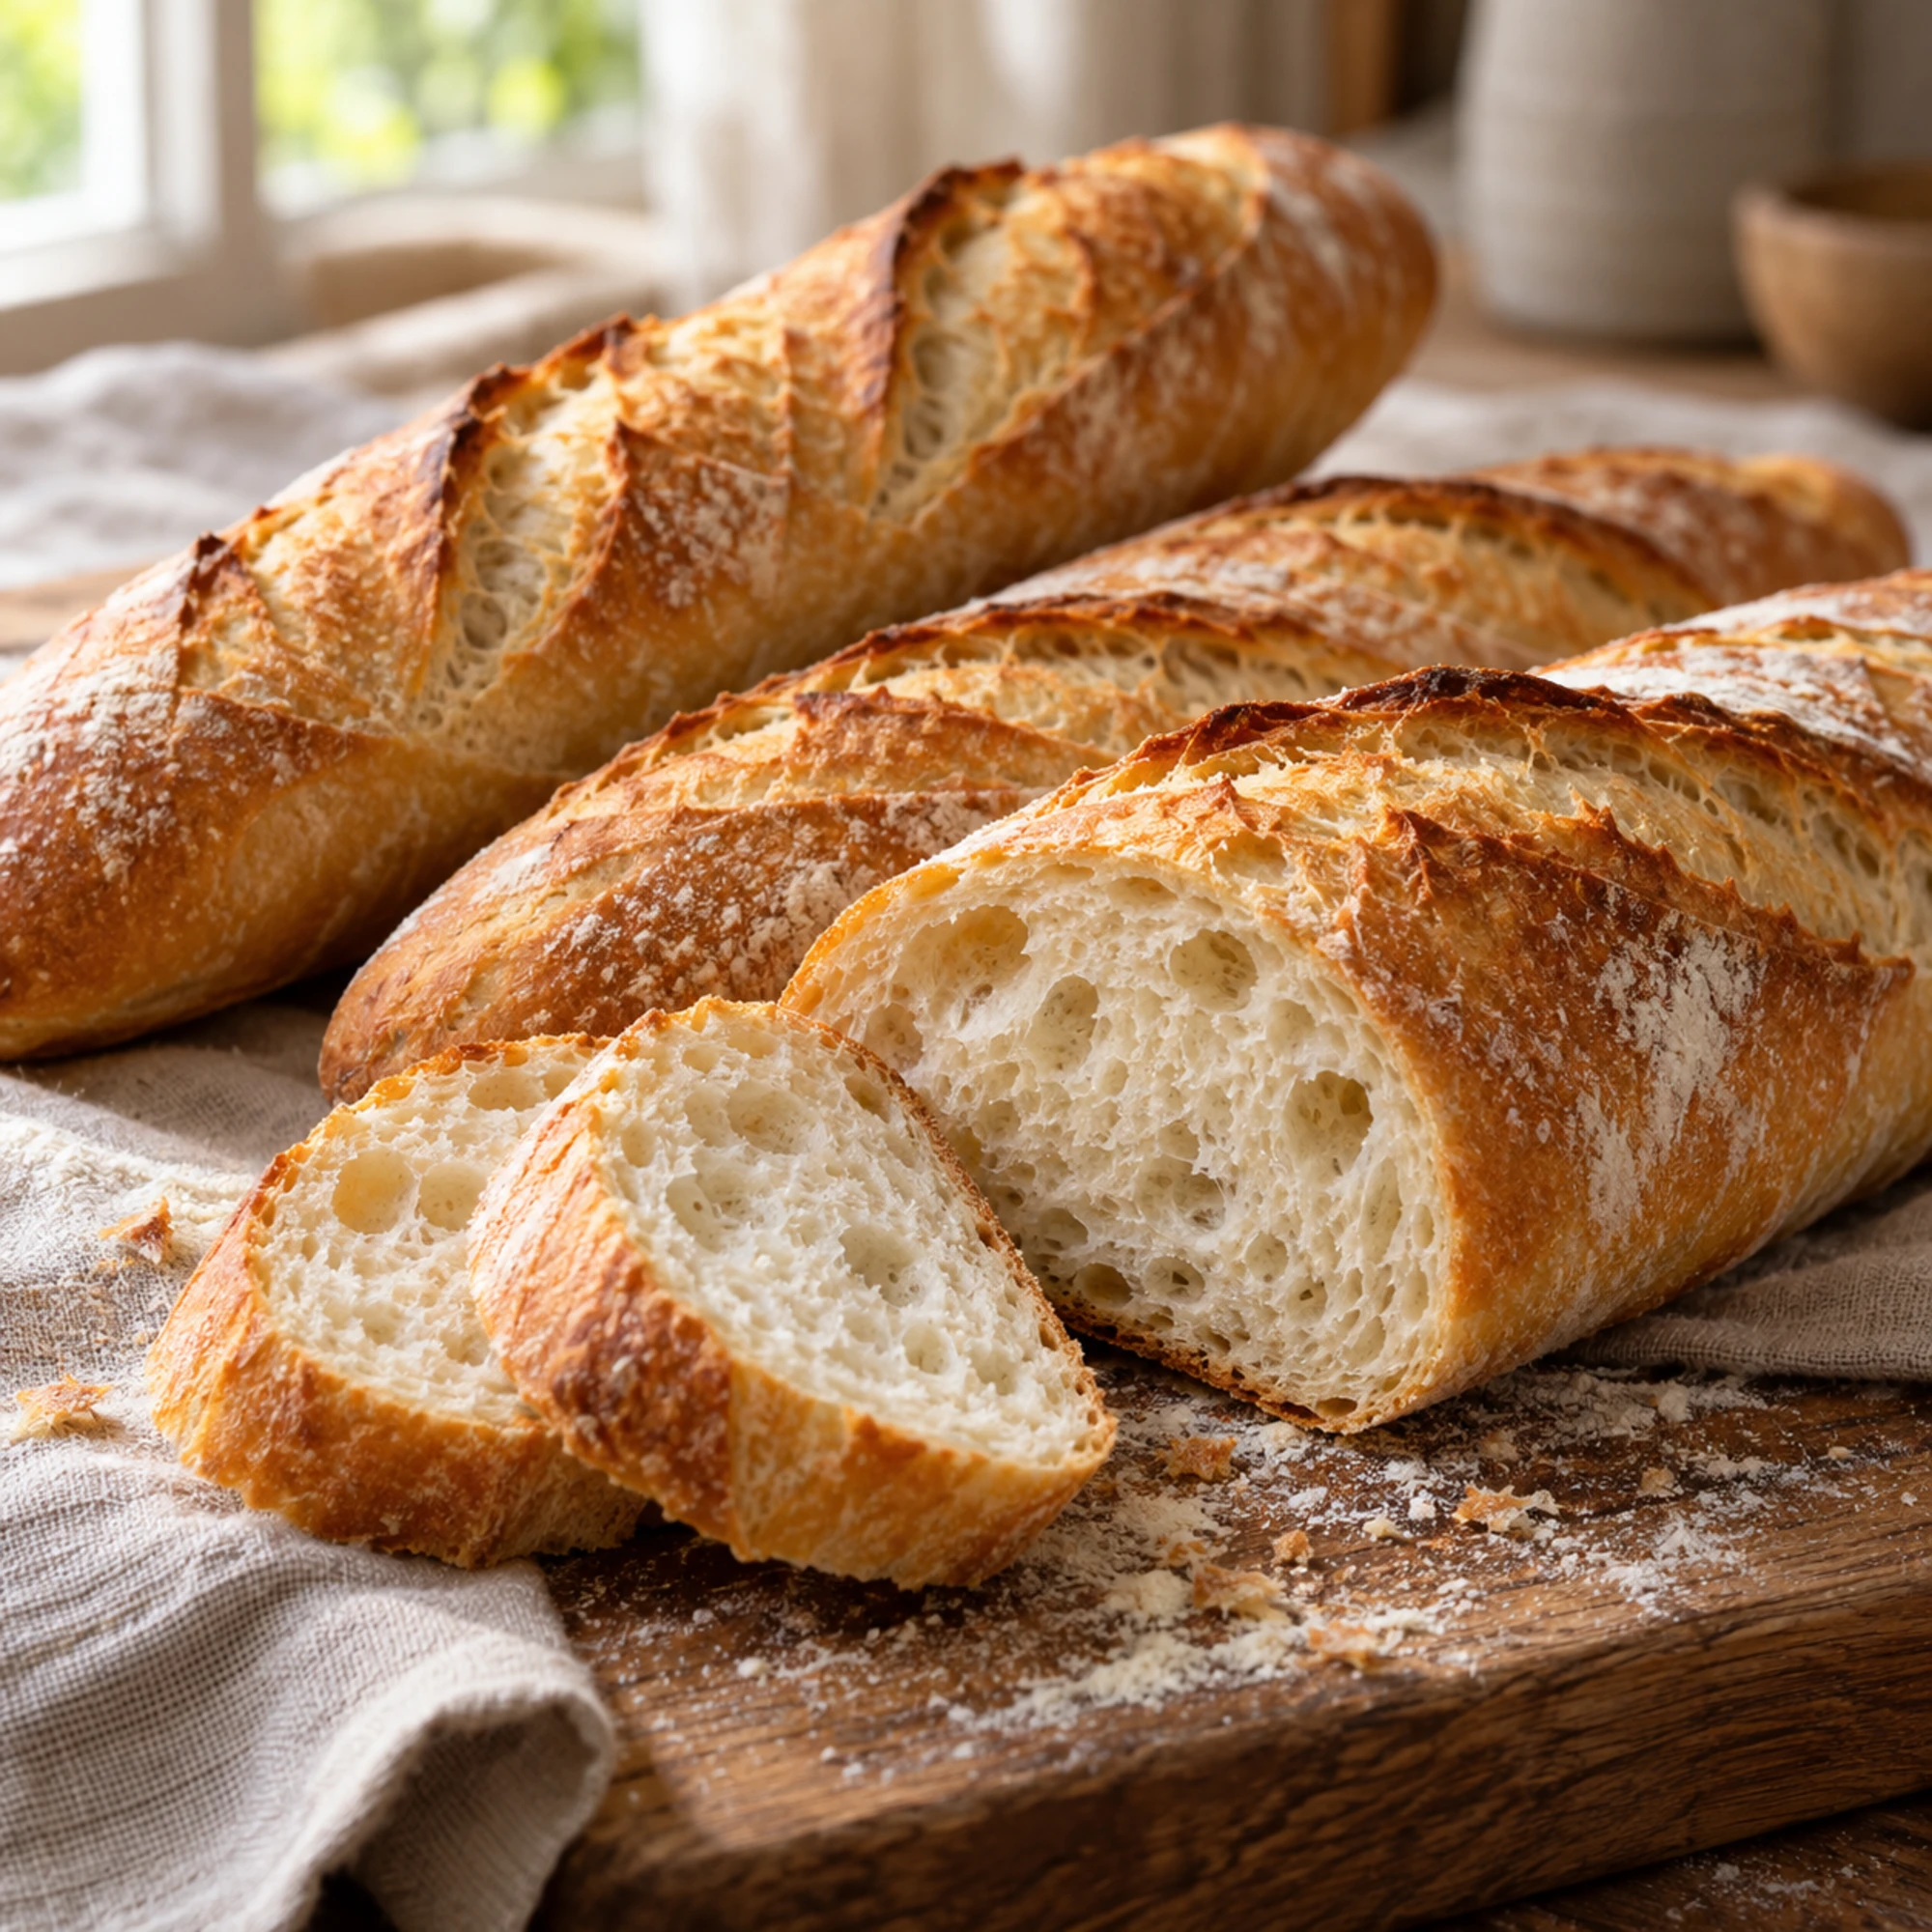
A warm baguette is easy to imagine; fitting a long loaf into a home oven is the part that needs a plan. This recipe makes three shorter loaves with a golden crust and a gently chewy center. Most of the waiting happens in the refrigerator, leaving the shaping and baking for the next day.
Flour, water, salt and a little yeast make the dough. A roomy inverted metal roasting pan traps moisture during the first part of baking, so you can build a crisp crust without pouring water into a hot oven.
Expect a project spread over two days, rather than a last-minute dinner roll. I’d put my attention on the dough’s puffiness before the clock: kitchen temperature, flour and refrigerator settings all change its pace. The card includes clear cues for each stage, including what to do when a stretched loaf keeps shrinking back.
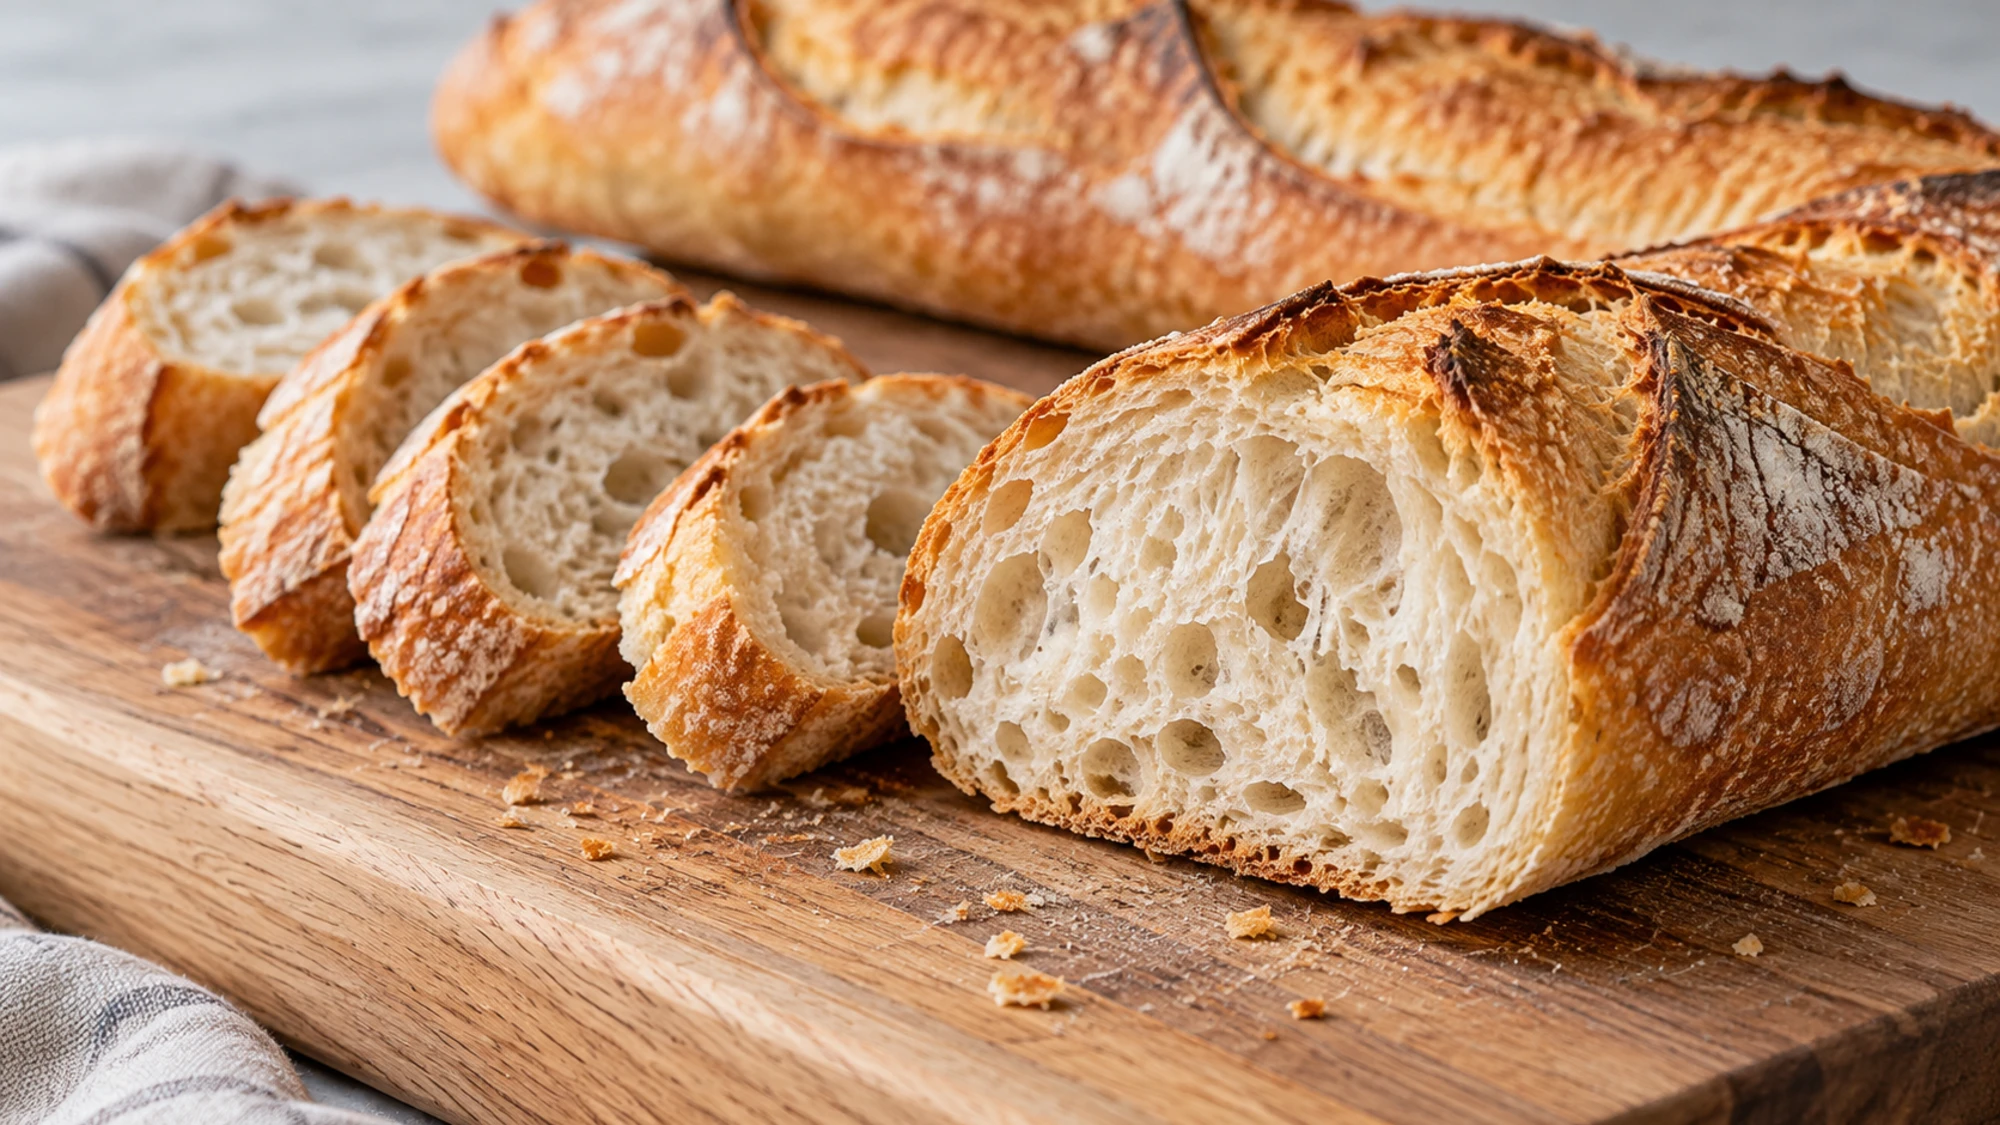
Serving suggestions for fresh baguette
Let the loaves cool for at least 30 minutes before slicing. That pause helps the crumb settle, while a serrated knife gets through the crust without flattening the center. Cut each loaf into four portions for the serving size used in the card.
- Serve thick slices beside tomato soup, lentil stew or a crisp salad. The sturdy crust is particularly useful when there is broth left in the bowl.
- For breakfast, toast a few slices and add eggs or fruit. At a larger brunch, a pan of apple cinnamon baked oatmeal gives everyone a warm, spoonable option alongside the bread.
- For small sandwiches, split a quarter-loaf lengthwise and choose fillings that will not soak the crumb immediately. Add juicy tomatoes or dressing just before eating.
Enjoy baguette on baking day for its liveliest crust. Once fully cool, freeze the extra loaf or individual portions in an airtight freezer bag. This guide to storing crusty bread explains why the refrigerator is usually an unhelpful middle ground.
Plan the leftovers before you slice everything. A frozen quarter-loaf is easier to bring back for lunch than a whole loaf that has spent several days drying on the counter.
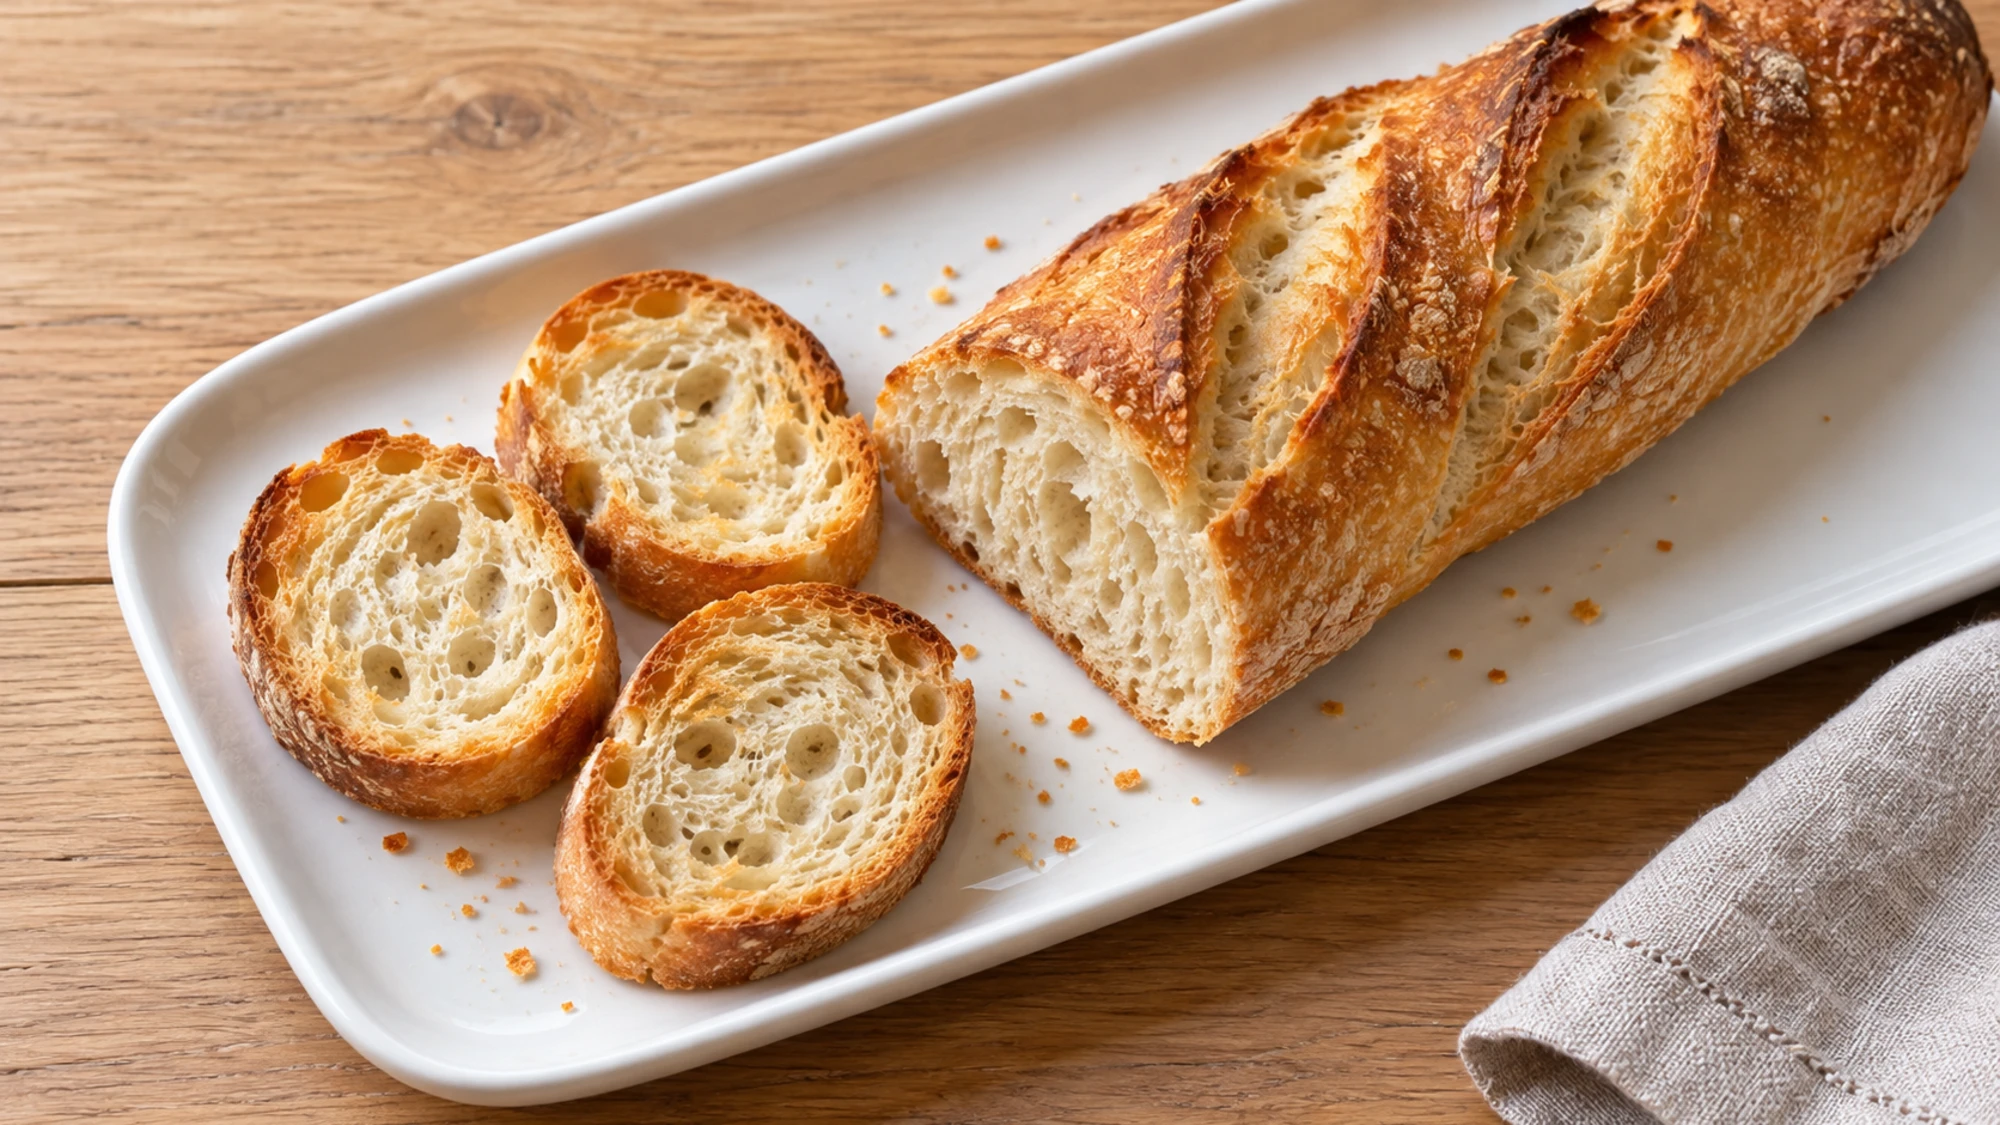
Variations that respect the dough
With so few ingredients, a flour change can be surprisingly noticeable. Start with an unbleached all-purpose flour around 11–12% protein, and weigh it. I prefer keeping the first batch plain so the shape, crust and fermentation are easier to judge.
- Prefer a chewier loaf? Bread flour can replace the all-purpose flour by weight, although the dough may feel firmer and resist stretching more. Give it an extra rest rather than forcing it longer.
- Need shorter bread? Shape the same three portions slightly shorter to fit beneath your roasting pan. Leave space around and above them for expansion, and keep the doneness cues the same.
- Want garlic bread? Add garlic butter to slices after the baguette is baked, then toast them. Keeping additions outside the dough avoids changing the fermentation formula.
- Whole-wheat and gluten-free flours need their own water and handling adjustments. They are not equal swaps here, and a gluten-free blend will not develop the same structure.
A loaf that springs back is asking for a short rest, not a wrestling match. Cover it for five to ten minutes, then resume gentle shaping with less pressure.
Health benefits, with useful context
This bread supplies carbohydrate, plus a modest amount of protein. One quarter of a loaf has an estimated 152 calories, 32 grams of carbohydrate and 4 grams of protein before toppings. The white-flour dough is not a high-fiber bread, and overnight fermentation does not make it gluten-free.
- Pair bread with beans, eggs, fish or another protein you enjoy, and add vegetables or fruit when building a fuller meal.
- The recipe contains wheat and gluten. Check flour labels and shared equipment when cooking for someone with an allergy.
- Salt contributes roughly 330 milligrams of sodium per serving. Unsalted toppings can help keep the rest of the plate from adding much more.
The nutrition estimate describes one of twelve portions of plain bread. Butter, cheese, spreads and sandwich fillings change the total; choose them for the meal you want, without expecting bread alone to cover every need.
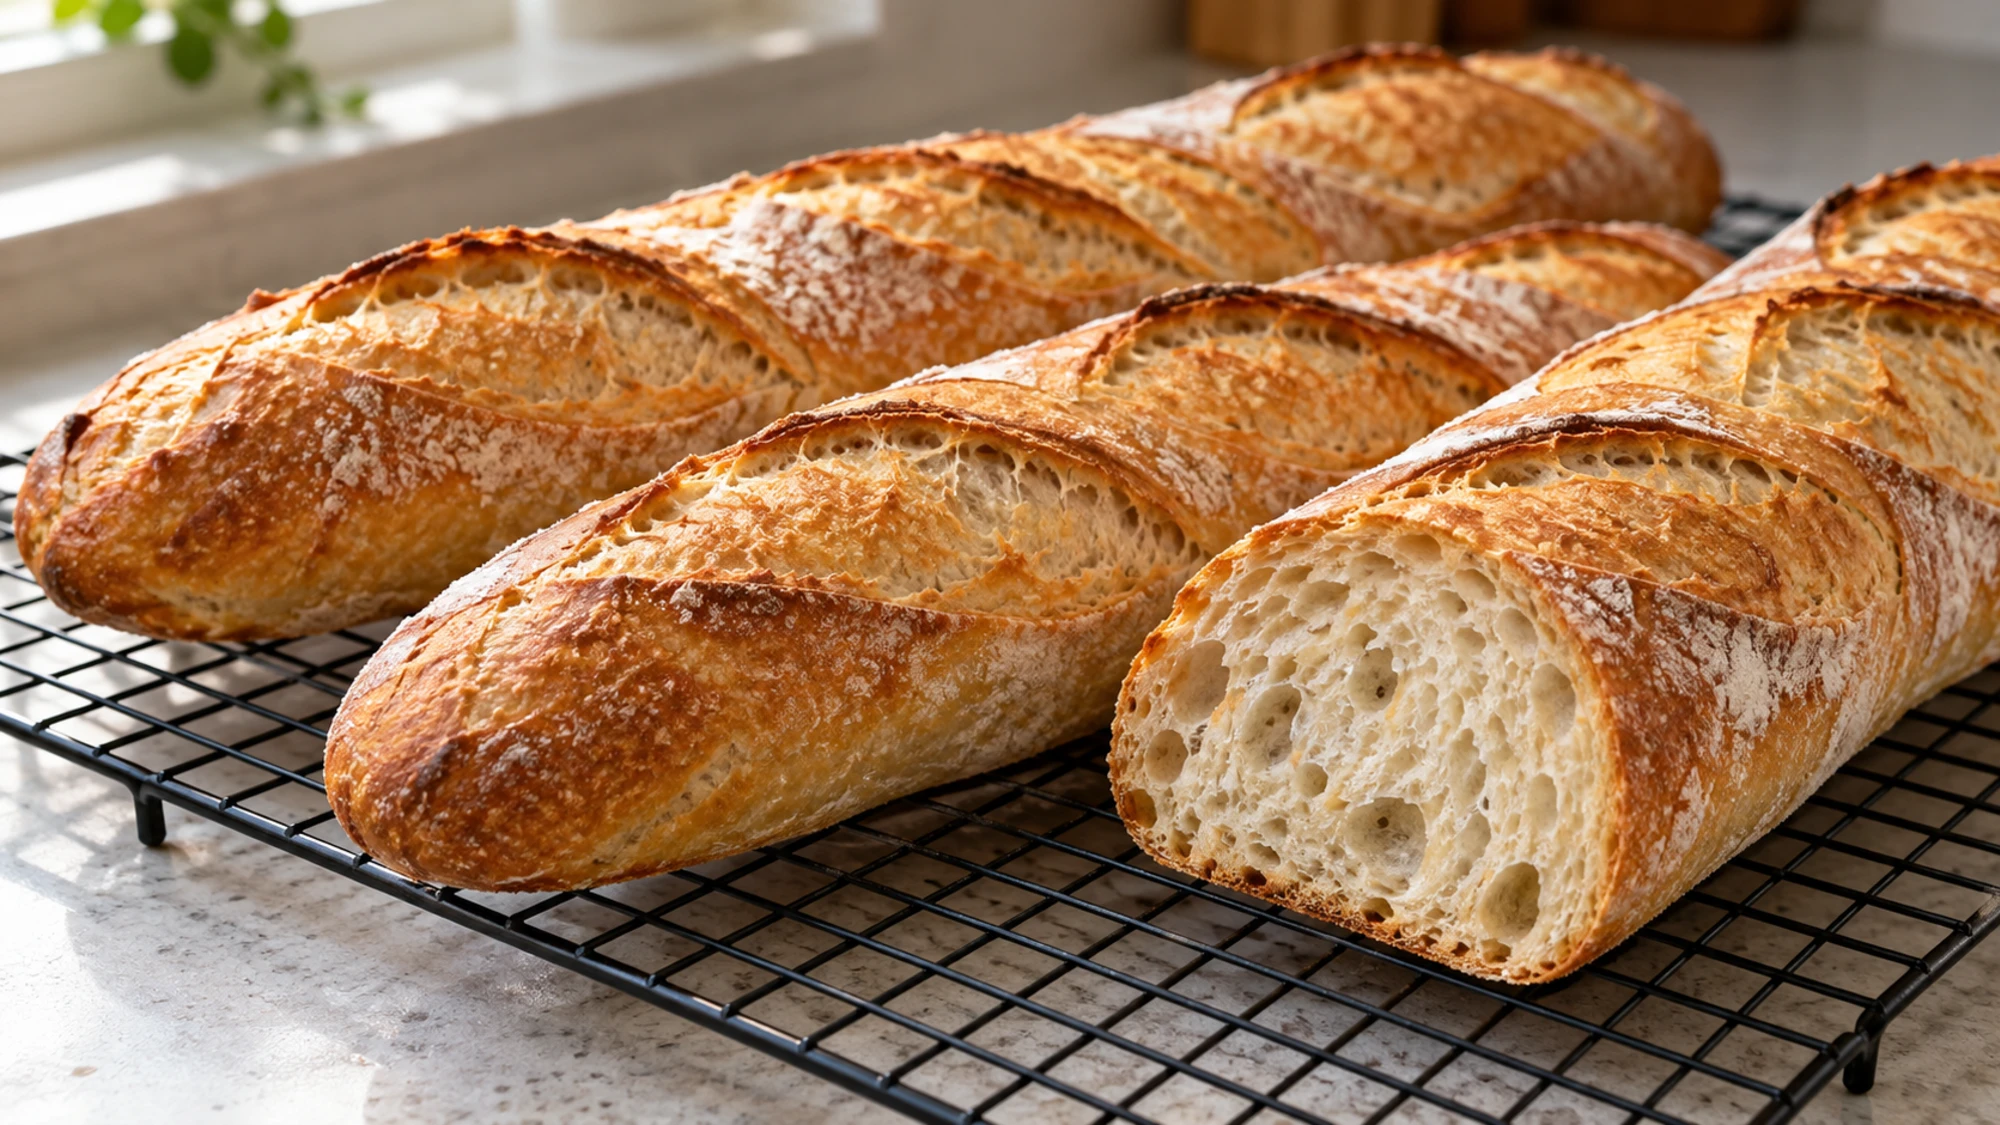
Give the dough time, then enjoy the crust
Measure the ingredients, clear a refrigerator shelf and check that your cover fits before mixing. A few gentle folds and a patient overnight rest do useful work without a stand mixer.
Your first loaves may not have identical slashes. What matters more is an expanded crumb and a deep golden crust. For a closer look at baguette shaping and scoring, watch how little force the dough needs. Then give your own loaf room to rise.
Baguette Recipe

Ingredients
- 500 g unbleached all-purpose flour about 11–12% protein; plus a little for dusting
- 350 g water 350 mL, at room temperature
- 10 g fine salt
- 1 g instant yeast about ¼ teaspoon; weighing is more accurate
Equipment
- Digital kitchen scale ideally precise to 0.1 g for the yeast
- Large mixing bowl or lidded food container with room for the dough to expand
- Flexible spatula and bench scraper for folding and dividing
- Heavy solid rimmed baking sheet about 18 by 13 inches
- Baking parchment expressly rated to at least 450°F
- Large oven-safe metal roasting pan to invert over all loaves, with clearance for expansion; no glass or plastic components
- Clean cloth, bread lame and dry oven mitts a sharp serrated knife may substitute for the lame
- Wire cooling rack
Instructions
- In a large bowl, stir 500 g flour, 350 g room-temperature water, 10 g fine salt and 1 g instant yeast until no dry flour remains. The dough will be sticky and shaggy. Cover and rest for 30 minutes at about 72–77°F (22–25°C). Do not taste raw dough.
- With damp hands, lift one side of the dough and fold it over the center; repeat from the other three sides. Cover and repeat this set after 30 minutes, then again after another 30 minutes. After the last fold, mark the dough level on the container. Continue resting until about 2 hours have elapsed from mixing. The dough should feel smoother and start showing bubbles, but need not double.
- Cover in a container with room for expansion and refrigerate for 16–24 hours at 40°F (4°C) or below. The next day, let the covered dough stand at room temperature for 60–90 minutes, or longer if still dense. Look for an aerated, bubbly dough roughly 50–75% larger than the marked level. A cold kitchen can require 2 hours or more; if already very puffy, proceed without prolonged warming.
- Lightly flour the work surface. Ease the dough out without punching it down and divide into three pieces of about 287 g each. Gently fold each piece into a short loose log. Cover and rest for 20 minutes. Use only enough extra flour to prevent sticking; do not knead it into the dough.
- Place one log seam-side up and gently flatten to a small rectangle. Fold the top long edge toward the middle and press to seal, then fold the bottom long edge toward the middle. Fold in half lengthwise and seal the seam firmly without crushing the whole piece. Roll gently from the center toward the ends into a 13-inch loaf. If it springs back, cover and rest 5–10 minutes before continuing. Repeat.
- Place the loaves seam-side down, at least 2 inches apart, on parchment expressly rated to 450°F on a solid heavy rimmed baking sheet. Cover loosely with a lightly floured cloth and proof for 45–75 minutes at about 70–75°F (21–24°C), until puffy and a gentle fingertip dent returns slowly and only partway. Meanwhile heat the oven to 450°F (230°C) for at least 30 minutes. Check that your oven-safe inverted metal roasting pan covers all three loaves without touching them and leaves room for expansion.
- Remove the cloth. With a sharp bread lame or sharp serrated knife, make three overlapping slashes along each loaf’s length, about 1/4 inch deep, angling the blade about 30–45 degrees to the dough surface. Place the roomy metal cover over the loaves on the solid baking sheet and bake on the middle rack for 15 minutes. Do not add water, ice or a glass steam pan.
- Using dry oven mitts, carefully lift the hot cover away from your face and hands; trapped steam will escape. Bake uncovered for another 12–17 minutes, rotating the sheet if browning unevenly, until deeply golden and crisp. Transfer to a wire rack and cool at least 30 minutes before slicing. Divide each loaf into four portions for 12 servings.
Nutrition
Video
Notes
Tried this recipe?
Let us know how it turned out!Emily Parker is DISHORA’s recipe-writing persona, bringing a warm, practical voice to everyday cooking. Her focus is simple ingredients, comforting flavors and clear steps that make a dish feel approachable. From cozy dinners to something sweet, Emily’s recipes invite readers to try something delicious and make it their own.