
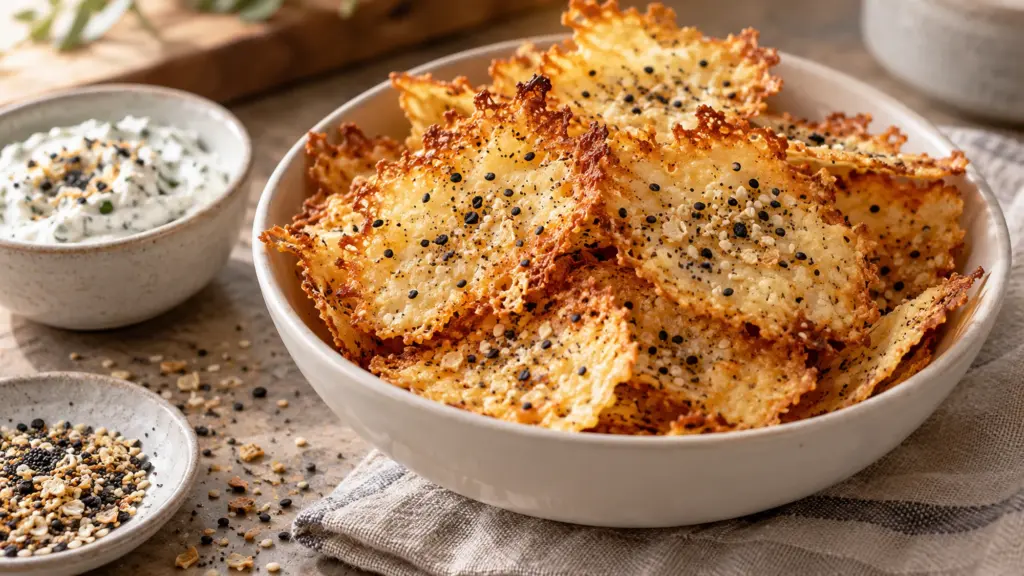
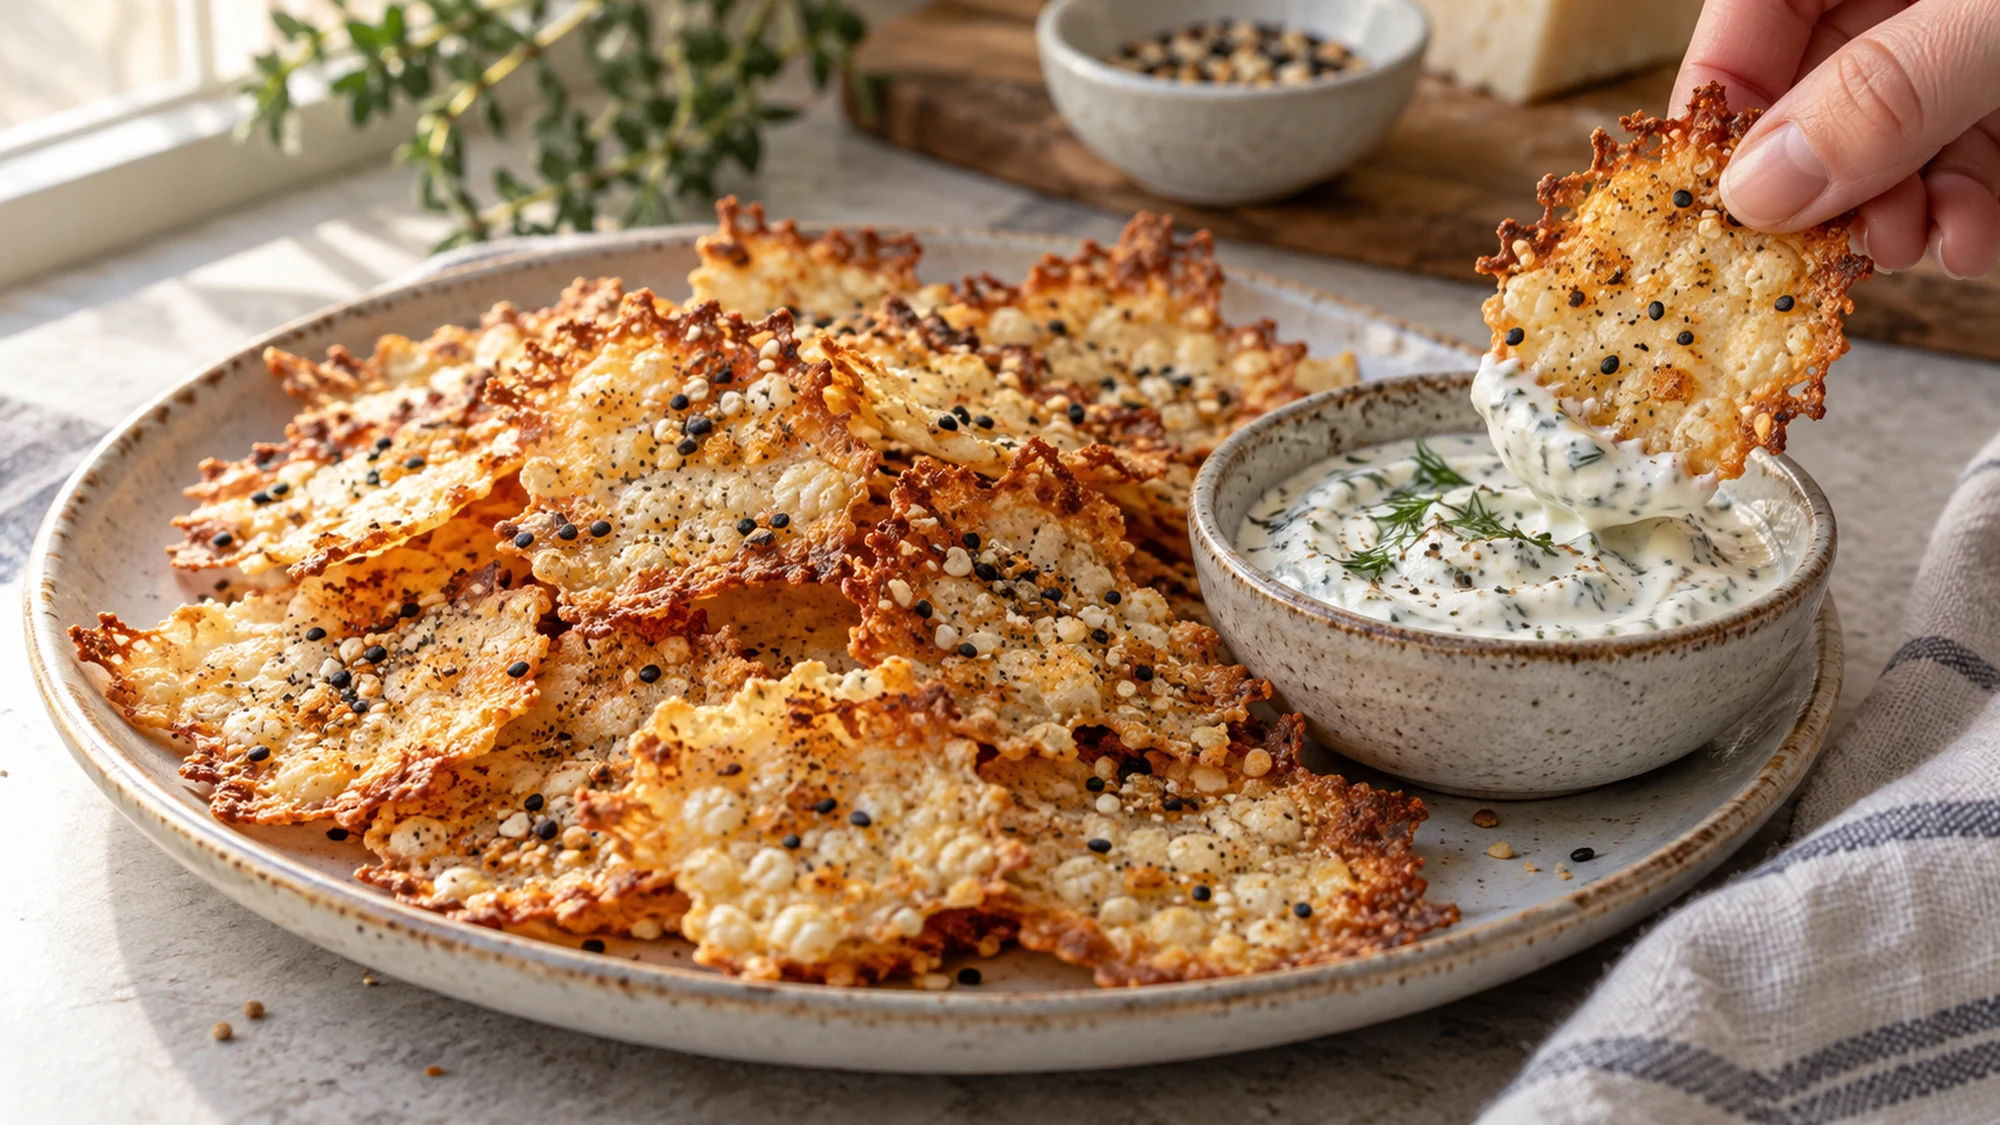
Cottage cheese chips are a curious little kitchen transformation: spoonfuls of soft curds spread thin on parchment and bake into golden, savory crisps. The ingredient list is short, but the technique matters. Drain the cheese, give each mound room to spread, and wait until the chips have cooled before judging their crunch. A light shake of everything-bagel seasoning adds garlic, onion and sesame without hiding the cheese flavor.
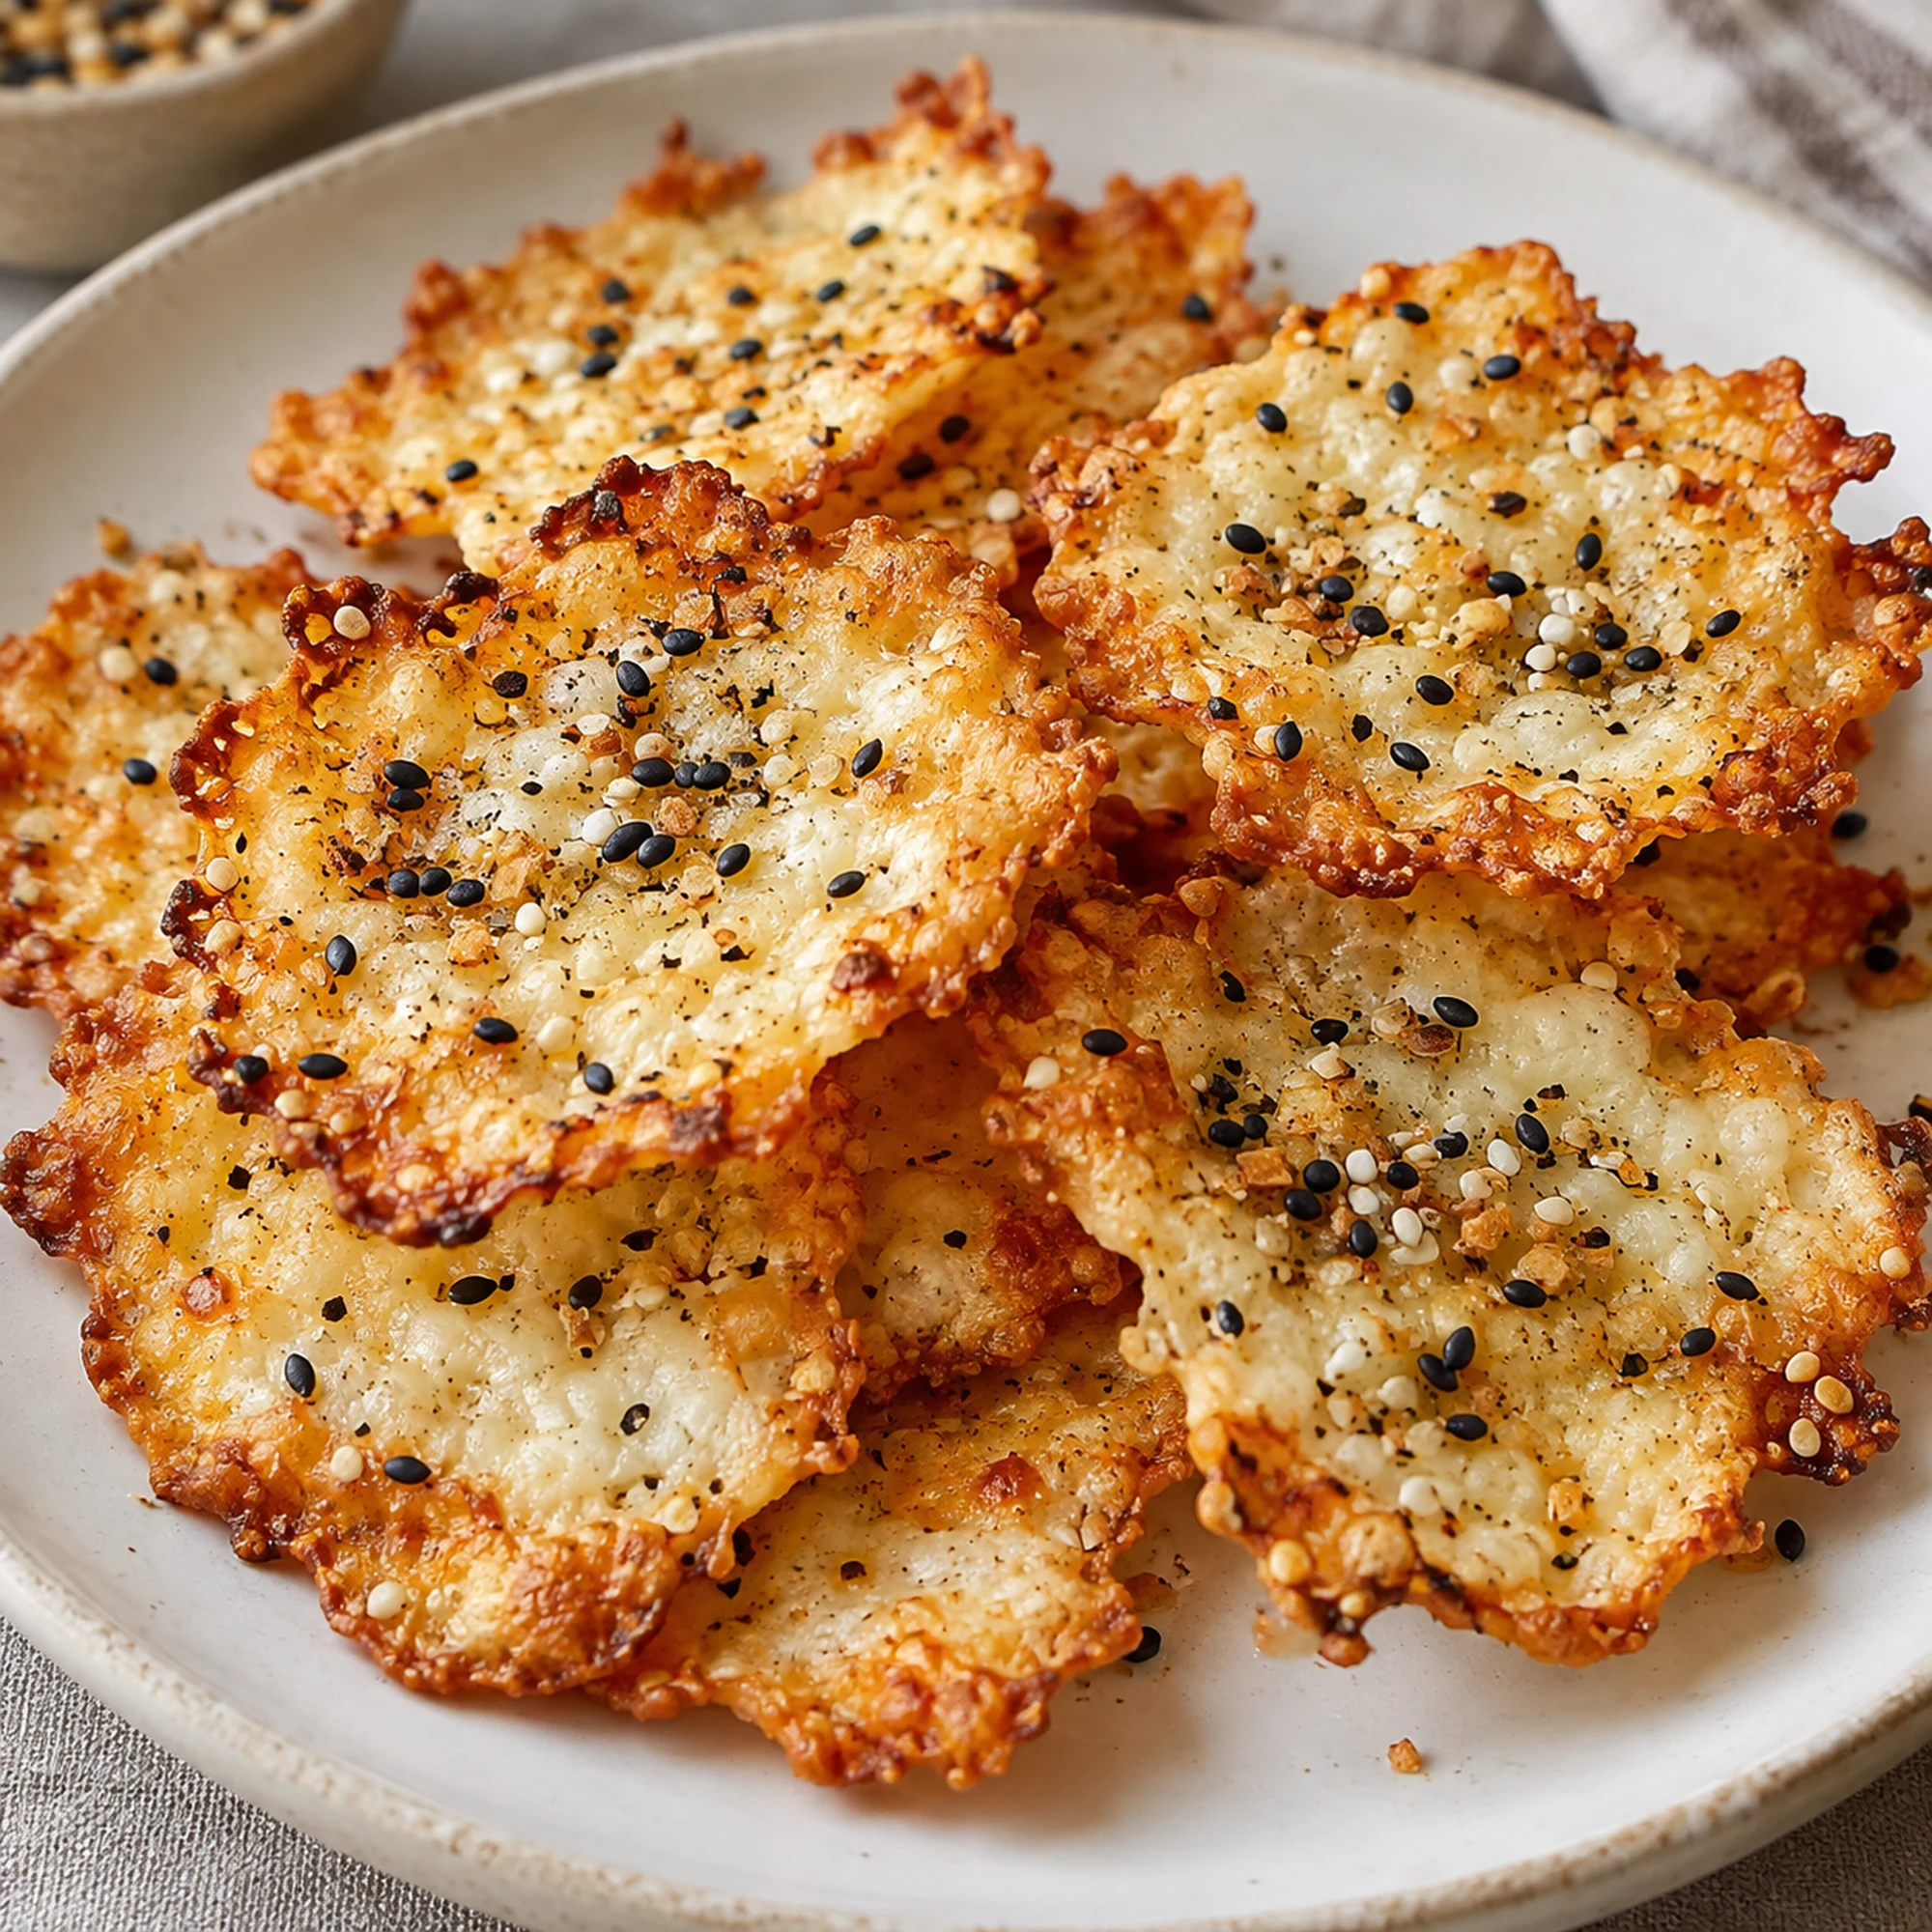
Thin, well-drained spoonfuls and a full cooling period make the difference between chewy and crisp.
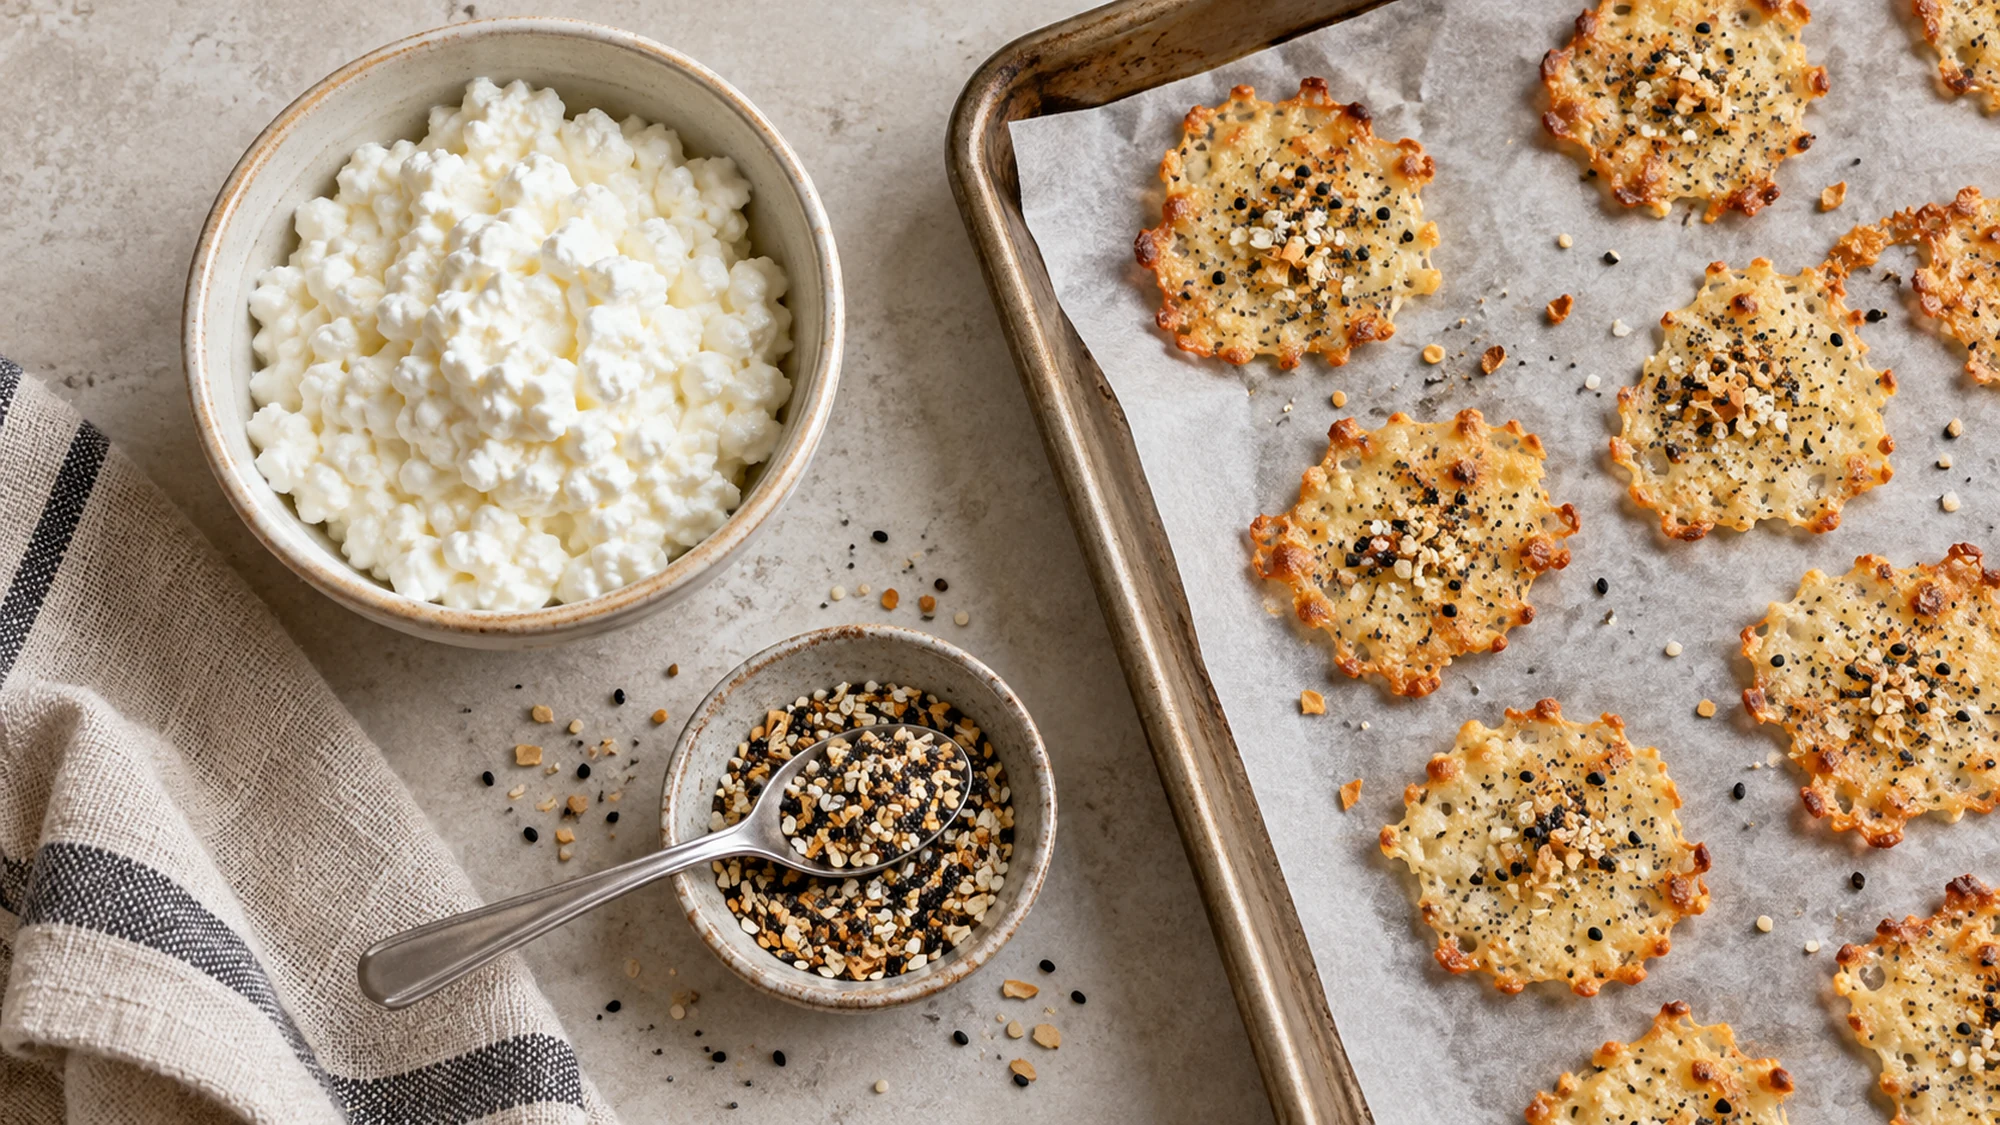
This oven version makes about twelve chips, enough for two small snack portions. Cottage cheese brands contain different amounts of liquid, so the baking window is a guide rather than a stopwatch. The card below gives a 350°F oven, about 30–40 minutes of baking and at least fifteen minutes of cooling. Healthy Fitness Meals’ version also emphasizes straining, even spacing and watching closely near the end; our seasoning amount and serving notes are tailored to this batch.
Serving suggestions for cottage cheese chips
Enjoy the chips as soon as they have cooled and become firm enough to lift from the parchment. They are savory on their own, but a little dip makes the plate feel more like a snack break. Our creamy white bean dip offers a smooth contrast, while bright pico de gallo brings juicy tomato and lime. Use a gentle scoop; these are delicate cheese crisps, not thick tortilla chips.
A bowl of raw vegetables alongside provides more crunch and makes the snack more varied. arrange the chips in one layer so they do not crush each other, and put the dip in a separate bowl. If you are carrying them across the kitchen, slide a thin spatula fully underneath each chip once cool; tugging an edge while warm can tear it.
Serve gently with a smooth dip, and plan to enjoy the best crunch on baking day.
Variations and the small details that matter
Everything-bagel seasoning is an easy finish, but it is optional if you want to taste the cheese alone. Choose a low-salt blend if your cottage cheese is already salty, and check the label for sesame if allergies matter. A little dried dill or smoked paprika can give a different savory note; sprinkle lightly so the seasoning does not dominate the thin chips.
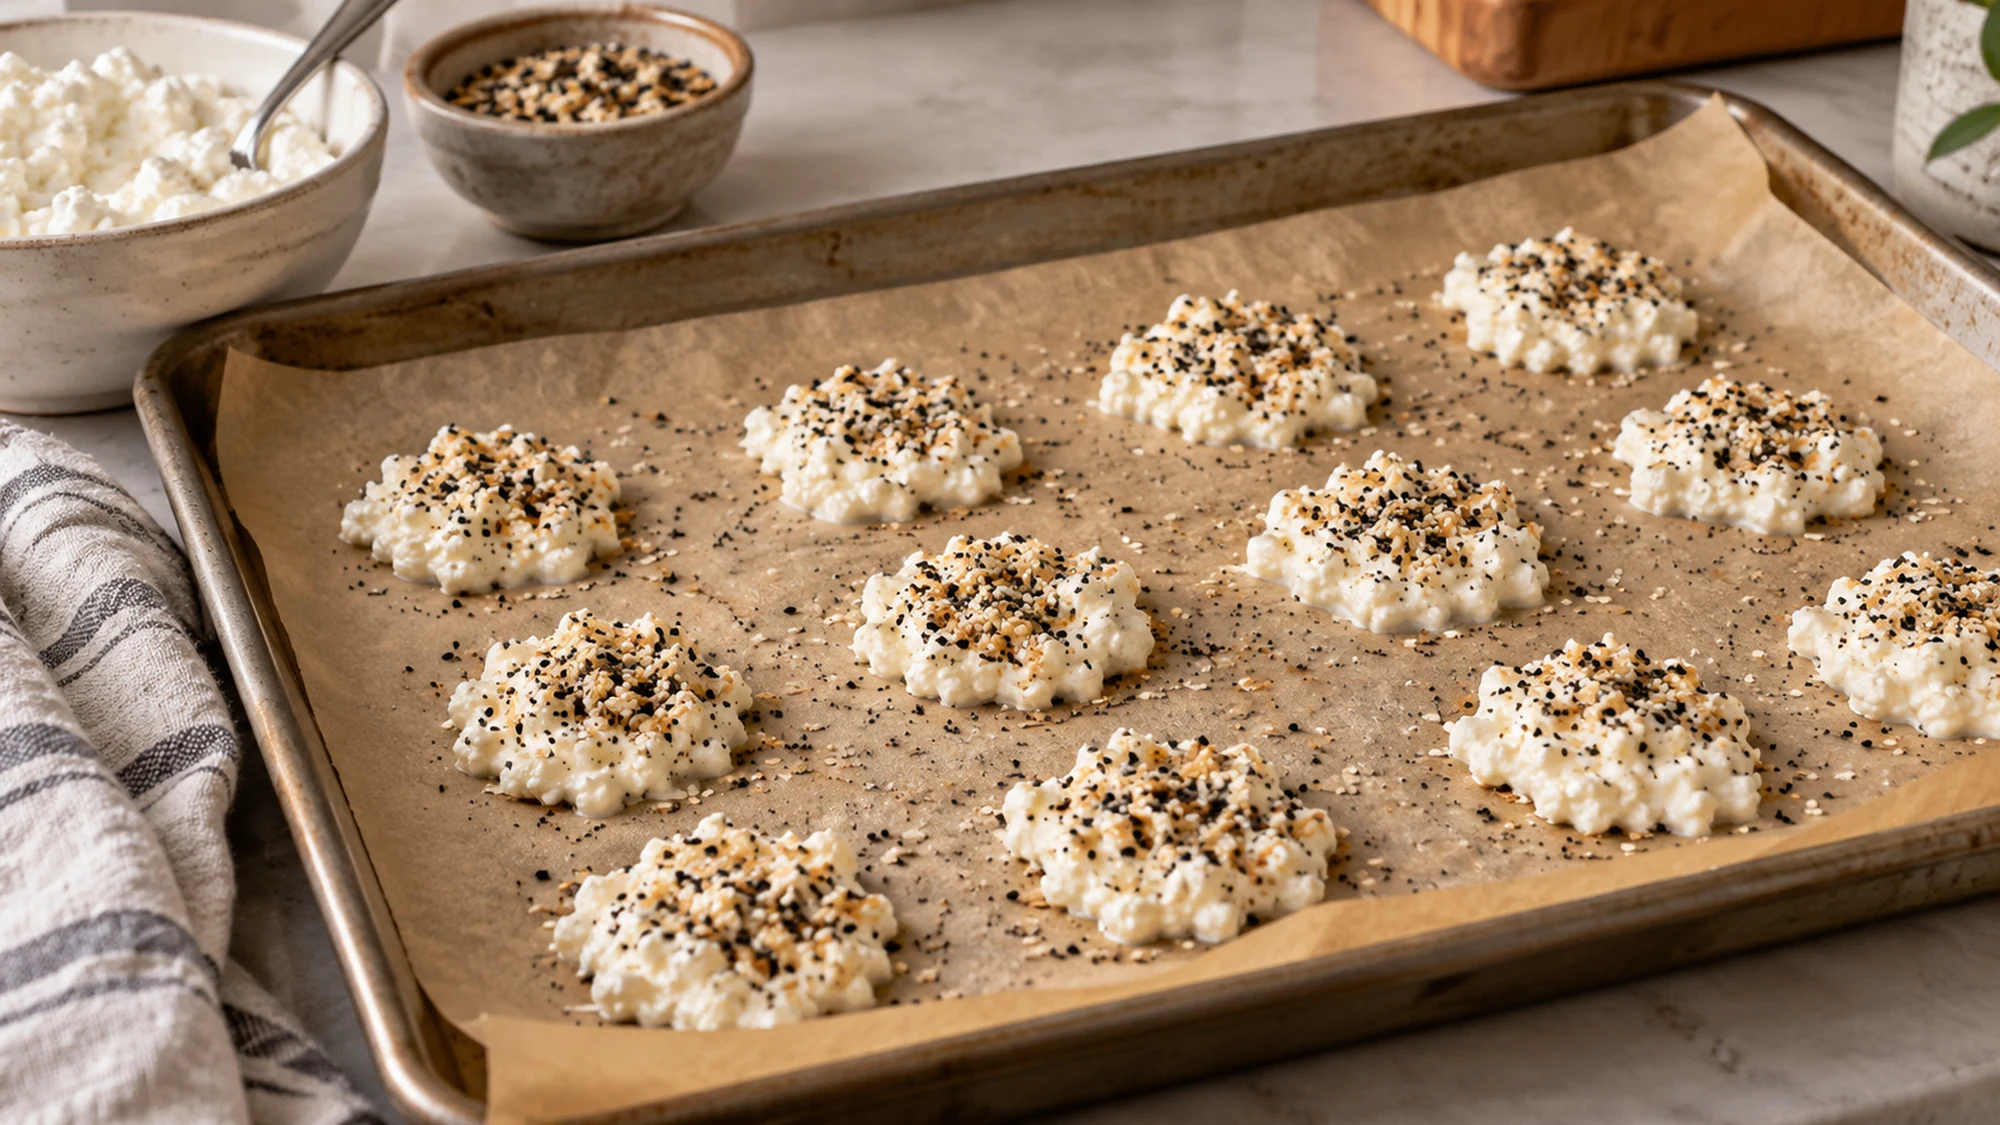
The moisture in the cheese is the biggest variable. Let it drain in a fine-mesh sieve and blot especially wet curds. Then flatten roughly tablespoon-sized mounds to an even thinness and leave at least an inch between them. Larger or thicker rounds take longer and may have soft centers. If the edges darken quickly, check before the nominal baking time rather than leaving them in for the sake of the clock.
The Daisy Brand recipe uses a shorter oven window for its own scoop size. That difference is a useful reminder to watch color and dryness, not only minutes. Ovens, parchment and cheese moisture all affect the result. Remove the tray when the centers look dry and the edges are golden, then let it rest untouched.
Use the visual cues: dry centers, golden edges and a firm snap after cooling.
Health benefits and practical balance
Cottage cheese contributes protein, which makes these a different snack from plain flour or potato chips. The final chips are still cheese, and their salt content depends on both the cottage cheese and seasoning. Check those labels if you watch sodium intake, and pair the crisps with vegetables or a dip that suits your meal rather than assuming a protein ingredient makes any serving unlimited.
Milk is the main allergen; many everything-bagel blends also contain sesame. Read the package before serving guests. Refrigerate leftovers in a covered container and use within three days, expecting some loss of crispness. The recipe card gives the same storage guidance and notes that a short, careful reheat may help.
The short ingredient list makes the snack easy to understand, including its milk and possible sesame allergens.
Why this is a useful small batch
One cup of cottage cheese is enough to try the method without committing to a large tray. The oven does most of the drying. The patience is at the end: the crisps feel softer hot and become sturdier as they cool. That wait is part of the recipe, not an optional extra.
Preheat the oven, line the tray, then drain and portion the cheese. Keep the mounds thin, season them lightly and check them from the twenty-five-minute mark. The card below holds the exact amounts and five steps. Once they are fully cool, lift one, listen for a delicate crackle and share the rest while they are at their best.
Start with one tray; let it cool completely before deciding whether the next batch needs a minute more.
Cottage Cheese Chips Recipe

Ingredients
- 1 cup small-curd cottage cheese About 225 grams; drain well, preferably 4% milkfat.
- 1 teaspoon everything-bagel seasoning Choose a low-salt blend if the cottage cheese is salty.
Equipment
- 1 Rimmed baking sheet Large enough for about 12 spaced chips.
- 1 sheet of parchment paper For easy release after cooling.
- 1 Fine-mesh sieve For draining wet cottage cheese.
- 1 tablespoon measure For even portions.
- 1 small spoon For flattening and seasoning.
- 1 thin spatula For lifting fully cooled chips.
Instructions
- Preheat the oven to 350°F and line a rimmed baking sheet with parchment paper.
- Drain the cottage cheese in a fine-mesh sieve, then blot any very wet curds gently with a paper towel. Excess moisture makes the chips slower to crisp.
- Drop about 1 tablespoon of drained cottage cheese for each chip onto the lined baking sheet, leaving at least 1 inch between them. Make about 12 mounds and flatten each one thinly and evenly with the back of a spoon.
- Sprinkle the 1 teaspoon of everything-bagel seasoning evenly over the mounds. Bake on the middle rack for about 30–40 minutes, checking from 25 minutes, until the edges are golden and the centers look dry. Baking time varies with moisture and thickness; remove before the edges burn.
- Let the chips cool on the baking sheet for at least 15 minutes, until crisp and easy to lift. Divide the batch into two servings of about six chips each and serve with a cool dip if desired.
Video
Notes
Tried this recipe?
Let us know how it turned out!Emily Parker is DISHORA’s recipe-writing persona, bringing a warm, practical voice to everyday cooking. Her focus is simple ingredients, comforting flavors and clear steps that make a dish feel approachable. From cozy dinners to something sweet, Emily’s recipes invite readers to try something delicious and make it their own.