
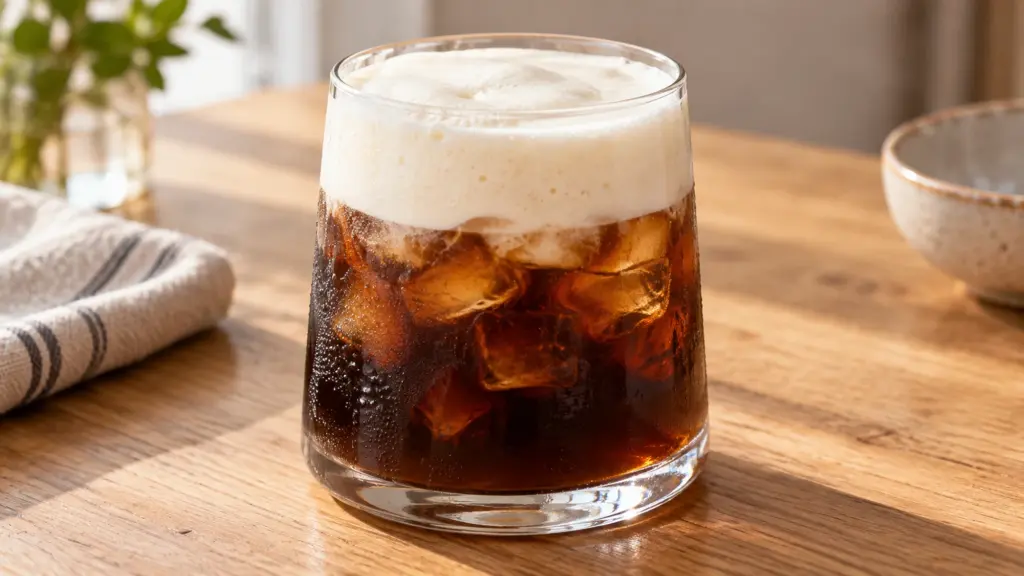
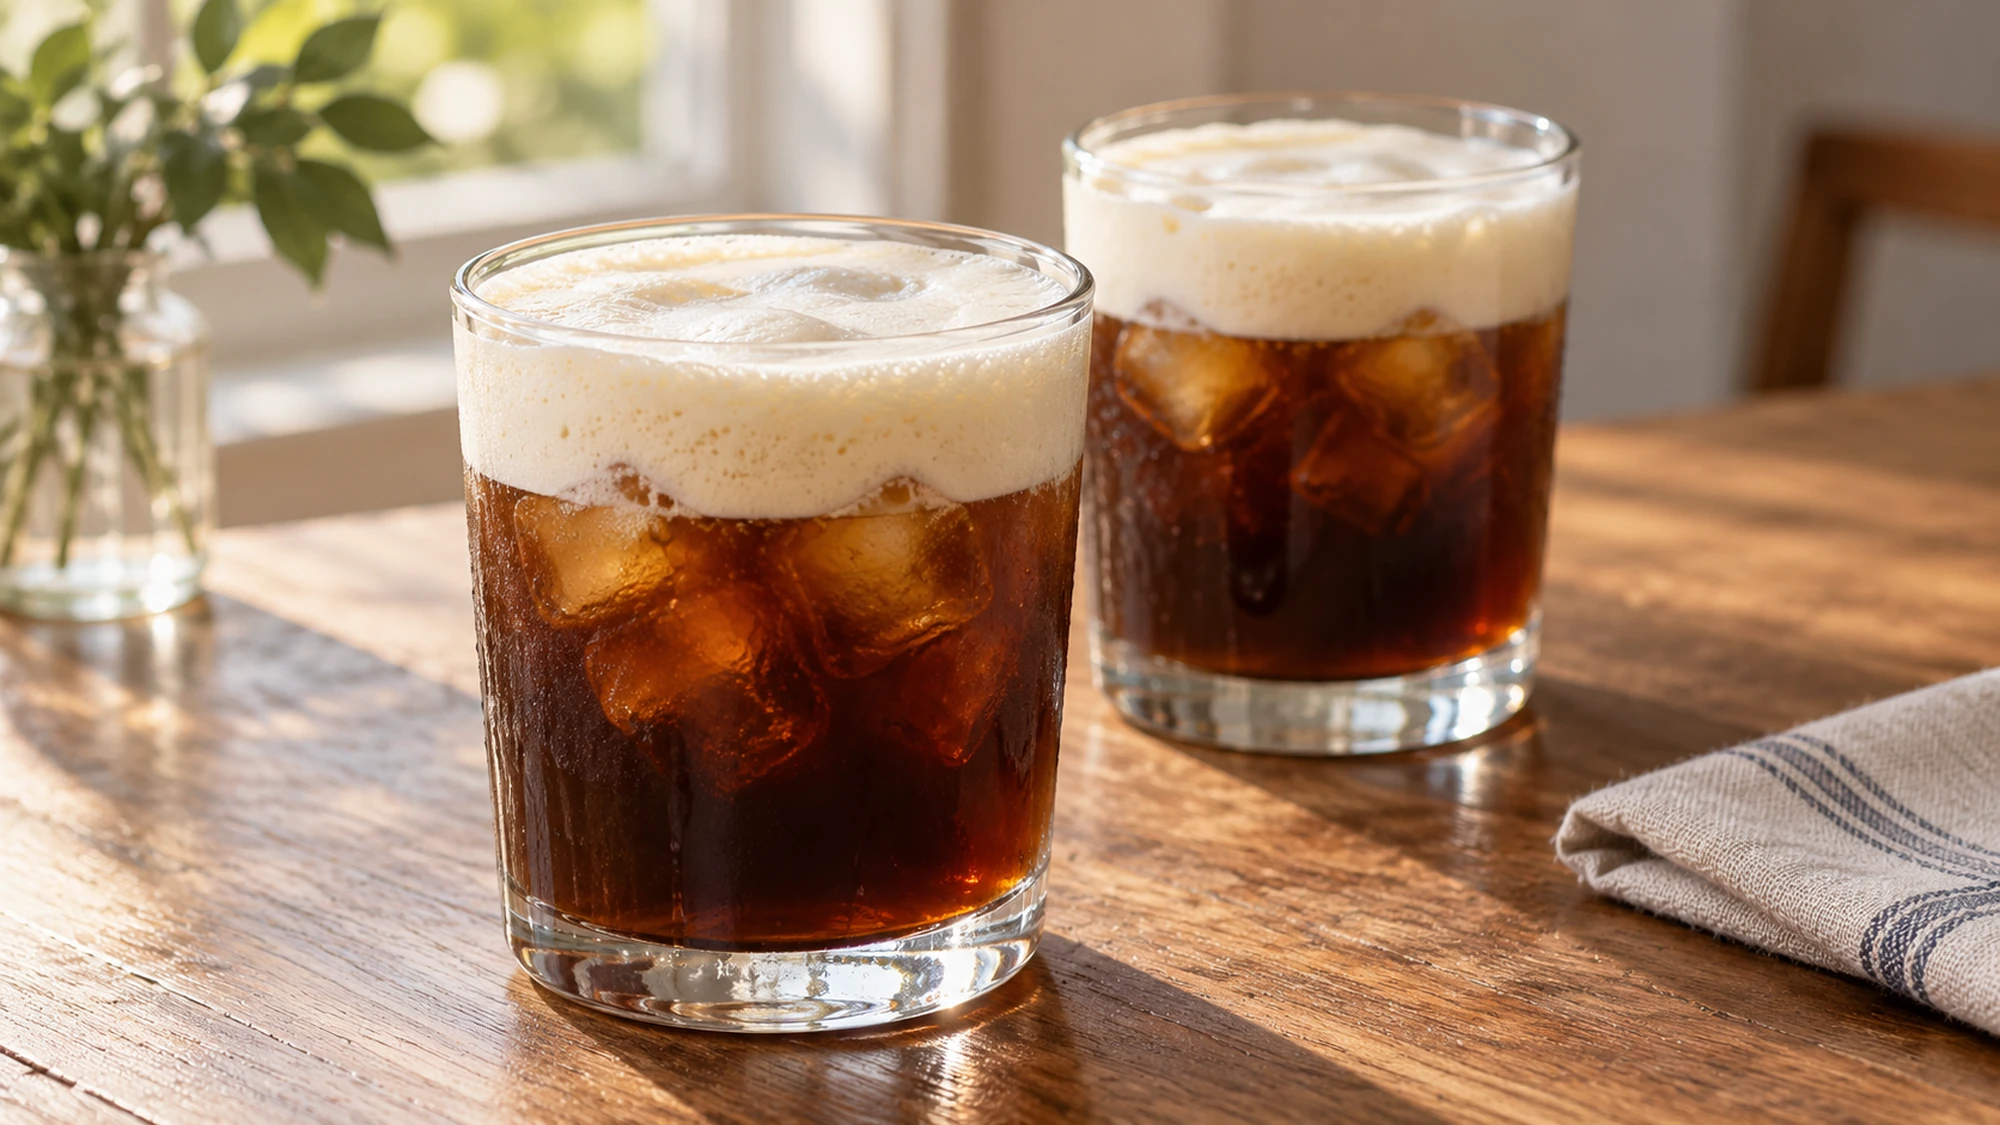
An iced coffee can be perfectly good and still feel a little plain on top. This cold foam recipe adds a soft vanilla-scented layer using cold fat-free milk and a small amount of syrup. A handheld frother brings air into the milk, giving it a light, pourable texture that gradually settles into the drink. No heating or heavy cream is needed for this version.
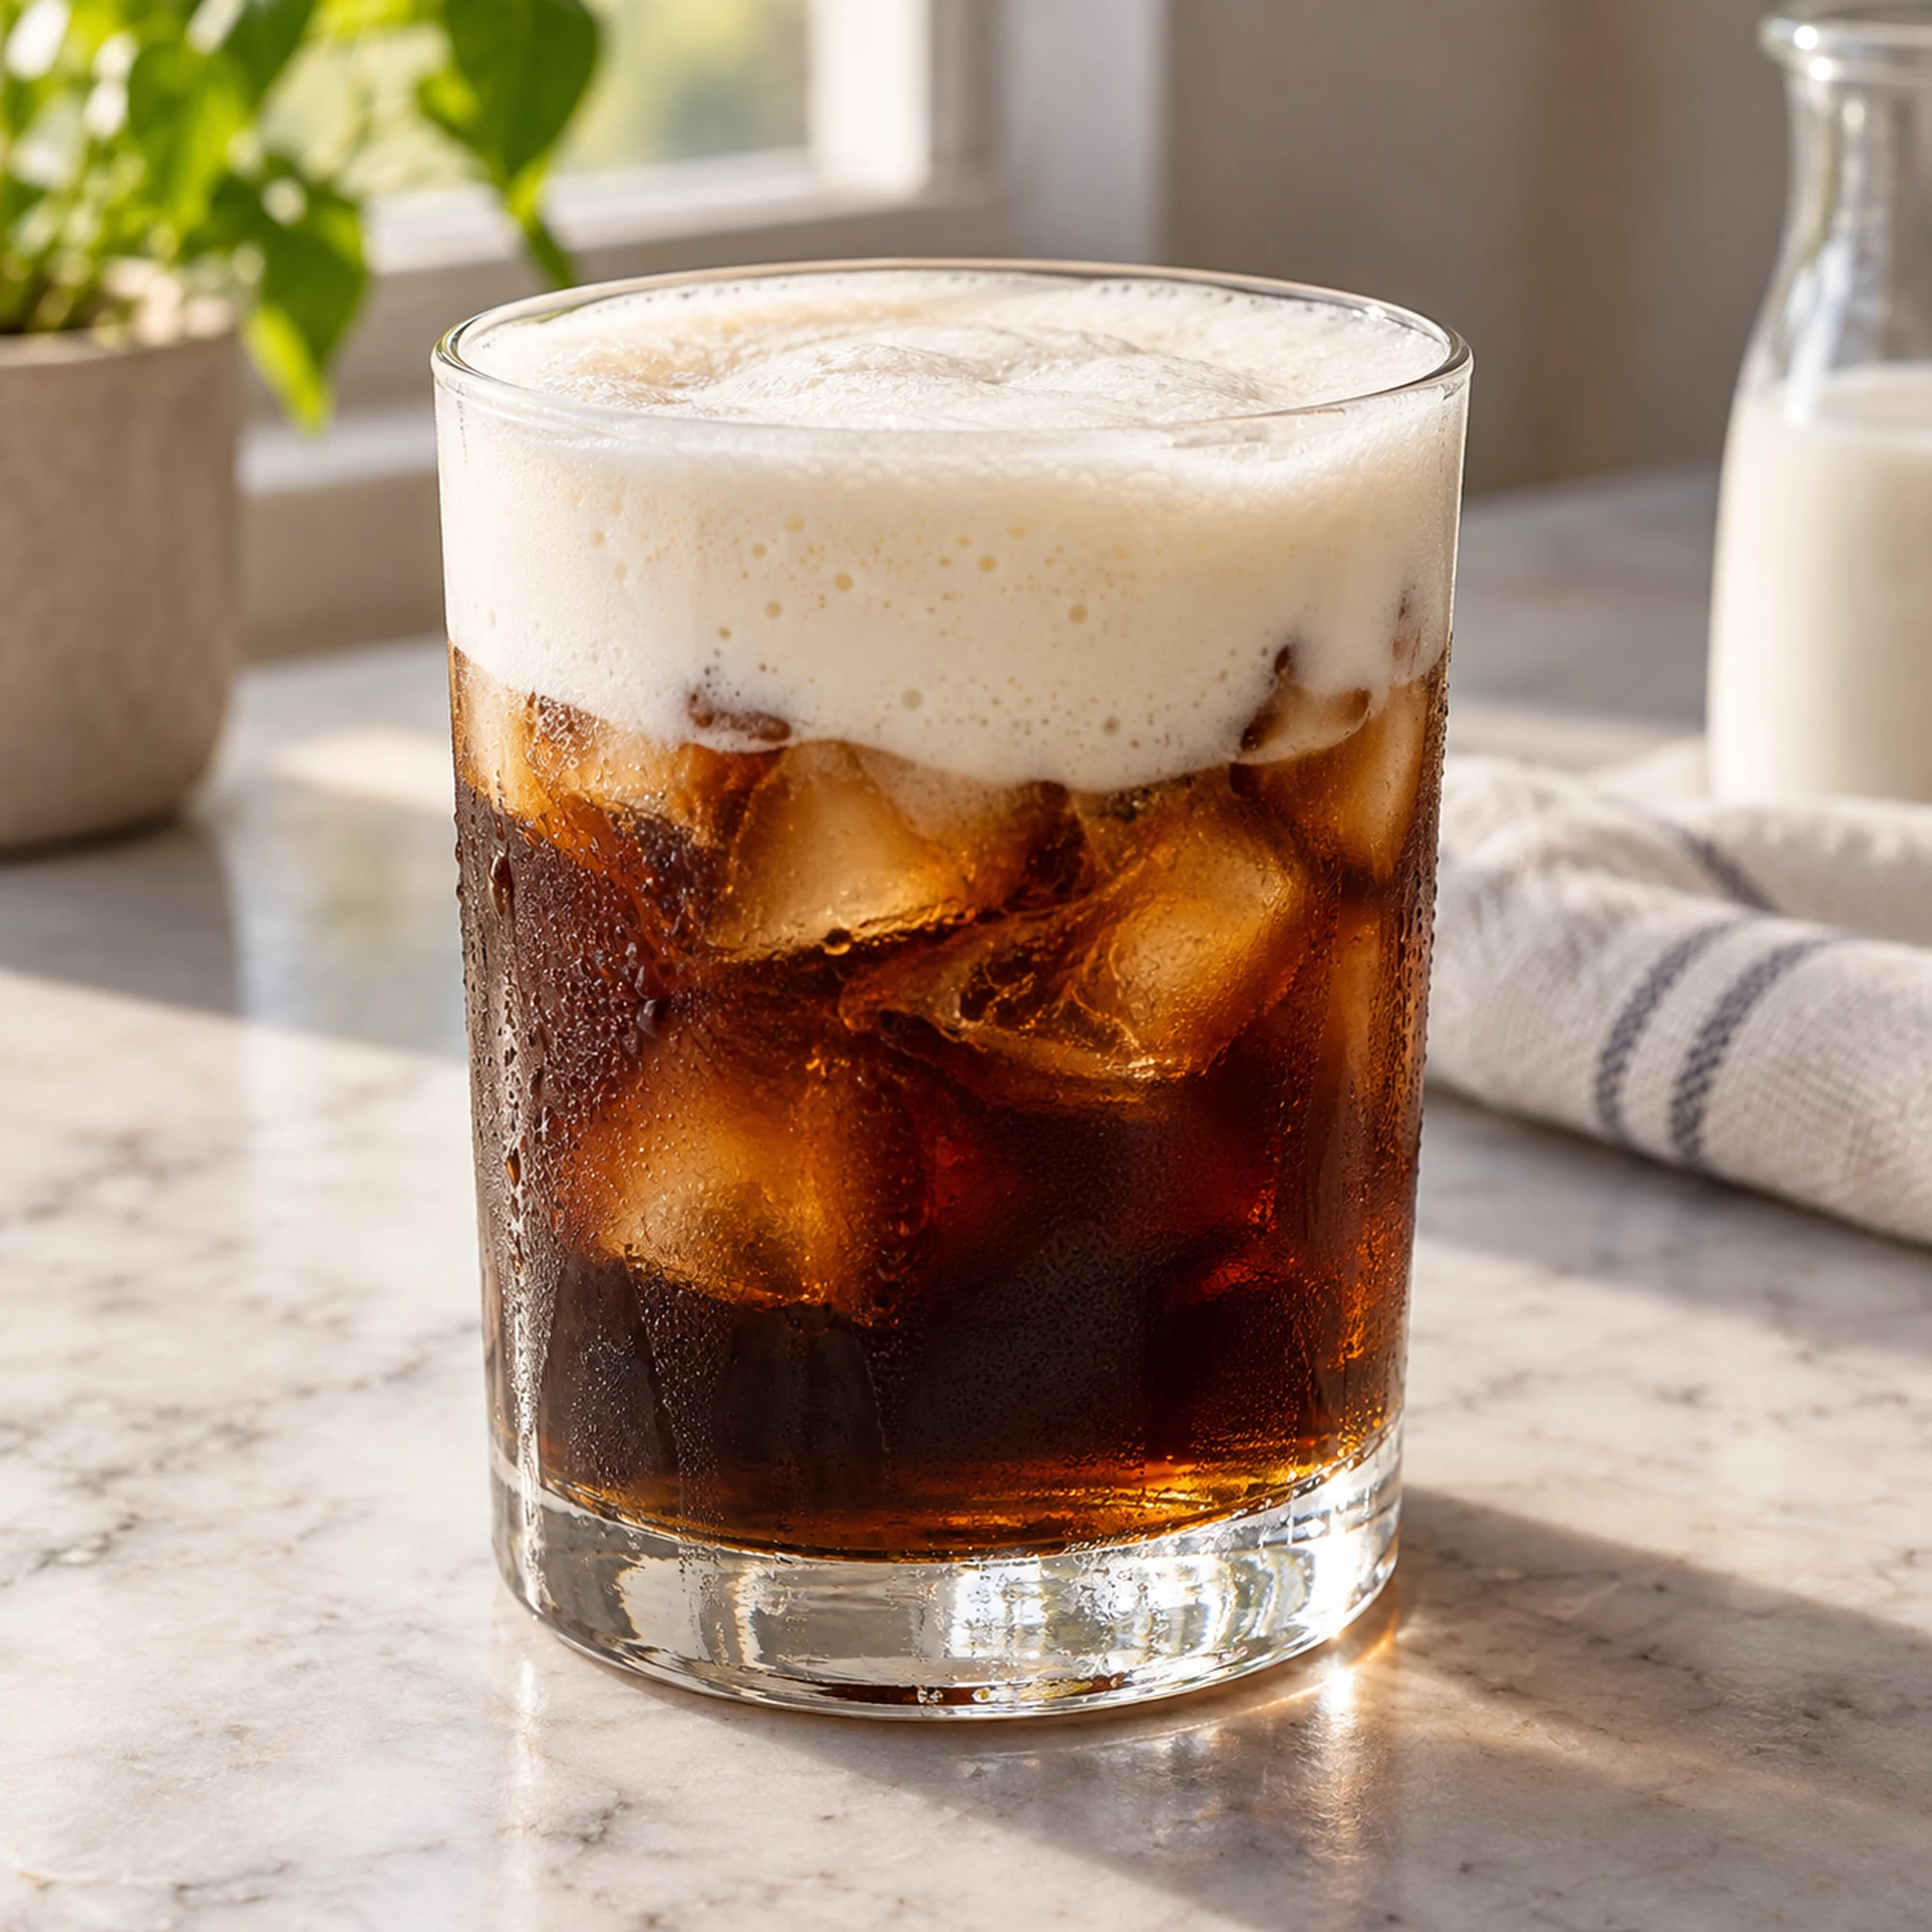
Start with cold milk in a roomy, narrow container and keep the frother near the surface without splashing. Stop when the bubbles look fine and the foam pours softly; it should not become a stiff whipped-cream topping.
I prefer a foam that lets the coffee remain noticeable. Fat-free milk is a useful starting point for this light style, while sweet-cream versions use a different balance of milk and cream. The card makes enough topping for two drinks, with the coffee and ice prepared separately.
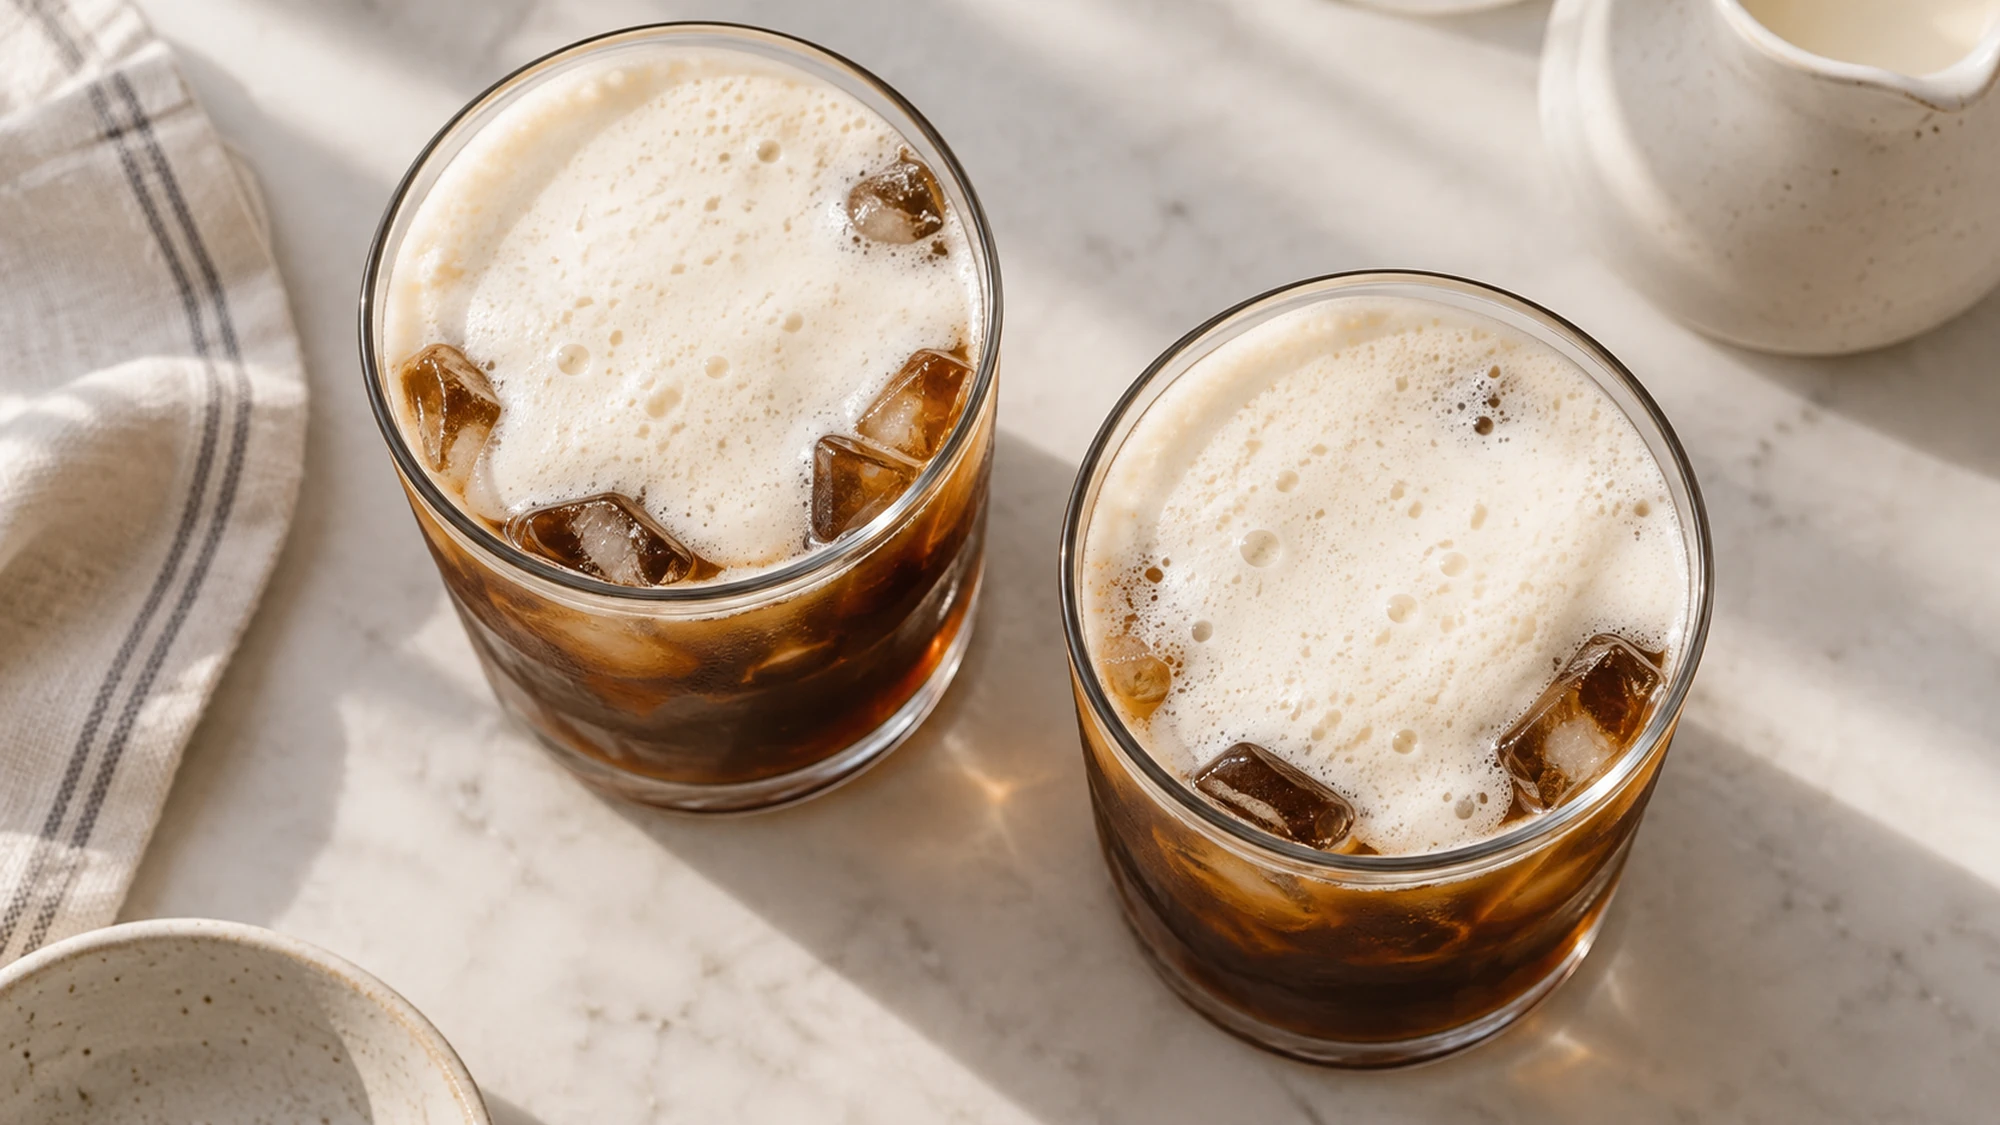
Serving suggestions for a soft coffee topping
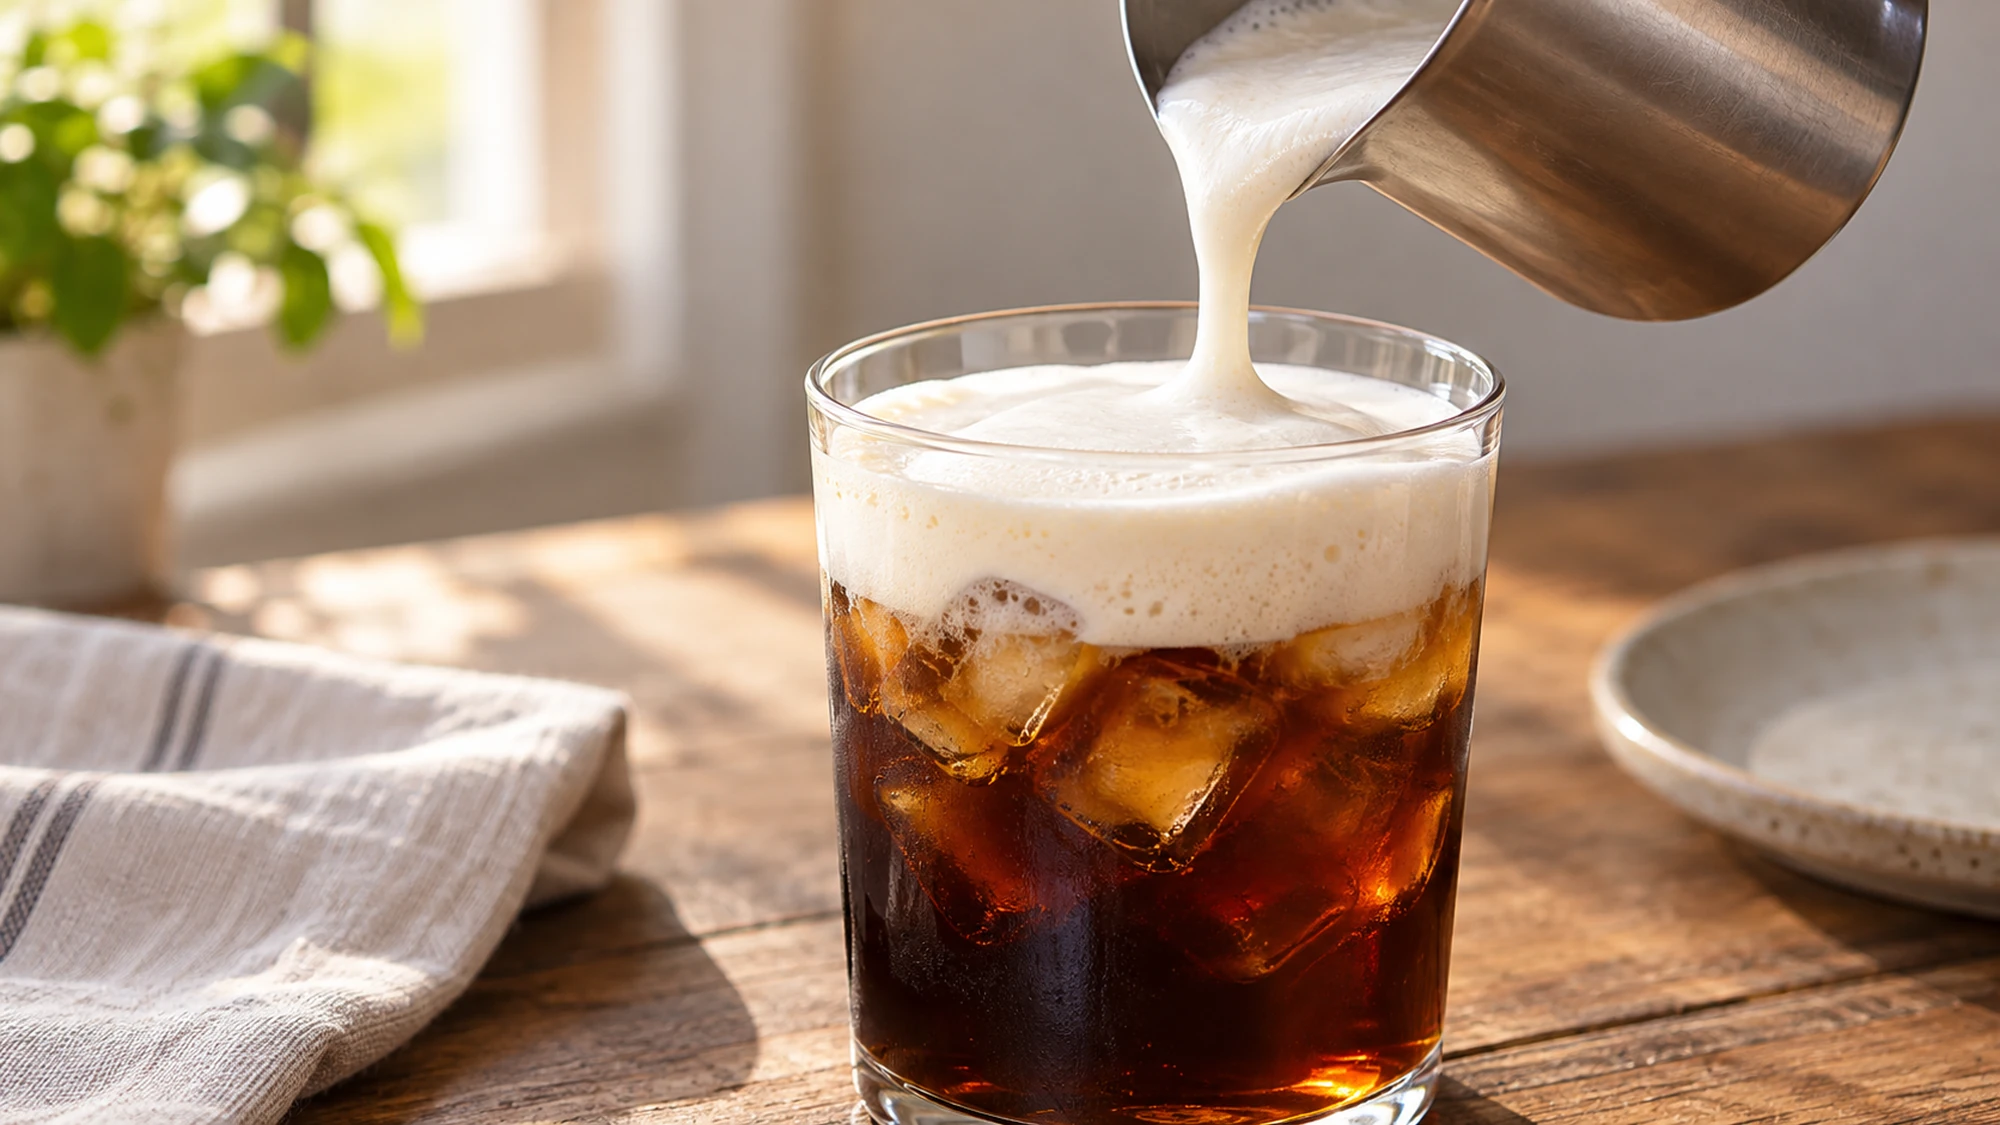
Prepare the iced drink before frothing the milk so the foam does not wait around while you search for a glass. Leave space above the coffee and ice, then pour slowly over the top. Some mixing at the boundary is normal; a homemade milk foam is not a permanent white lid.
- On iced black coffee: Keep the coffee unsweetened at first, because the foam already contains vanilla syrup. Taste the complete drink before adding more.
- On cold brew: Dilute a concentrate as its label directs before topping it. Foam adds texture, but it is not a substitute for preparing the coffee properly.
- With another coffee flavor: If you enjoy cinnamon, make café de olla, cool and refrigerate it promptly, then serve over ice. Its piloncillo adds sweetness, so consider unsweetened foam.
For a small brunch, measure the milk portions ahead and keep them refrigerated, then froth close to serving time. I’d avoid making a large bowl of finished foam far in advance: its texture is the reason to make it fresh. A wide glass also lets you sip both the foam and coffee together.
Have the coffee, ice and glasses ready first. Freshly frothed milk works best when it can move straight from the pitcher to the drink.
Variations and troubleshooting for home frothers
Use a cold fat-free dairy milk for the base recipe. A narrow container helps the frother reach a useful depth, but it still needs room for the milk to expand. The measured vanilla syrup brings sweetness without leaving dry sugar grains in the topping.
- Unsweetened foam: Omit the syrup and froth the cold milk alone. The result still contains the milk’s naturally occurring sugar.
- A richer version: Whole milk or a milk-and-cream mixture changes the body and nutrition. It may behave differently with the same frother, so do not expect an identical foam.
- A plant-based option: Try a beverage labeled for barista use and follow its frothing guidance. Protein, stabilizers and fat vary; ordinary oat or almond drinks are not guaranteed to foam the same way.
- Large bubbles: Lower the whisk slightly and finish briefly to refine the texture. Keeping it too high can pull in large air pockets or splash milk out of the container.
If the milk barely changes, check that the whisk is clean, the batteries are strong and the milk is genuinely cold. Move the whisk just under the surface to introduce air, then a little deeper to smooth it. Different frothers need different times, so the texture cue matters more than chasing an exact number of seconds.
Change one variable at a time: milk temperature, whisk position or equipment strength. Stop when the foam is light and pourable rather than frothing indefinitely.
Health benefits with a measured serving
Milk contributes some protein and calcium, but each topping uses only a small portion. The vanilla syrup supplies added sugar, and the complete drink’s nutrition depends on the coffee base and any other additions. A light foam is a texture choice, not a promise of better health or a reason to ignore serving size.
- The card’s estimate is for half the milk-and-syrup batch. Coffee, ice, extra sweeteners and other drink ingredients are excluded.
- Plain milk foam reduces added sugar compared with this sweetened version, though milk still contains lactose.
- This recipe contains dairy. A lactose-free dairy milk may be an option for some people, but it is not appropriate for a milk allergy; check the needs and labels of the person drinking it.
Think of the foam as one small part of the drink. Choose the sweetness you enjoy and count the complete beverage, rather than treating air bubbles as a nutrition claim.
Motivation conclusion: make the texture your cue
A few minutes and a small frother can give an ordinary iced coffee a softer finish. Keep the milk cold, leave room in the glass and pour while the bubbles are fine. Once those details feel familiar, you can adjust sweetness without turning your morning coffee into a complicated project.
Cold Foam Recipe

Ingredients
- 1/2 cup cold fat-free milk 120 ml, straight from the refrigerator
- 2 teaspoons vanilla syrup 10 ml; standard sweetened coffee syrup
- prepared iced coffee and ice optional; enough for two drinks, not included in the foam nutrition
Equipment
- Handheld milk frother
- Narrow 16-oz jar or frothing pitcher Leave plenty of room for expansion.
- Measuring cup and teaspoon
- Two serving glasses
Instructions
- Have two glasses of prepared iced coffee and ice ready, leaving room above each for foam. Keep the milk refrigerated until needed.
- Pour the cold milk and vanilla syrup into a clean narrow 16-oz jar or frothing pitcher. The container should be much taller than the liquid level so the foam can expand.
- Put the whisk just under the surface before switching it on. Froth for about 20–40 seconds, moving it gently near the surface to introduce air without splashing. Lower it slightly for a brief finish until the bubbles look finer. Stop when the milk has expanded and is softly pourable; exact timing depends on the frother.
- Switch the frother off before lifting it out. Gently tap the container to settle large bubbles, then divide the foam over the two drinks. Serve immediately; some gradual settling into the coffee is normal.
Nutrition
Video
Notes
Tried this recipe?
Let us know how it turned out!Emily Parker is DISHORA’s recipe-writing persona, bringing a warm, practical voice to everyday cooking. Her focus is simple ingredients, comforting flavors and clear steps that make a dish feel approachable. From cozy dinners to something sweet, Emily’s recipes invite readers to try something delicious and make it their own.