
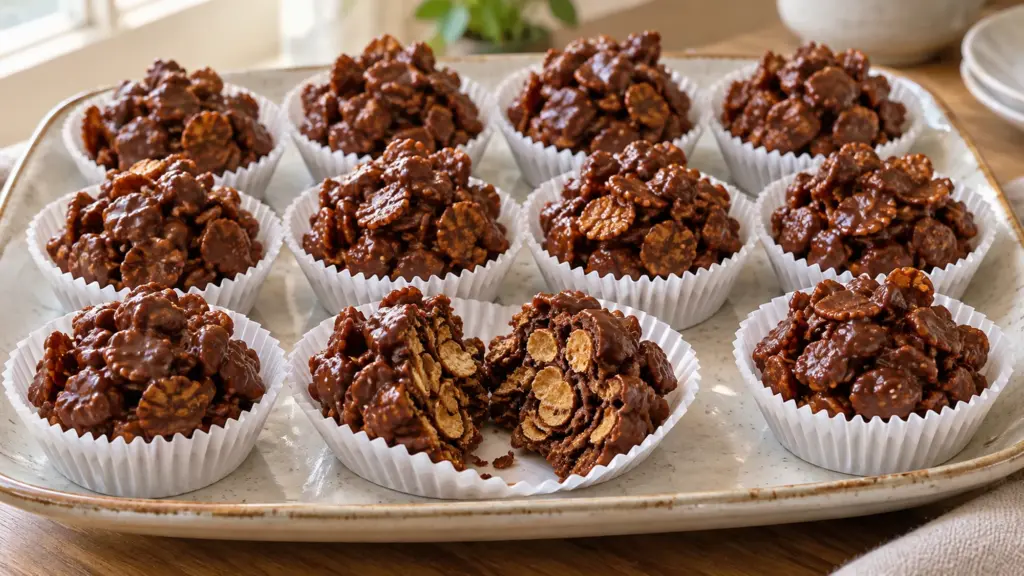
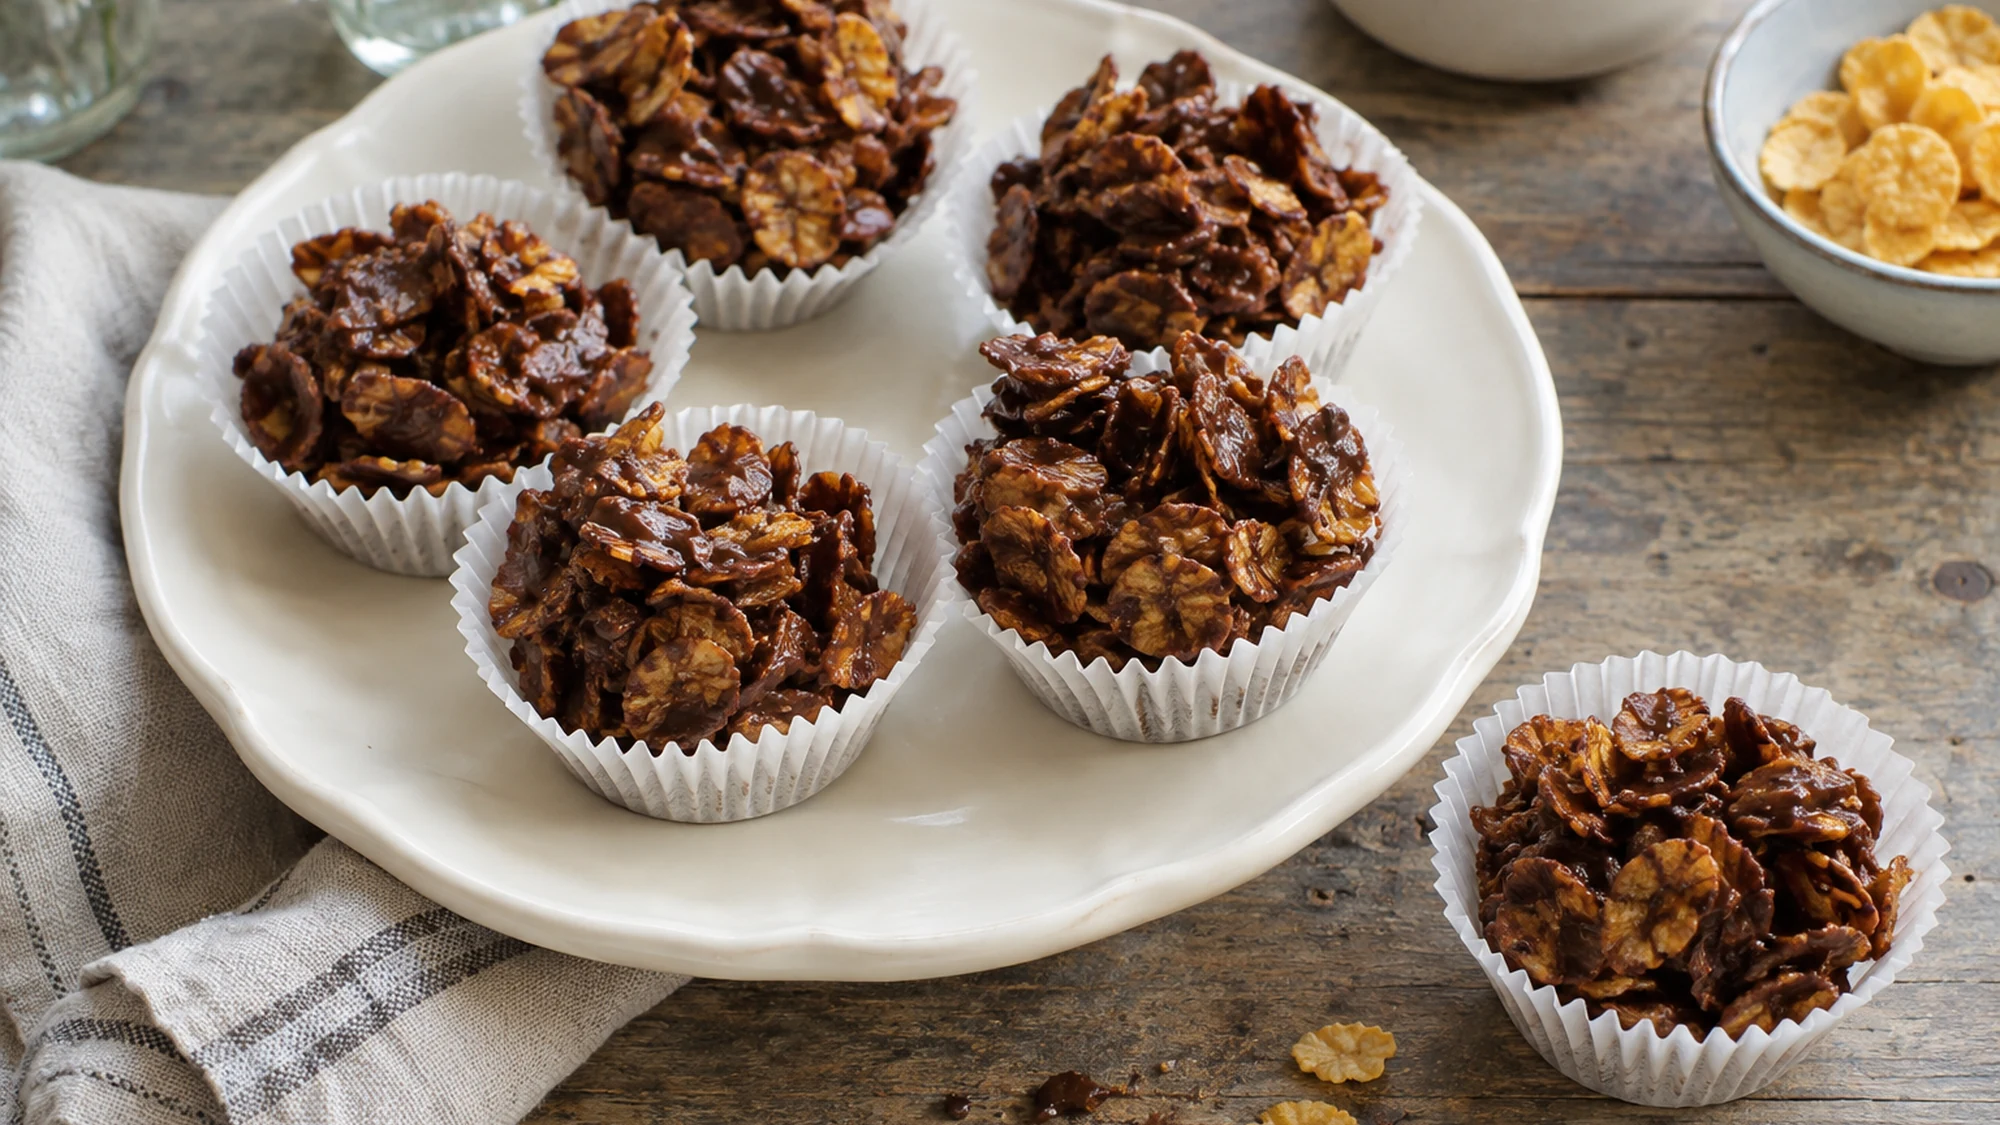
Cornflake cakes are the kind of no-bake treat that makes a kitchen feel instantly welcoming. You warm a little chocolate, butter and golden syrup, fold in crunchy flakes, then let the refrigerator do the setting. Each paper case holds a messy-looking, satisfying cluster: glossy chocolate between crisp ridges and a gentle snap when you take a bite. There is no oven timing to judge and no batter to beat.
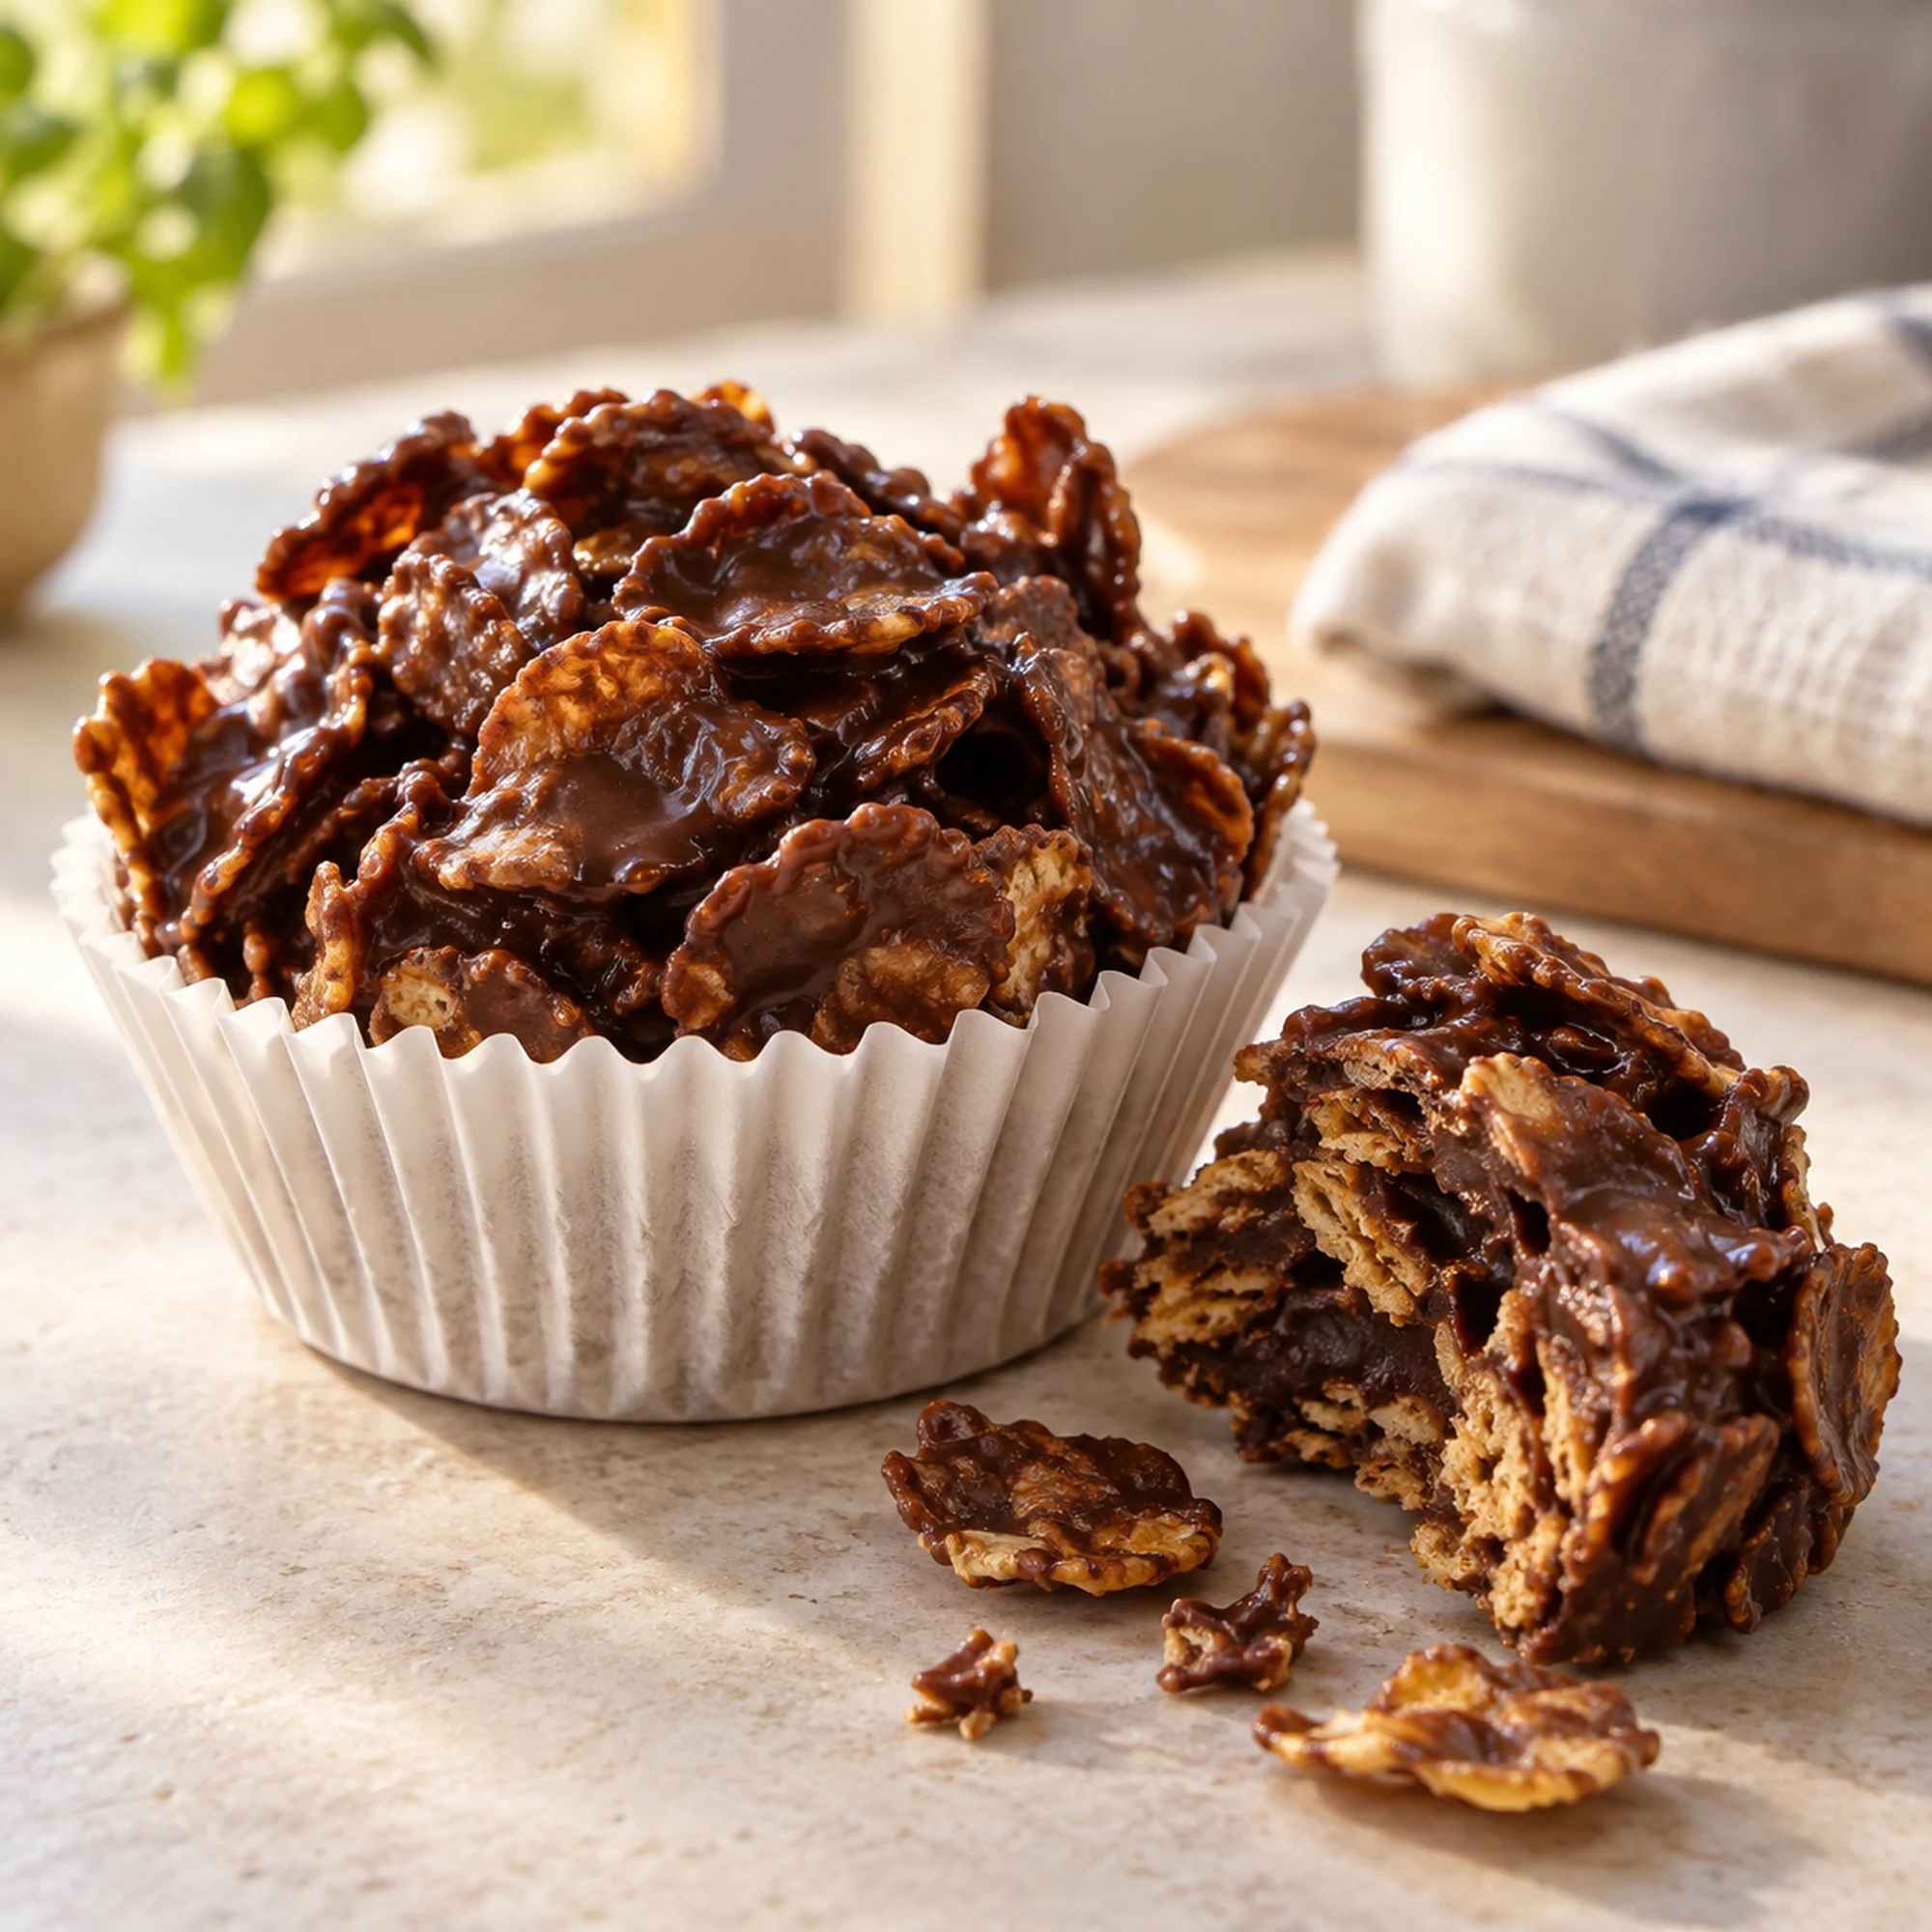
Keep the heat low and the fold gentle: glossy chocolate and intact flakes make the best little cakes.
This version makes 12 modest cakes with a half milk, half dark chocolate coating. The dark chocolate keeps them from tasting flat; the milk chocolate keeps the familiar sweet-treat feel. Golden syrup helps the coating cling, while a pinch of salt is optional but useful. The recipe card below has the measured ingredients, five steps and chilling time. If you enjoy cereal-based no-bake desserts, our soft Rice Krispie squares are another easy project.
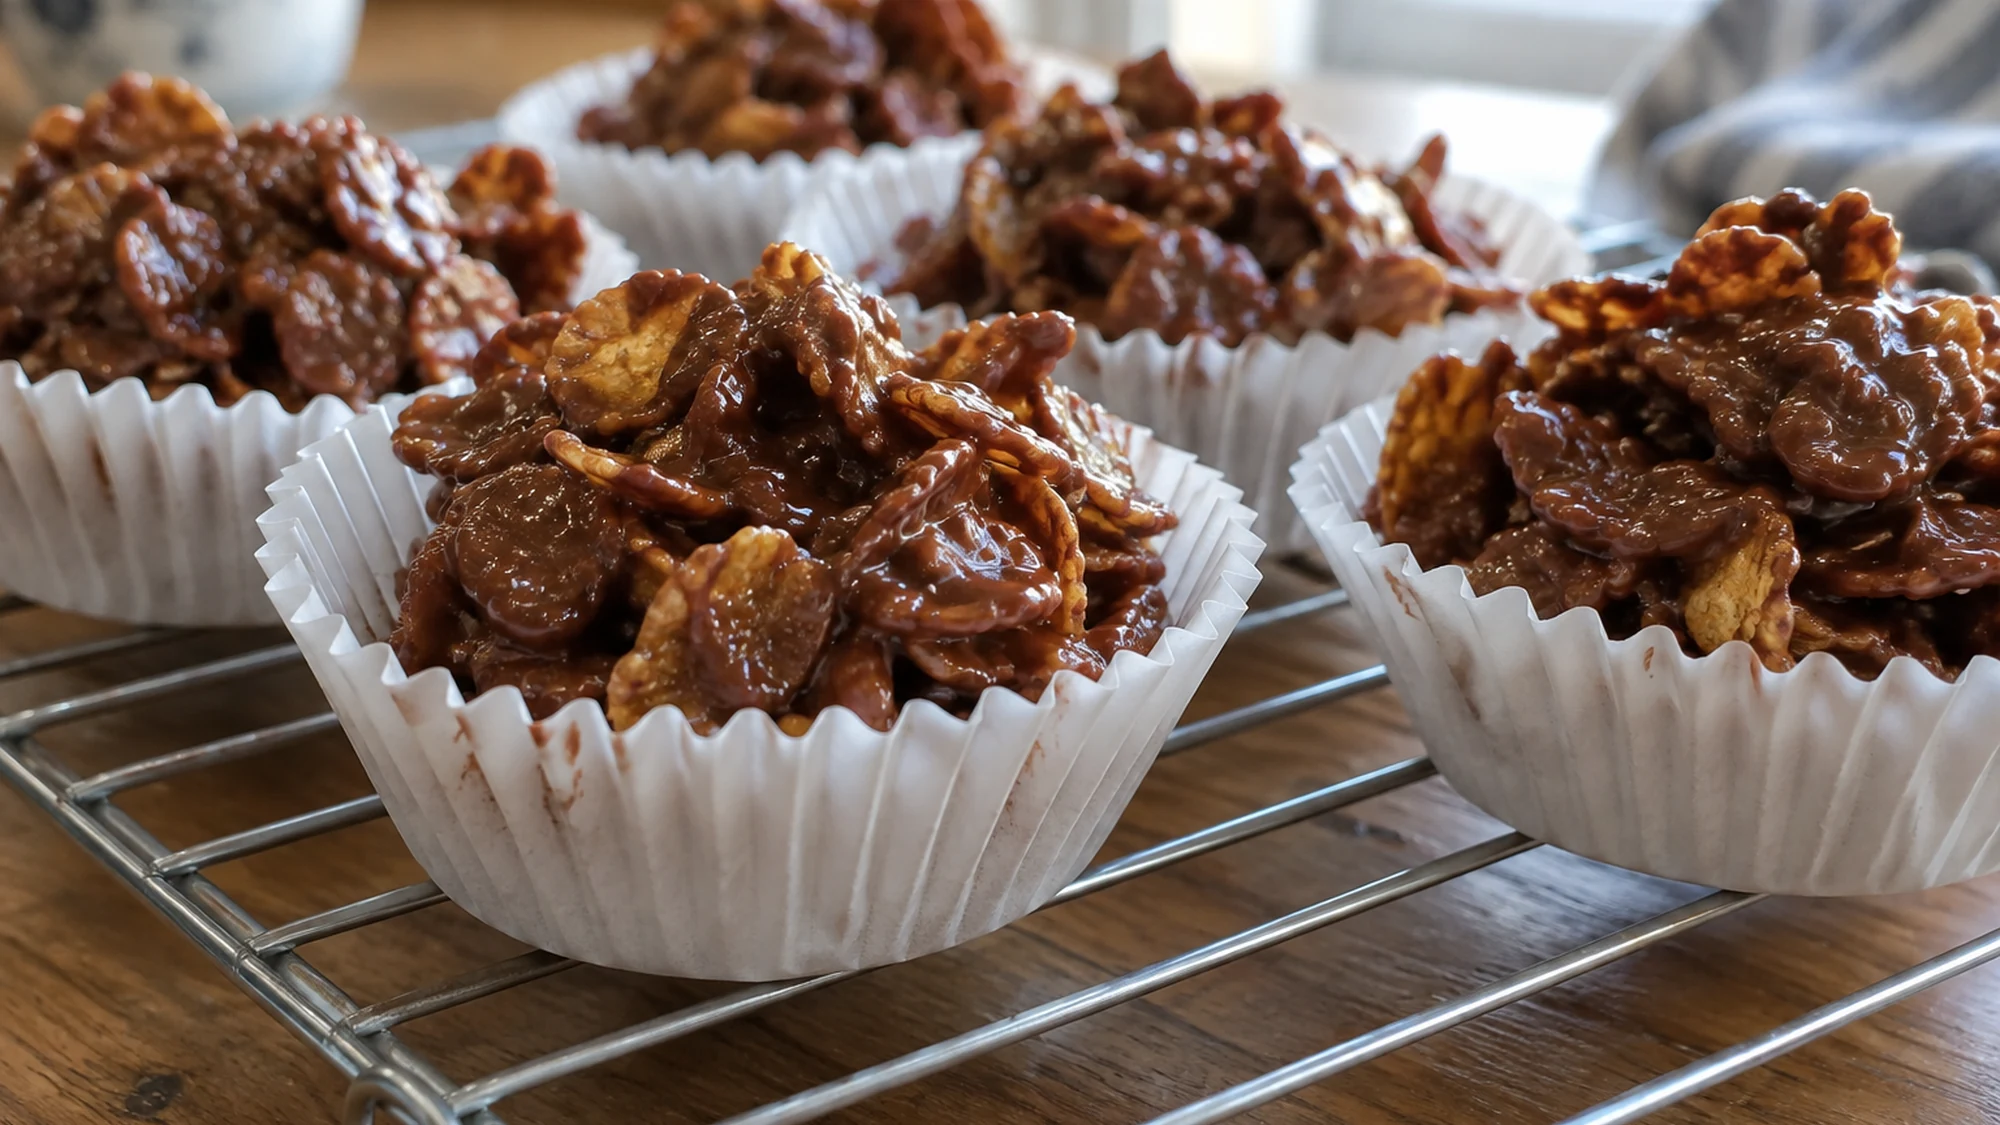
Serving suggestions for cornflake cakes
Bring the cakes out of the refrigerator about five minutes before serving if the chocolate feels very firm. They are lovely on a small dessert plate with tea or coffee. A bowl of fresh berries alongside gives the plate a brighter, juicier contrast without changing the cakes themselves.
For a children’s party, put the cakes on a tray while they are still in their liners. The liners catch the loose flakes and spare little fingers a coating of chocolate. If you are packing them for a picnic, use a rigid, lidded container and a cool bag; warmth can soften the coating and make the clusters stick together.
A few minutes at room temperature soften the first bite; a cool bag keeps the cakes neat on the move.
Variations that keep the crunch
Use the suggested 75 grams of milk chocolate and 75 grams of dark chocolate for a balanced batch, or choose all milk chocolate for a sweeter finish. With all dark chocolate, the result will taste more intense and may be slightly firmer straight from the refrigerator. Whatever you choose, chop the chocolate into similarly sized pieces so it melts at the same pace.
Plain, crisp cornflakes work best. Frosted flakes make the cakes much sweeter, and crushed cereal gives a denser texture, so fold with a broad spatula only until every flake is coated. If the chocolate mixture seems very hot, let it stand for a minute before pouring it over the cereal. That small pause helps protect the flakes from going soft.
Change the chocolate blend if you like, but preserve the measured cereal-to-coating ratio for clusters that hold.
Health benefits and practical balance
These are dessert cakes, made with chocolate, butter and syrup, so they are best enjoyed as a treat. Their small, individual portions make it easy to serve one at a time, and the simple ingredient list lets you see exactly what goes into each batch. Choosing plain cornflakes avoids adding a sweet coating to the cereal before the chocolate goes on.
Food allergies matter here. Cornflakes may contain gluten through malt flavoring, and chocolate can contain milk or traces of nuts; check the packages if you are serving someone with an allergy or intolerance. For safe storage, keep the cakes in an airtight container in the refrigerator for up to five days. A cool serving temperature also keeps the chocolate coating firm and the cereal pleasantly crisp.
This is a low-effort recipe, but it does ask for a little care around the saucepan. Warm the chocolate on the lowest heat and stir continuously, removing it as soon as smooth. Overheating can make chocolate seize or scorch; rushing the folding can crush the flakes. Those two moments are where the texture is won.
Treat-sized portions and an honest ingredient list make these easy to enjoy on their own terms.
Why make a batch today
Cornflake cakes suit an afternoon when you want the satisfaction of making something sweet without turning on the oven. The active work is brief, the equipment is basic, and a muffin tin holds the cases upright while they set. Put the tray in the refrigerator, clear the counter, and you can come back to a dozen little chocolate clusters ready to share.
Start by lining the tin, then weigh the ingredients before melting anything. Once the chocolate is smooth, work gently and fill each case while the coating is still fluid. The full card below gives you the exact amounts and timings. If your cakes look a little uneven, that is part of their charm: the craggy edges are where the best crunch hides.
Line, melt, fold, fill, chill: five easy moves to a tray of chocolate crunch.
Cornflake Cakes Recipe

Ingredients
- 150 grams chocolate Use 75 grams milk and 75 grams dark chocolate, chopped.
- 60 grams unsalted butter Cut into small pieces.
- 2 tablespoons golden syrup For a glossy coating that holds the flakes together.
- 120 grams plain cornflakes Choose crisp, unsweetened flakes.
- 1 pinch fine salt Optional, to balance the sweetness.
Equipment
- 1 12-cup muffin tin To hold the paper cases upright.
- 12 paper cupcake liners Standard size.
- 1 Small saucepan For gentle melting.
- 1 Large mixing bowl For coating the cornflakes.
- 1 Silicone spatula For stirring and folding.
- 1 Kitchen scale For the chocolate, butter and cornflakes.
Instructions
- Line a 12-cup muffin tin with 12 paper cupcake liners.
- Put the chopped chocolate, butter and golden syrup in a small saucepan. Warm over the lowest heat, stirring constantly, just until smooth. Remove from the heat immediately so the chocolate does not scorch.
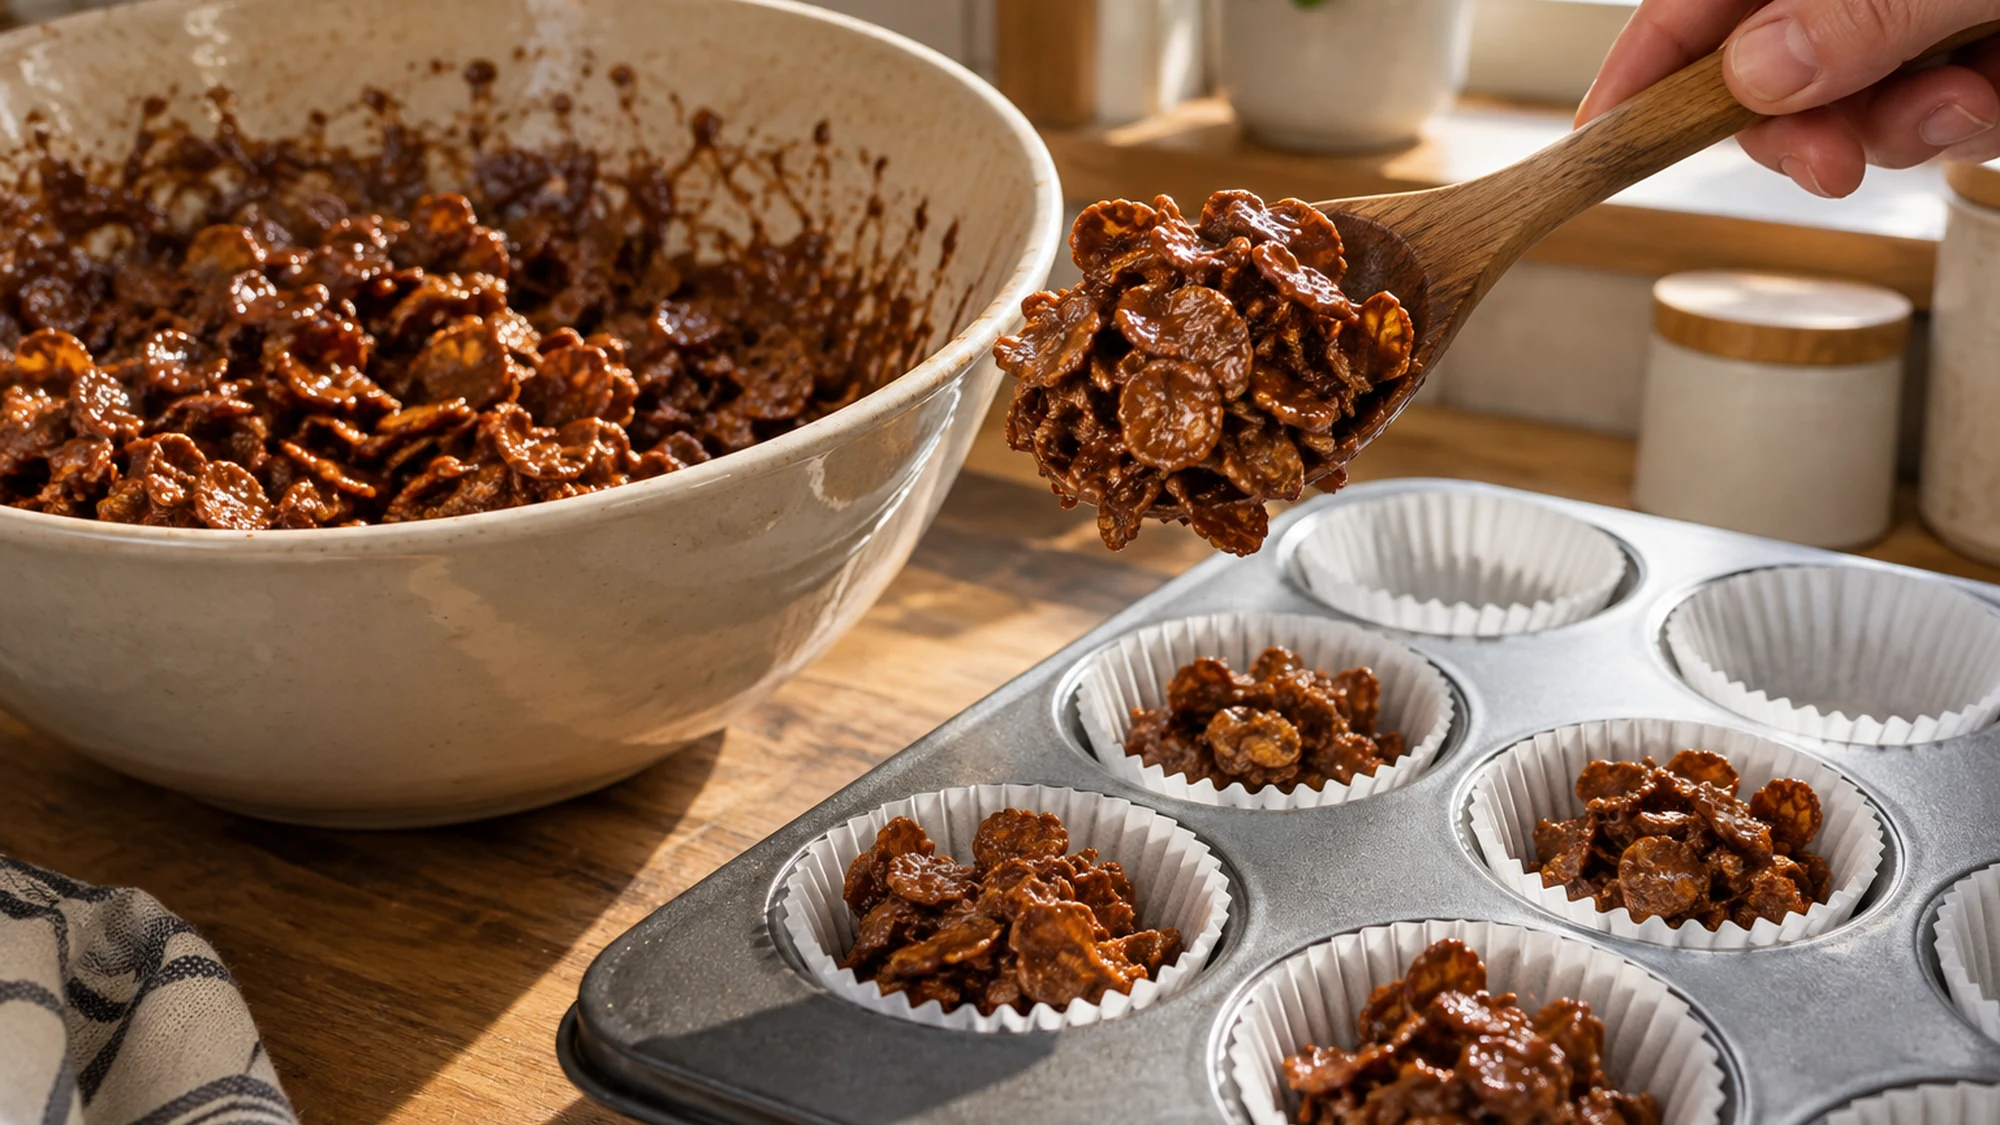
- Put the cornflakes in a large mixing bowl. Pour the warm chocolate mixture over them, add the pinch of salt if using, and fold gently with a silicone spatula until the flakes are evenly coated without crushing them.
- Spoon the mixture evenly into the 12 lined cups, pressing each mound very lightly so it holds together while keeping the flakes airy.
- Refrigerate for 45–60 minutes, until the chocolate is firm. Serve cold or let stand for 5 minutes for a slightly softer bite.
Video
Notes
Tried this recipe?
Let us know how it turned out!Emily Parker is DISHORA’s recipe-writing persona, bringing a warm, practical voice to everyday cooking. Her focus is simple ingredients, comforting flavors and clear steps that make a dish feel approachable. From cozy dinners to something sweet, Emily’s recipes invite readers to try something delicious and make it their own.