
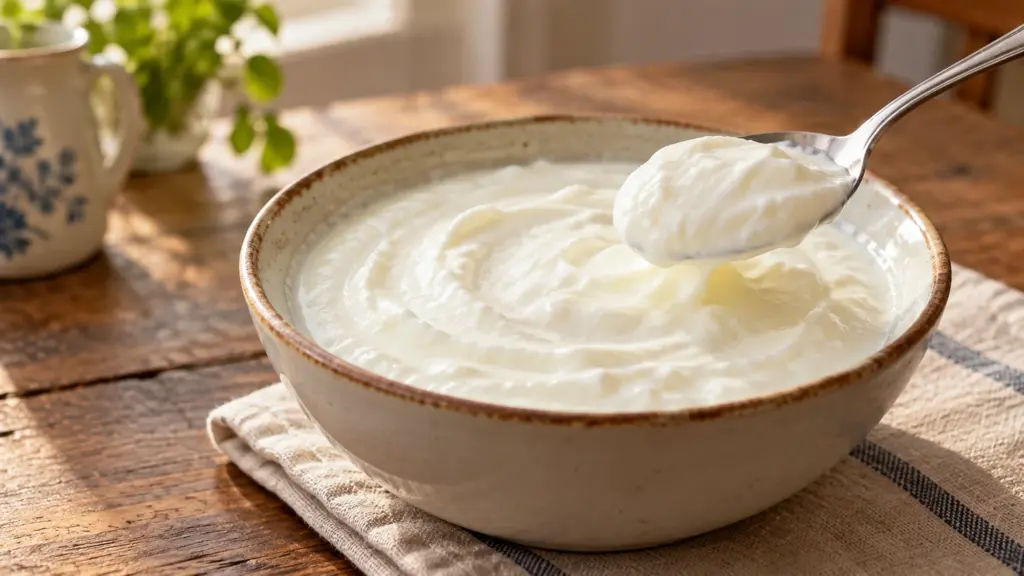
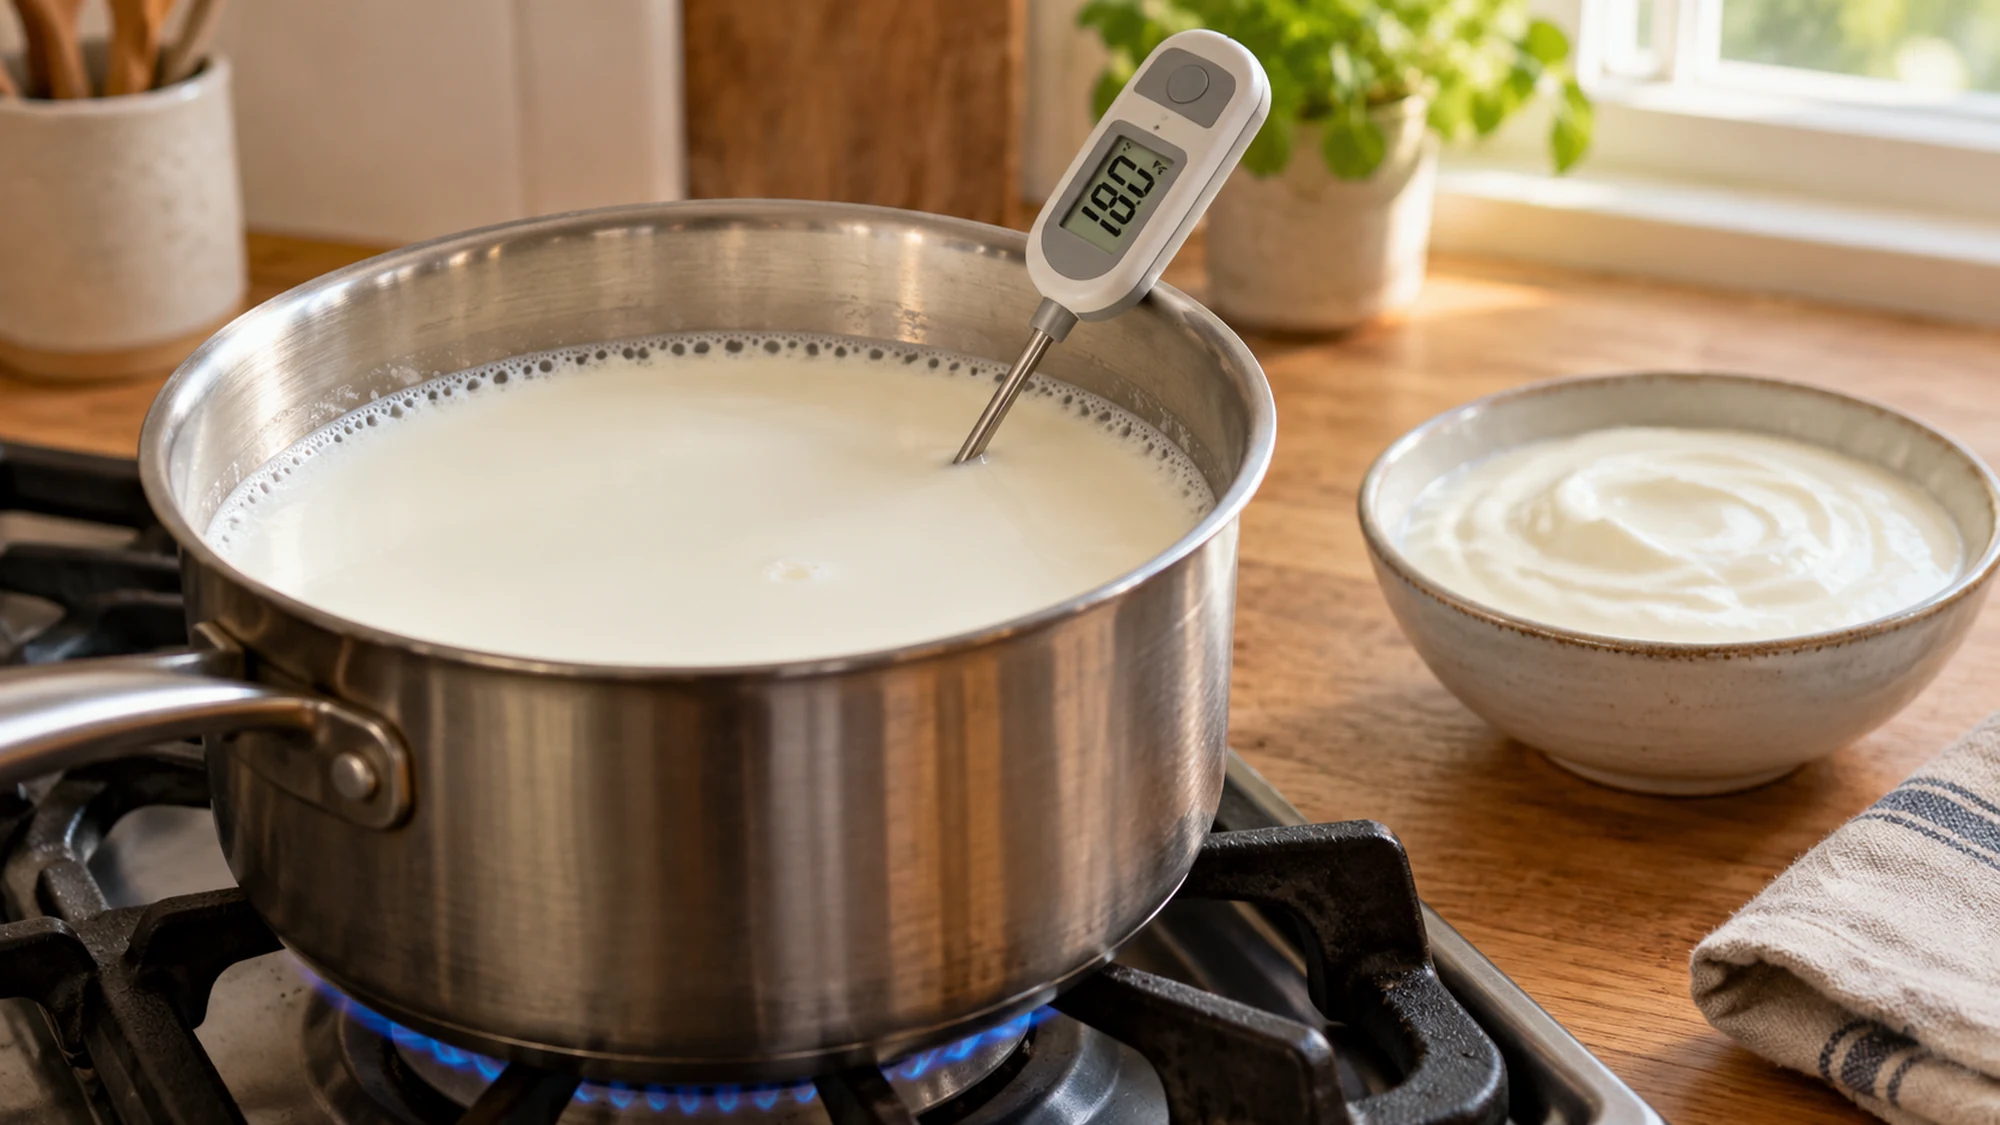
A saucepan of milk looks unremarkable at first, which makes the change into softly set yogurt especially satisfying. If you want to know how to make yogurt at home, the useful answer is controlled temperature: heat pasteurized milk, cool it before adding a fresh live-culture starter, then keep the mixture steadily warm. A thermometer earns its place here. Guessing with a finger is less helpful than it sounds.
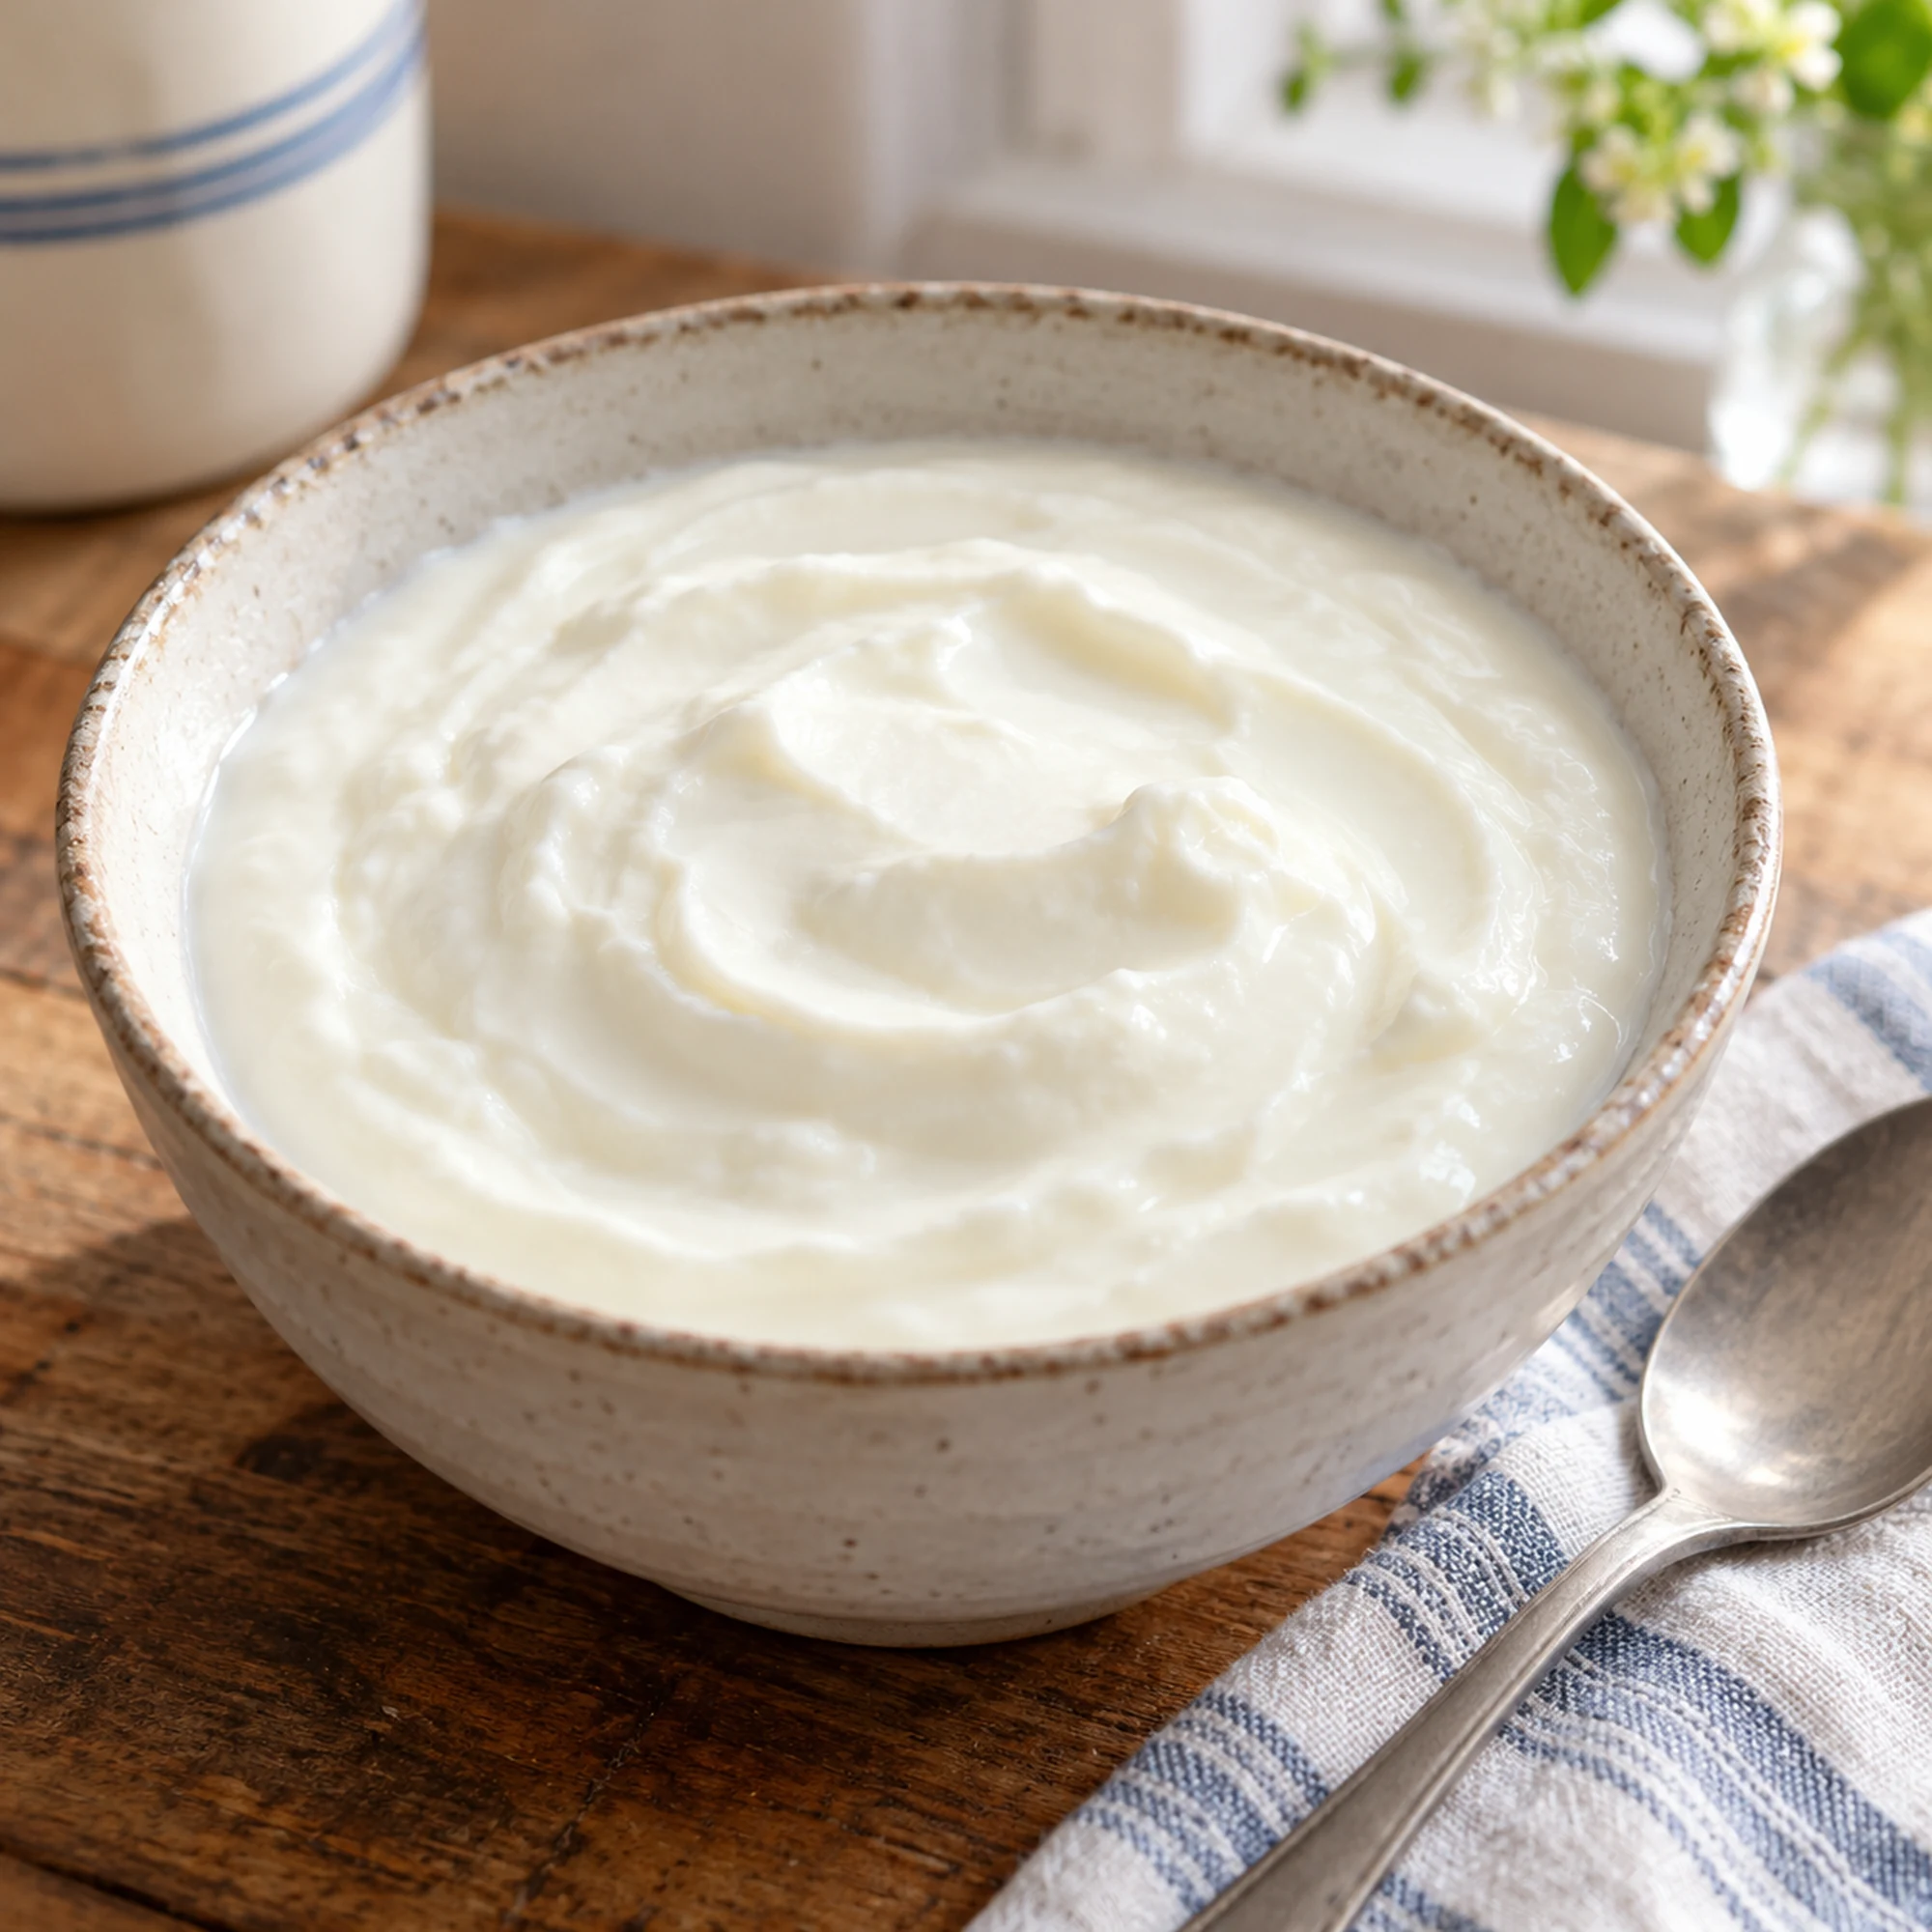
Use pasteurized milk, a fresh live-culture starter and steady warmth; chill the yogurt once it has properly set.
This version uses whole milk and makes roughly eight cups of plain, unstrained yogurt. Expect a gentle tang and a spoonable set, rather than the dense texture of commercially strained Greek yogurt. I prefer starting with an unflavored batch because it gives you more choices at breakfast and dinner.
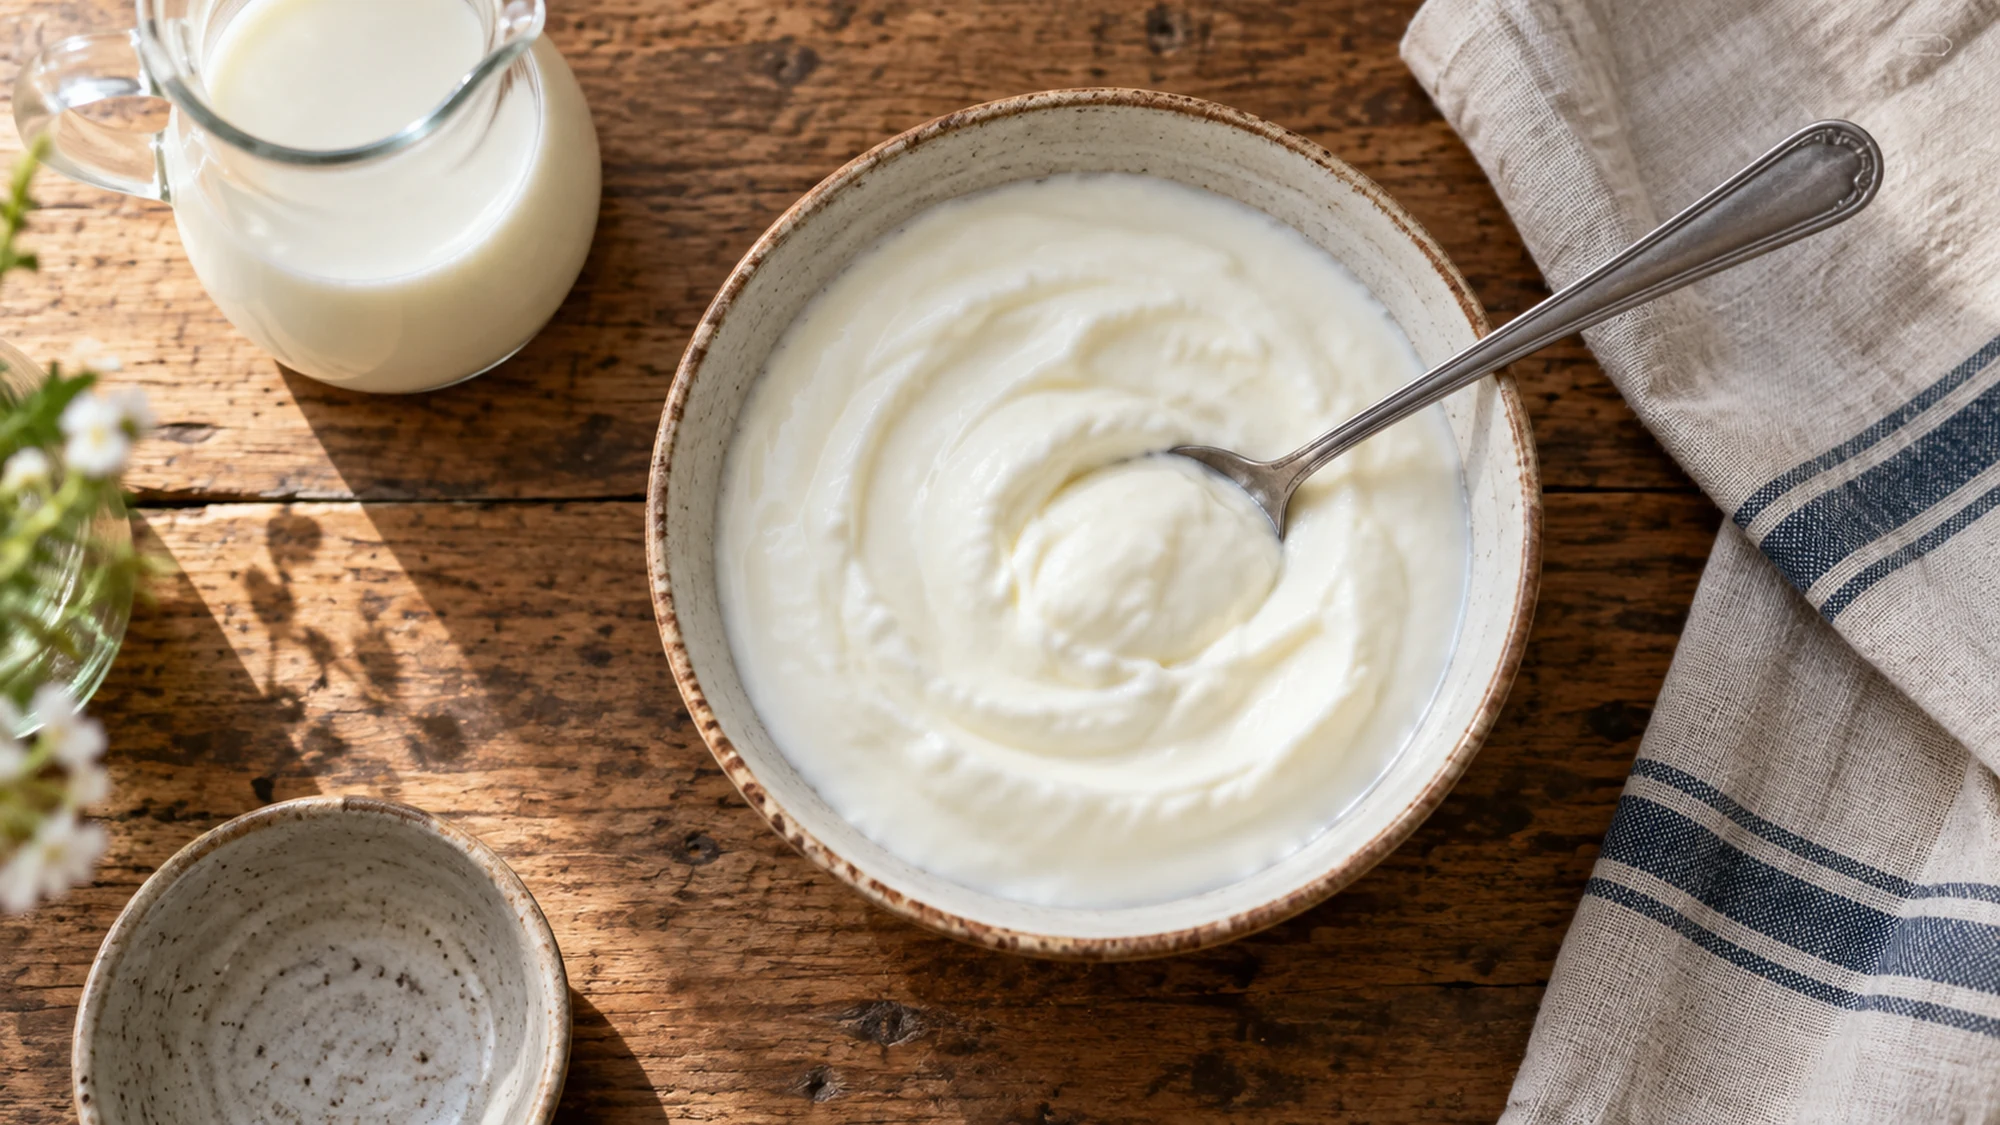
Serving suggestions for a plain batch
Cold yogurt is ready for more than a bowl of granola. Its acidity can soften a rich meal, while its mild dairy flavor gives fruit and spices room to stand out. Keep the main batch plain and add accompaniments to individual portions, so breakfast toppings do not decide what the rest of the jar becomes.
- For breakfast: Add sliced fruit and oats just before eating. A crunchy topping stays more interesting when it has not spent the night soaking.
- For a savory bowl: Stir a portion with chopped cucumber and herbs. Keep these additions chilled and use clean utensils when serving.
- For a layered dessert: Strain a portion before considering yogurt biscuit cups, which uses thicker Greek yogurt. Ordinary unstrained yogurt will be thinner.
- For hot dishes: Add yogurt gently off the heat when appropriate. Boiling can make its proteins separate and leave a grainier sauce.
Flavor individual servings and keep the remaining yogurt plain, covered and cold for its next use.
Variations and what changes the set
Whole milk gives this recipe richness without extra ingredients. A different milk changes the result, and adding more starter is not a shortcut to thicker yogurt. Choose fresh plain yogurt whose label confirms live and active cultures, rather than a flavored dessert. I’d give a reliable incubator priority over a fancy jar; keeping the temperature stable matters more than presentation.
- Lower-fat milk: It can produce a lighter, less rich yogurt. Keep the same careful temperature control and expect texture to vary with the milk.
- Strained yogurt: Strain a chilled portion through clean cheesecloth in the refrigerator. Removing whey reduces the yield and changes the nutrition per cup.
- A milder finish: Check for a proper set within the incubation window. Leaving a finished batch warm longer increases tartness and can encourage whey separation.
- A failed batch: Discard yogurt that does not set properly, develops mold or smells abnormal. Do not try to rescue it with more warm incubation.
Change richness or thickness deliberately, but keep sanitation, a fresh starter and controlled incubation at the center of the method.
Health benefits in a realistic serving
Plain yogurt contributes dairy protein and calcium, but homemade does not automatically mean better nutrition. This whole-milk version also contains saturated fat and naturally occurring milk sugar. The card’s figures are estimates for unstrained yogurt; brand differences, evaporation and serving size affect the final numbers. Fermentation is not a reason to promise a treatment for digestive problems.
- Protein and calcium: Dairy foods can contribute both. Explore the role of dairy in a varied eating pattern.
- Added sugar: None is included in the base batch. Honey, jam or sweetened granola added later will change the sugar and energy content.
- Milk considerations: Yogurt still contains milk proteins and some lactose. It is unsuitable for a milk allergy, and lactose tolerance varies between people.
- Safe handling: Clean equipment and the heating-and-incubation sequence are essential. Refrigerate promptly after setting, at 40°F (4°C) or colder, and use within seven days.
Think of this as a flexible dairy food: useful protein and calcium, with portions, toppings and safe handling still worth attention.
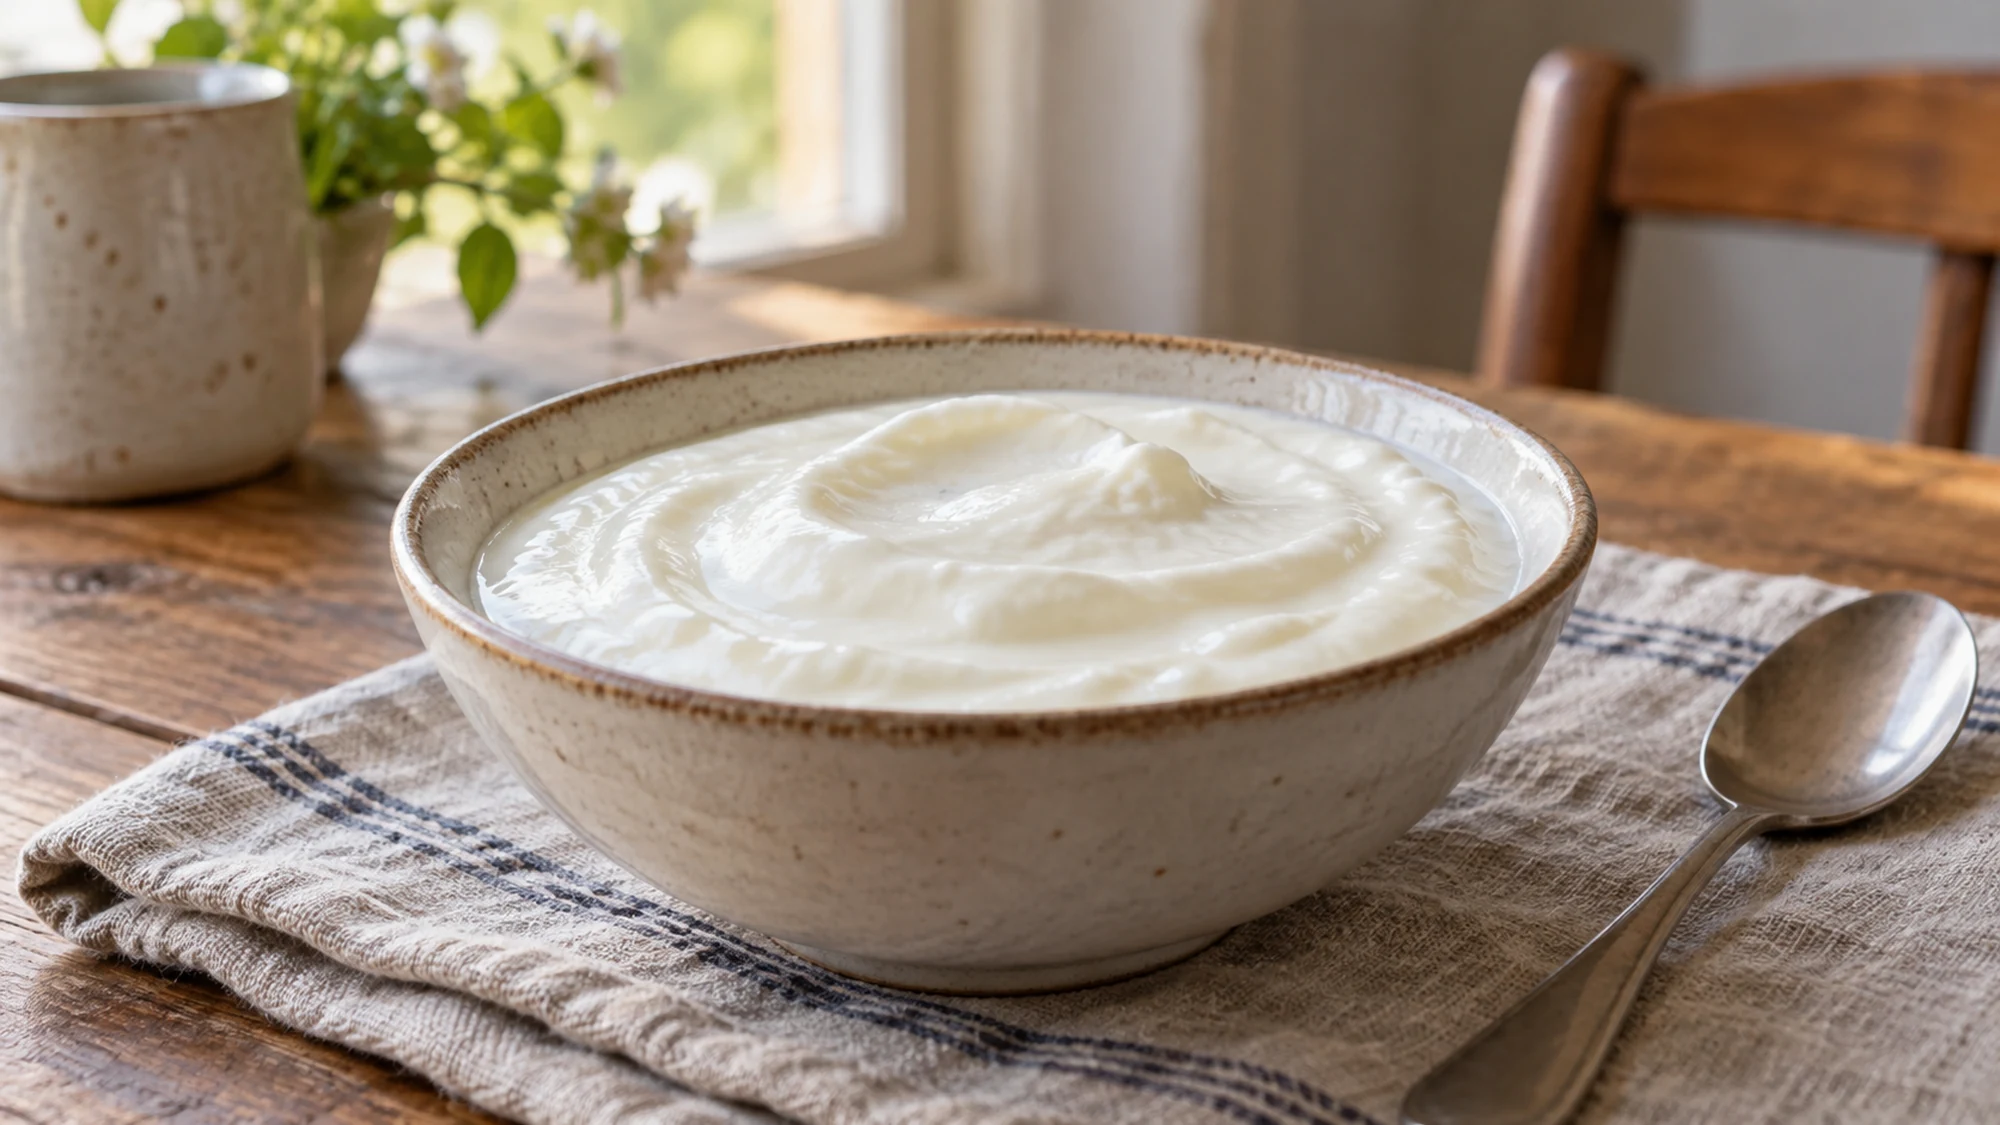
Make the waiting time work for you
Choose a day when you can monitor the temperatures and move the finished yogurt into the refrigerator without delay. Set out the clean equipment first, and read the full method before the milk goes on the stove. The incubation stage should be steady and undisturbed; repeatedly moving jars to inspect them does the set no favors.
Once chilled, begin with a small plain spoonful and decide how you want to serve it. A little clear whey on top can be stirred back in. You do not need a cupboard full of special ingredients: a dependable starter, careful temperature readings and a patient refrigerator finish give this simple project its direction.
How to Make Yogurt at Home Recipe

Ingredients
- 2 quarts pasteurized whole milk 8 cups / 1.9 L
- 1/2 cup plain whole-milk yogurt 120 g; fresh, with live and active cultures
Equipment
- 4-quart heavy saucepan
- Food thermometer
- Whisk and small bowl
- Heat-safe glass jars and suitable lids
- Yogurt maker or incubator maintaining 110°F / 43°C
Instructions
- Wash hands and clean the work surface. Wash the heat-safe jars and utensils in hot soapy water, rinse, then sterilize them in boiling water for 10 minutes and air-dry. Prepare suitable clean lids according to their manufacturer’s directions. Set up an incubator that reliably maintains 110°F (43°C).
- Pour the pasteurized milk into the heavy saucepan. Heat gently, stirring frequently, to 185°F (85°C); hold around 185°F for 10 minutes without boiling. Stir carefully to avoid scorching.
- Cool the milk to 112–115°F (44–46°C), about 20–30 minutes; an ice-water bath can help. Whisk the starter with a little cooled milk in a small bowl, then stir it into the saucepan. The mixture should be about 110°F (43°C).
- Pour into the prepared containers, cover and incubate undisturbed at 110°F (43°C), within about 5°F (3°C), for 4–7 hours until properly set. Follow the incubator manufacturer’s operating directions and monitor temperature. Discard a batch that fails to set properly.
- Refrigerate the set yogurt promptly at 40°F (4°C) or colder for at least 4 hours before serving. Makes approximately 8 cups; divide into 8 roughly 1-cup servings.
Nutrition
Video
Notes
Tried this recipe?
Let us know how it turned out!Emily Parker is DISHORA’s recipe-writing persona, bringing a warm, practical voice to everyday cooking. Her focus is simple ingredients, comforting flavors and clear steps that make a dish feel approachable. From cozy dinners to something sweet, Emily’s recipes invite readers to try something delicious and make it their own.