
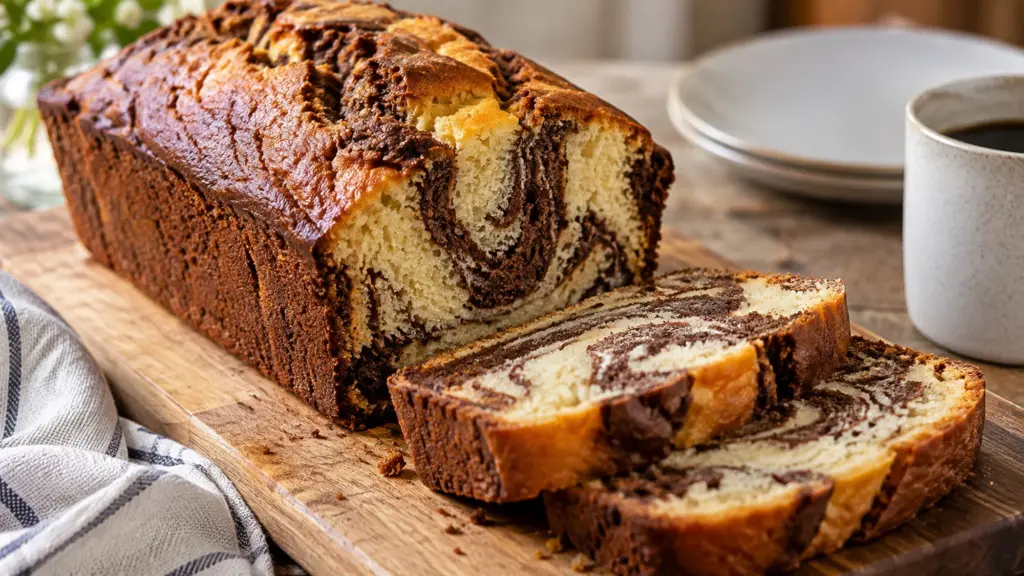
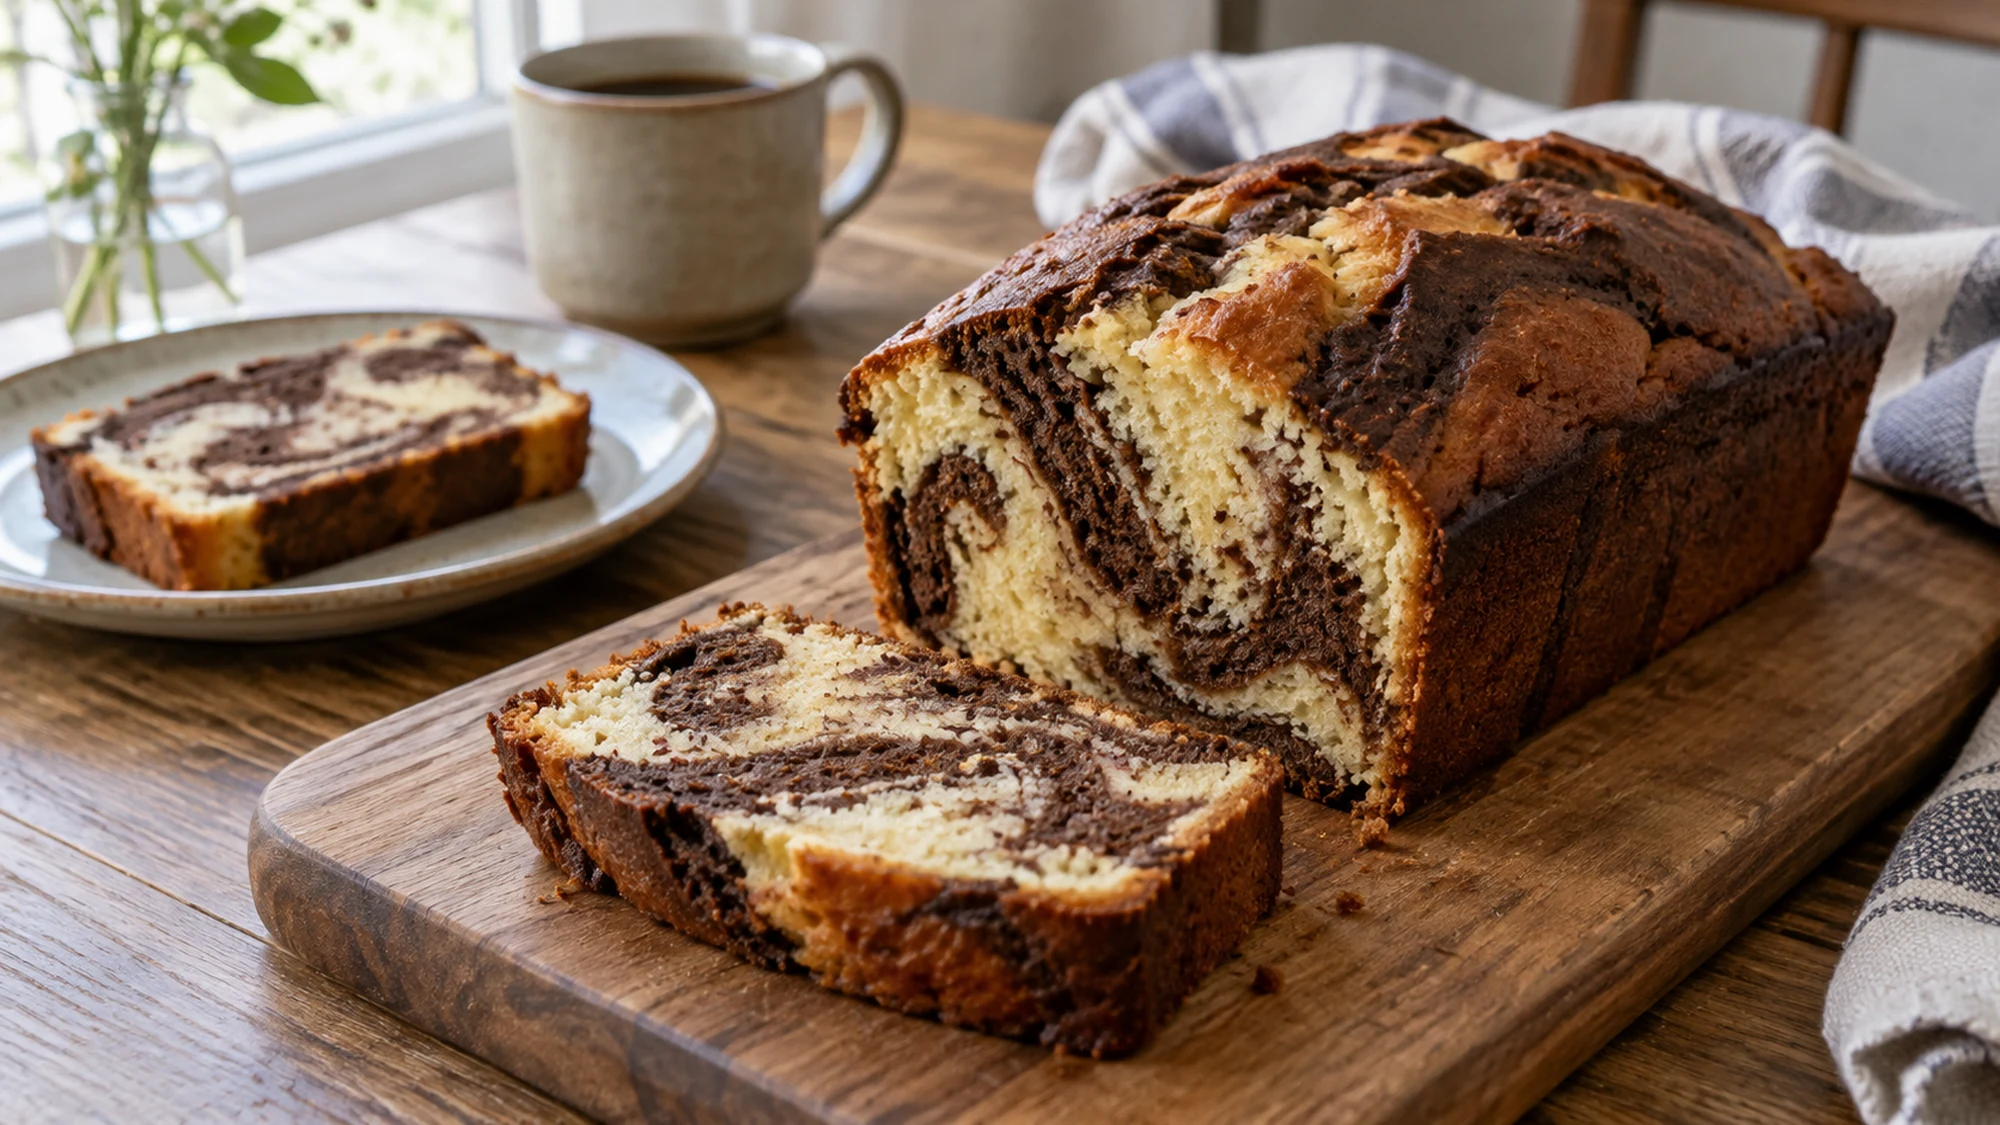
Cutting into a plain-looking loaf and finding chocolate ribbons inside is a small pleasure that never needs a special occasion. This loaf with a chocolate swirl starts with one vanilla batter, then turns a portion of it cocoa-dark before the two meet in the pan. The result is a tender marble quickbread with a golden crust and a different pattern in every slice.
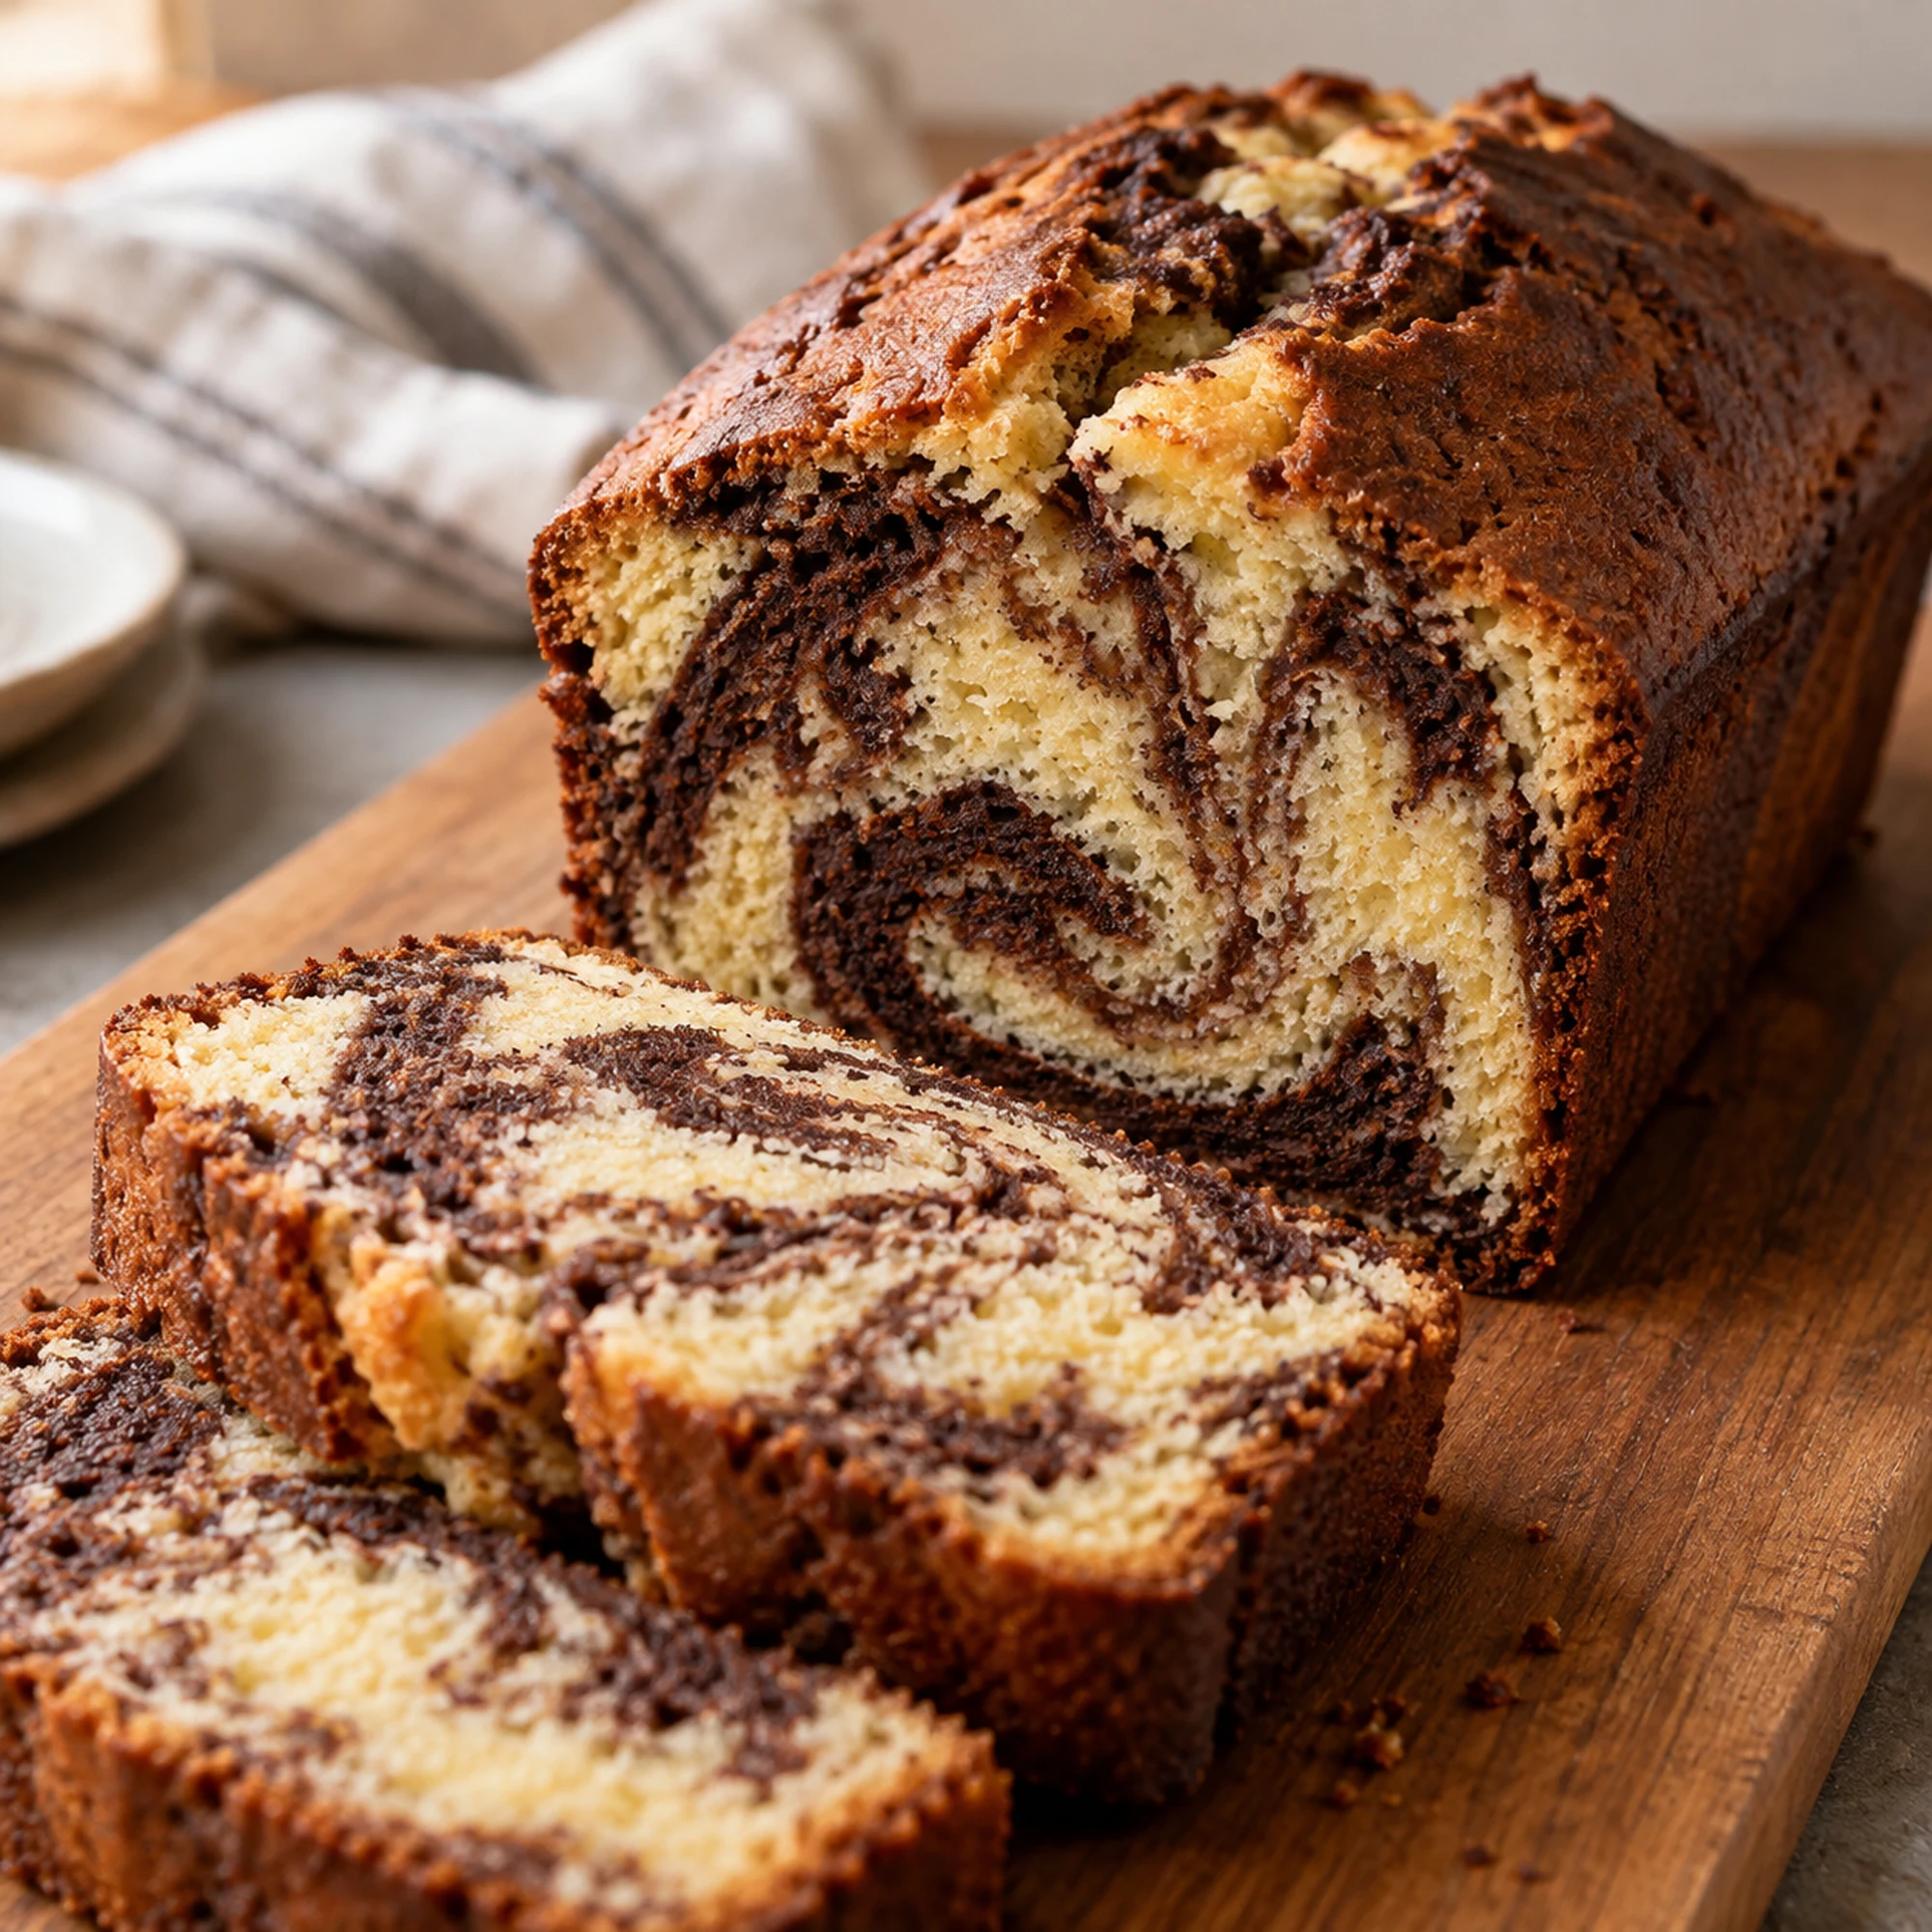
A few gentle passes through the batter make distinct ribbons; too much swirling blends the colors together.
The method keeps the baking practical: soften the butter, mix the base batter and add cocoa to a smaller portion. Hot water helps the cocoa become a smooth paste instead of dry pockets. I prefer leaving the loaf unglazed so the vanilla and chocolate stay easy to taste. The most useful cues are a springy center and a skewer without wet batter, rather than a perfectly smooth top or a particular swirl pattern.
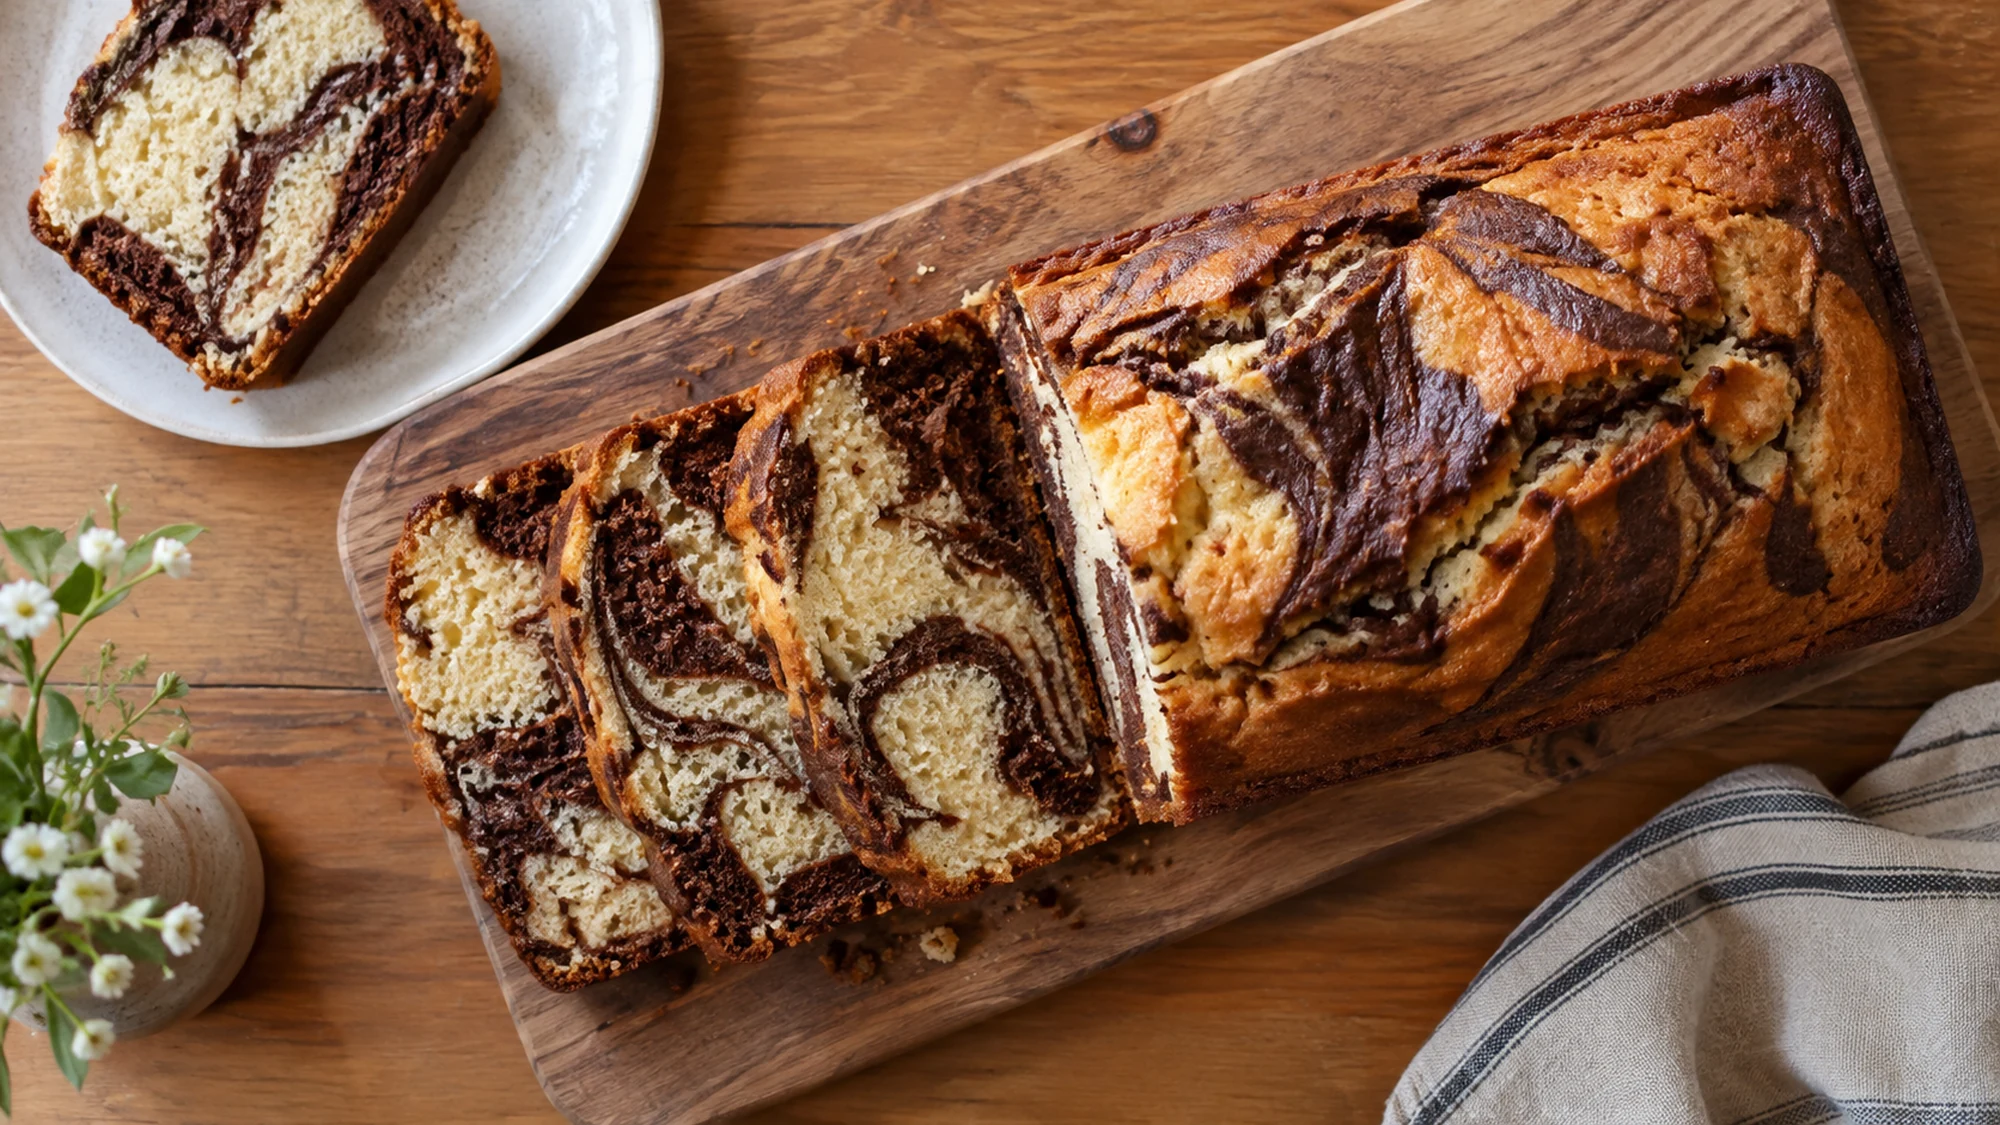
Serving a Loaf With a Chocolate Swirl
Let the loaf cool before slicing. Warm cake can feel wonderfully inviting, but its crumb is more delicate and may tear around the darker ribbons. A serrated knife and a gentle sawing motion give cleaner pieces. The card divides the loaf into ten slices; cutting it thinner or thicker changes the serving size and the nutrition estimate.
- Serve a plain slice with iced coffee topped with cold foam, tea or milk.
- Add a small bowl of berries alongside rather than hiding the swirl under a topping.
- Cut thick slices into smaller pieces for a dessert platter.
- Wrap individual cooled slices before freezing so you can take out only what you need.
Store the fully cooled loaf in an airtight container at room temperature for up to two days in a cool kitchen, or refrigerate it for up to five days for good quality. Freeze well-wrapped slices for up to two months for good quality. Let a frozen slice thaw while still wrapped to retain moisture. Any fresh cream or fruit topping needs its own refrigerated storage.
Cool the loaf, slice gently and let the chocolate pattern be the decoration.
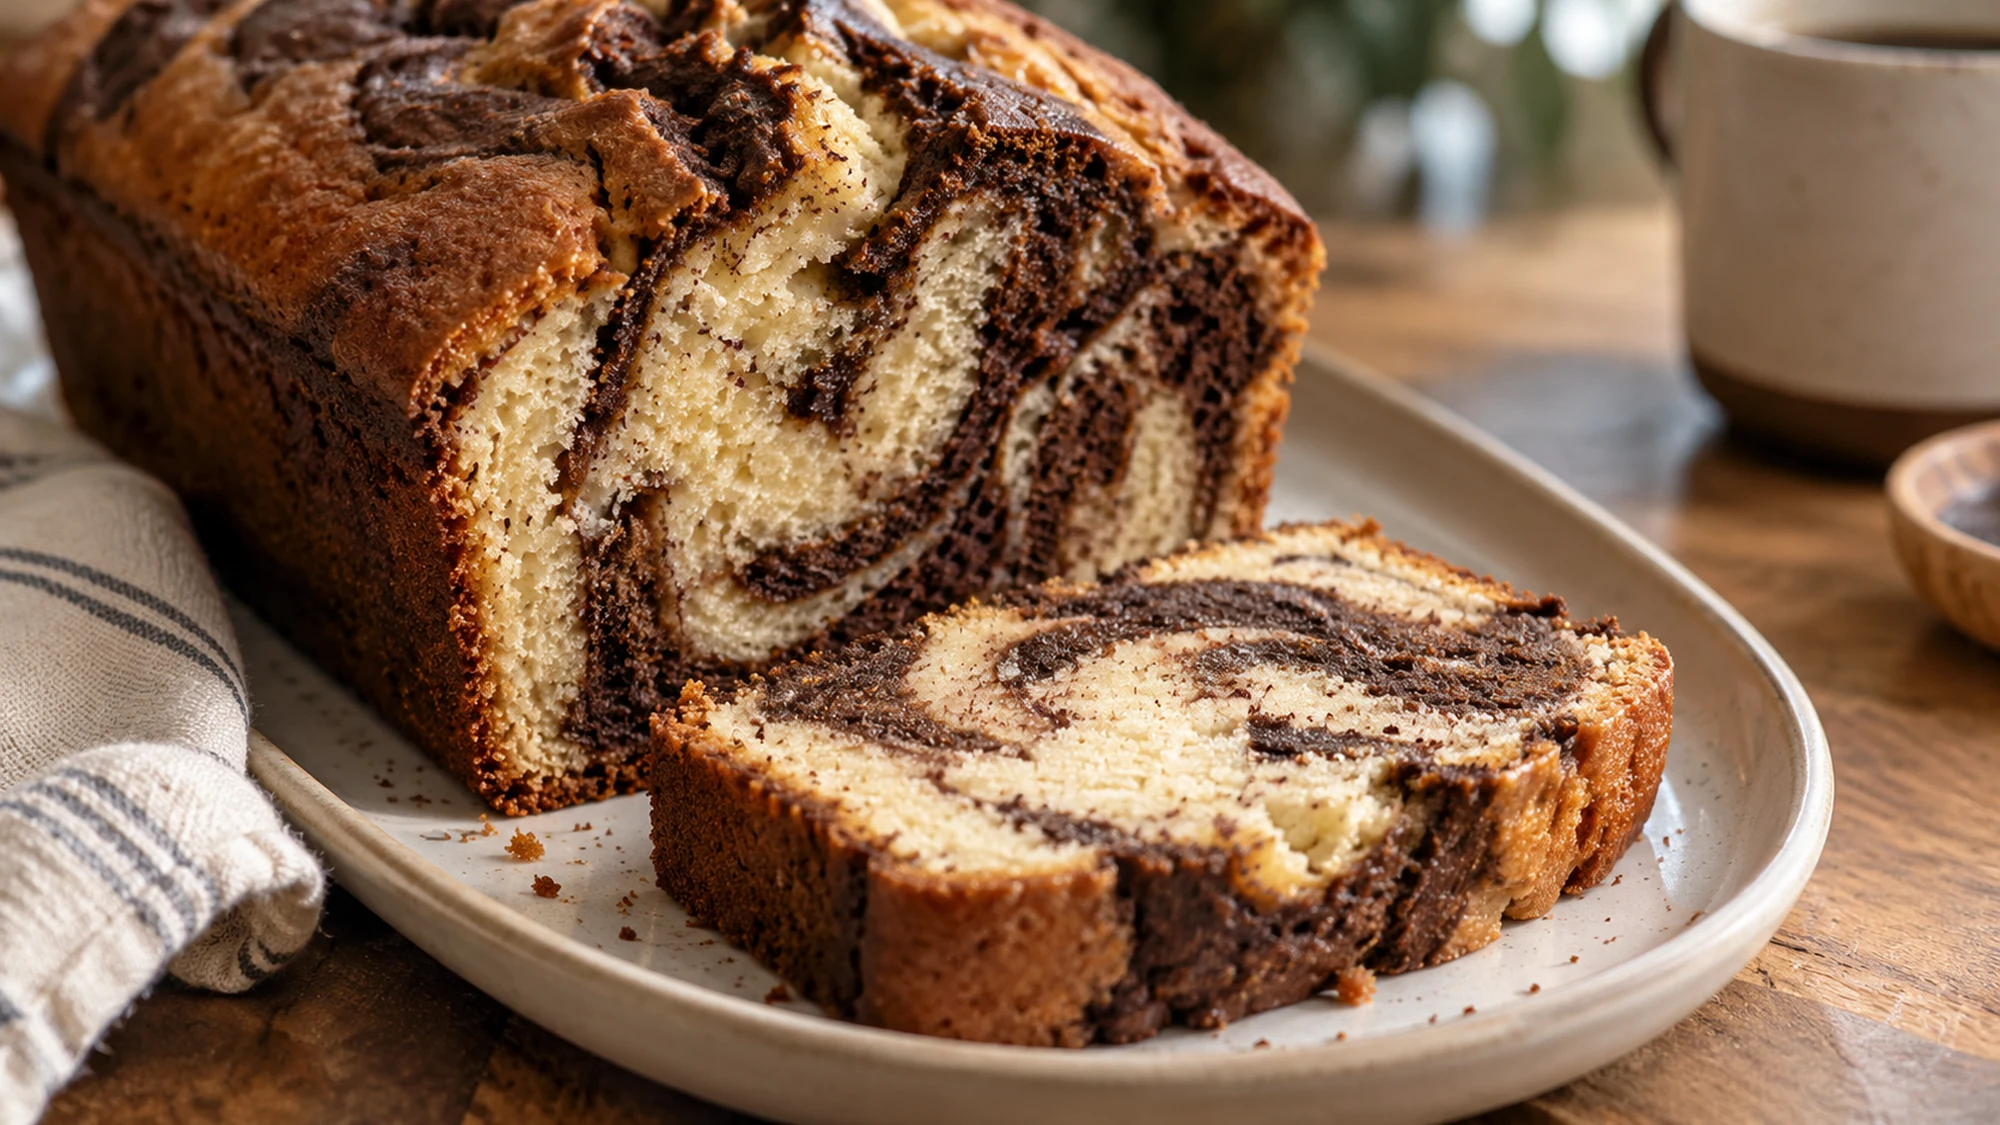
Change the Accent, Keep the Batter in Balance
A marble loaf does not need elaborate additions to feel different. Start with the stated quantities so the vanilla batter stays soft enough to meet the chocolate batter. Dry cocoa absorbs moisture, which is why the cocoa portion gets a little water. Stir that portion only until its color is even; extra mixing after the flour is added can make the crumb less tender.
- Add finely grated orange zest to the vanilla batter for a citrus note.
- Use a small pinch of instant espresso in the cocoa paste for a deeper chocolate accent.
- Leave the swirl broad with just two or three gentle passes of a butter knife.
- Choose natural or Dutch-process unsweetened cocoa here; baking powder supplies the leavening.
I would choose orange zest over a heavy glaze when serving this with tea. Keep optional additions modest and separate from the original card’s quantities. A smaller loaf pan can make the center slower to bake and increase the chance of overflow, so use the stated nine-by-five-inch pan. For measuring help, the ingredient weight chart explains why weighing flour is useful.
Give the two batters room to stay distinct, and keep optional flavors gentle.
Enjoying a Slice With Useful Nutrition Context
This is a dessert loaf made with flour, sugar and butter. Its role is pleasure and a satisfying slice, rather than a nutrition makeover. The card estimates about 254 calories per one-tenth of the loaf, including the cocoa mixture.
- Flour supplies most of the loaf’s carbohydrate and some protein.
- Butter contributes richness and fat that help the crumb feel tender.
- Eggs help provide structure as the batter bakes.
- Cocoa gives the darker batter its flavor without needing a chocolate coating.
The loaf contains wheat, eggs and milk, including the butter. It is not suitable for people who need to avoid those ingredients. Check packaged cocoa and other ingredients for your household’s allergy needs; the food-allergy guide gives practical label-reading information. Changing the flour or removing eggs is a separate recipe-development task, so a simple one-for-one substitution is not promised here.
A clear portion and familiar ingredients make this a straightforward dessert to enjoy.
Let the First Slice Reveal the Pattern
A few wide ribbons are enough, and the loaf still tastes like vanilla and cocoa even when one slice looks different from the next. Set out the butter before you begin, use the pan size in the card and leave enough time for cooling. The first clean slice will show you where those gentle swirls went.
Loaf With a Chocolate Swirl Recipe

Ingredients
- 1 3/4 cups all-purpose flour 210 g
- 1 1/2 teaspoons baking powder
- 1/4 teaspoon fine salt
- 1/2 cup unsalted butter 113 g; softened
- 3/4 cup granulated sugar 150 g
- 2 large eggs room temperature
- 2 teaspoons vanilla extract
- 1/2 cup whole milk 120 ml
- 3 tablespoons unsweetened cocoa powder 15 g
- 2 tablespoons hot water
Equipment
- 9-by-5-inch loaf pan
- Parchment paper
- Three mixing bowls
- Hand mixer
- Whisk
- Flexible spatula
- Butter knife
- Skewer
- Wire rack
- Aluminum foil, if needed
- Measuring cups and spoons
Instructions
- Heat the oven to 350°F (175°C). Lightly grease a 9-by-5-inch loaf pan with a little butter from the measured amount and line it with parchment, leaving overhang on the long sides.
- Whisk the flour, baking powder and salt in a bowl. In a small separate bowl, stir the cocoa and hot water into a smooth paste; allow it to cool slightly.
- Beat the remaining softened butter and sugar with a hand mixer for 2–3 minutes until pale and fluffy. Beat in the eggs one at a time, then the vanilla. Add the dry mixture in two additions, alternating with the milk, and mix on low only until no dry flour remains.
- Transfer about one-third of the batter to the emptied dry-ingredient bowl. Fold in the cocoa paste just until the color is even.
- Spoon the vanilla and chocolate batters alternately into the prepared pan. Draw a butter knife through the batter in 2–3 gentle, broad passes; avoid mixing the colors completely.
- Bake for 50–60 minutes, checking at 50 minutes, until the center springs back lightly and a skewer inserted into the center has no wet batter. If the top darkens too quickly, tent loosely with foil. Cool in the pan for 15 minutes, then lift out and cool on a wire rack for about 1 hour before cutting into 10 slices.
Nutrition
Video
Notes
Tried this recipe?
Let us know how it turned out!Emily Parker is DISHORA’s recipe-writing persona, bringing a warm, practical voice to everyday cooking. Her focus is simple ingredients, comforting flavors and clear steps that make a dish feel approachable. From cozy dinners to something sweet, Emily’s recipes invite readers to try something delicious and make it their own.