
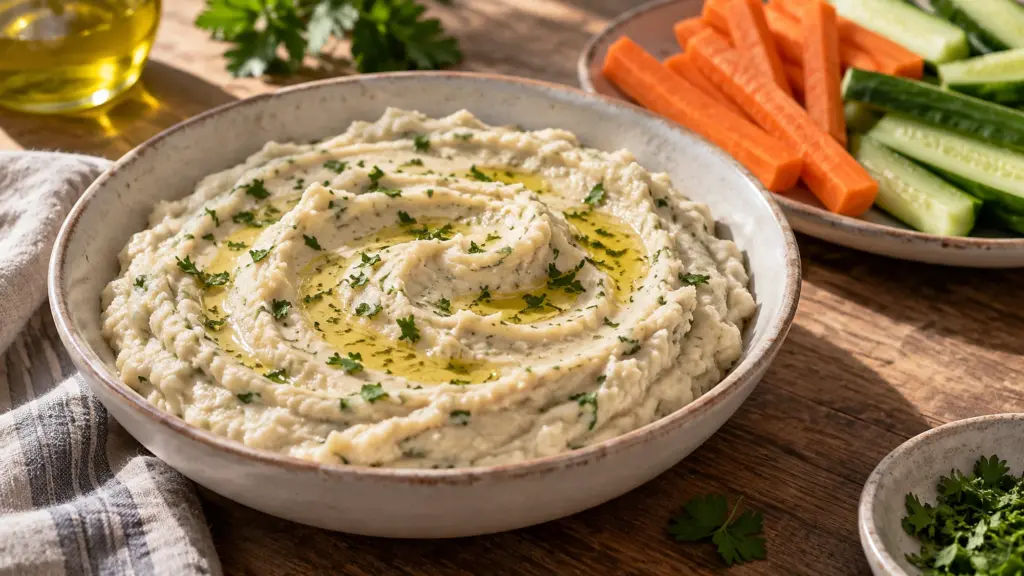
A good white bean dip should be smooth enough to spread and thick enough to cling to a carrot stick. Cannellini beans give it a creamy base without dairy, while lemon, garlic and olive oil keep the flavor lively. The small but important choice is how much water to add: too much at once turns a dip into a sauce.
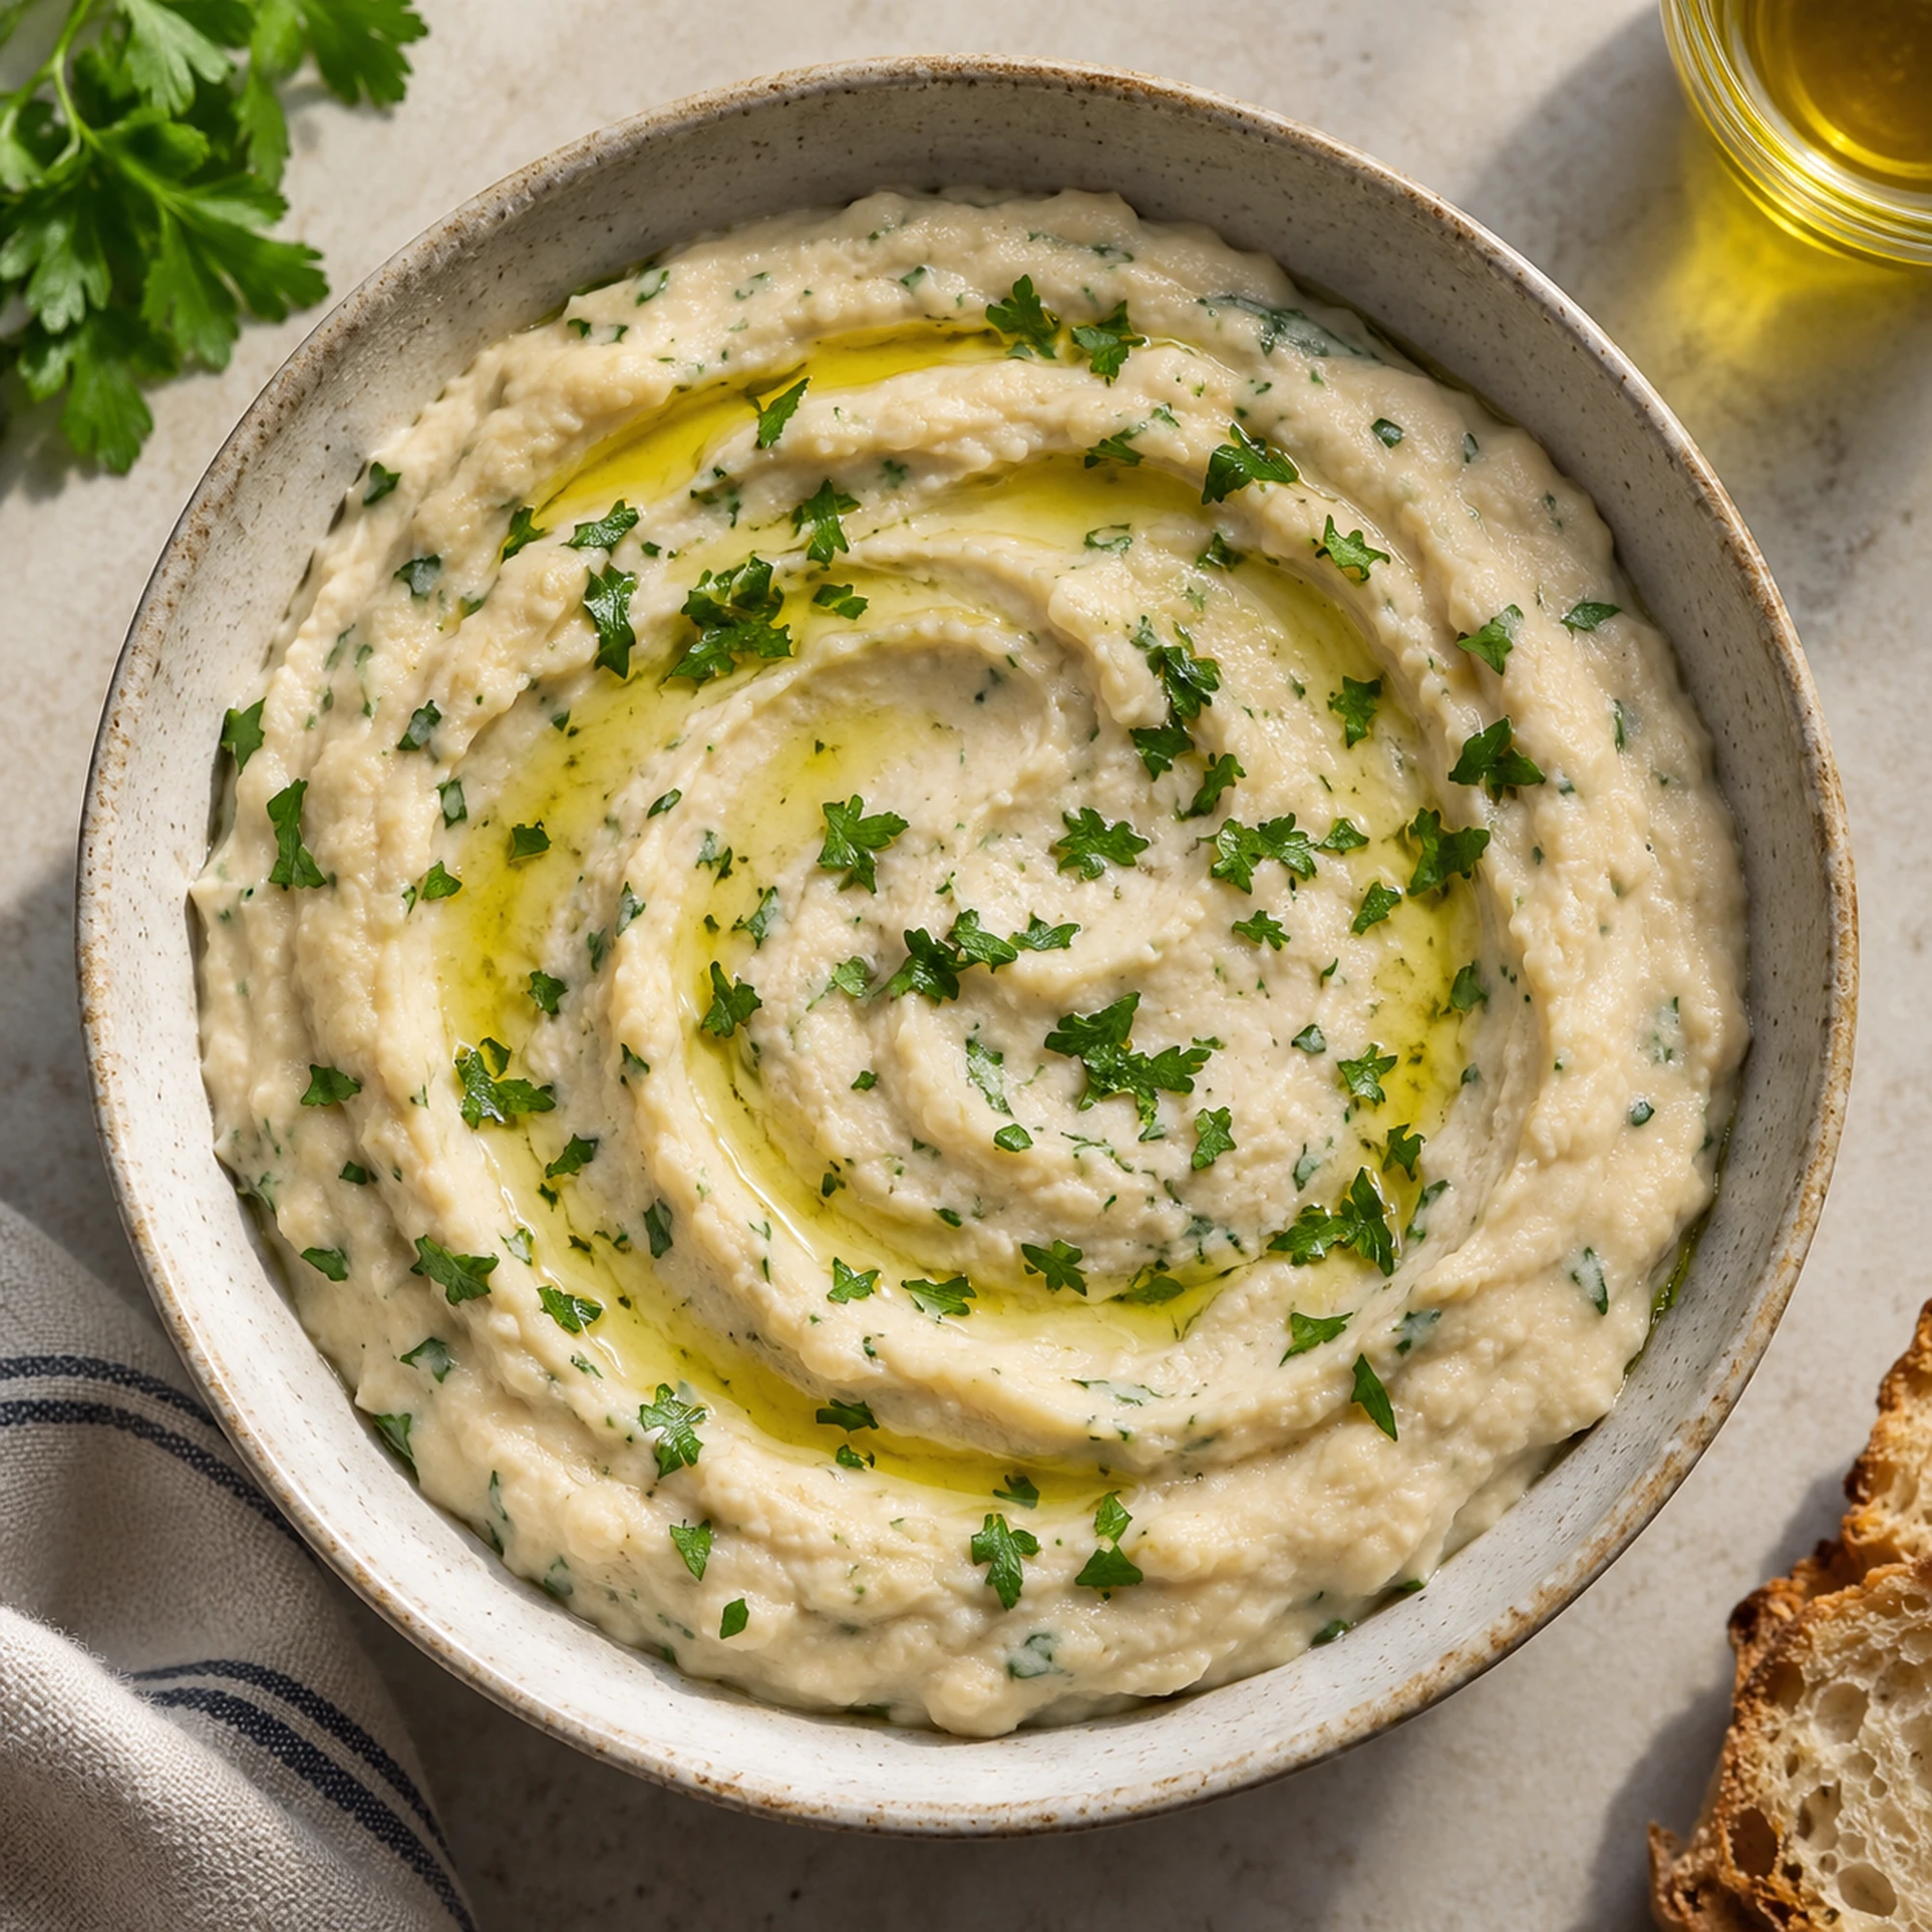
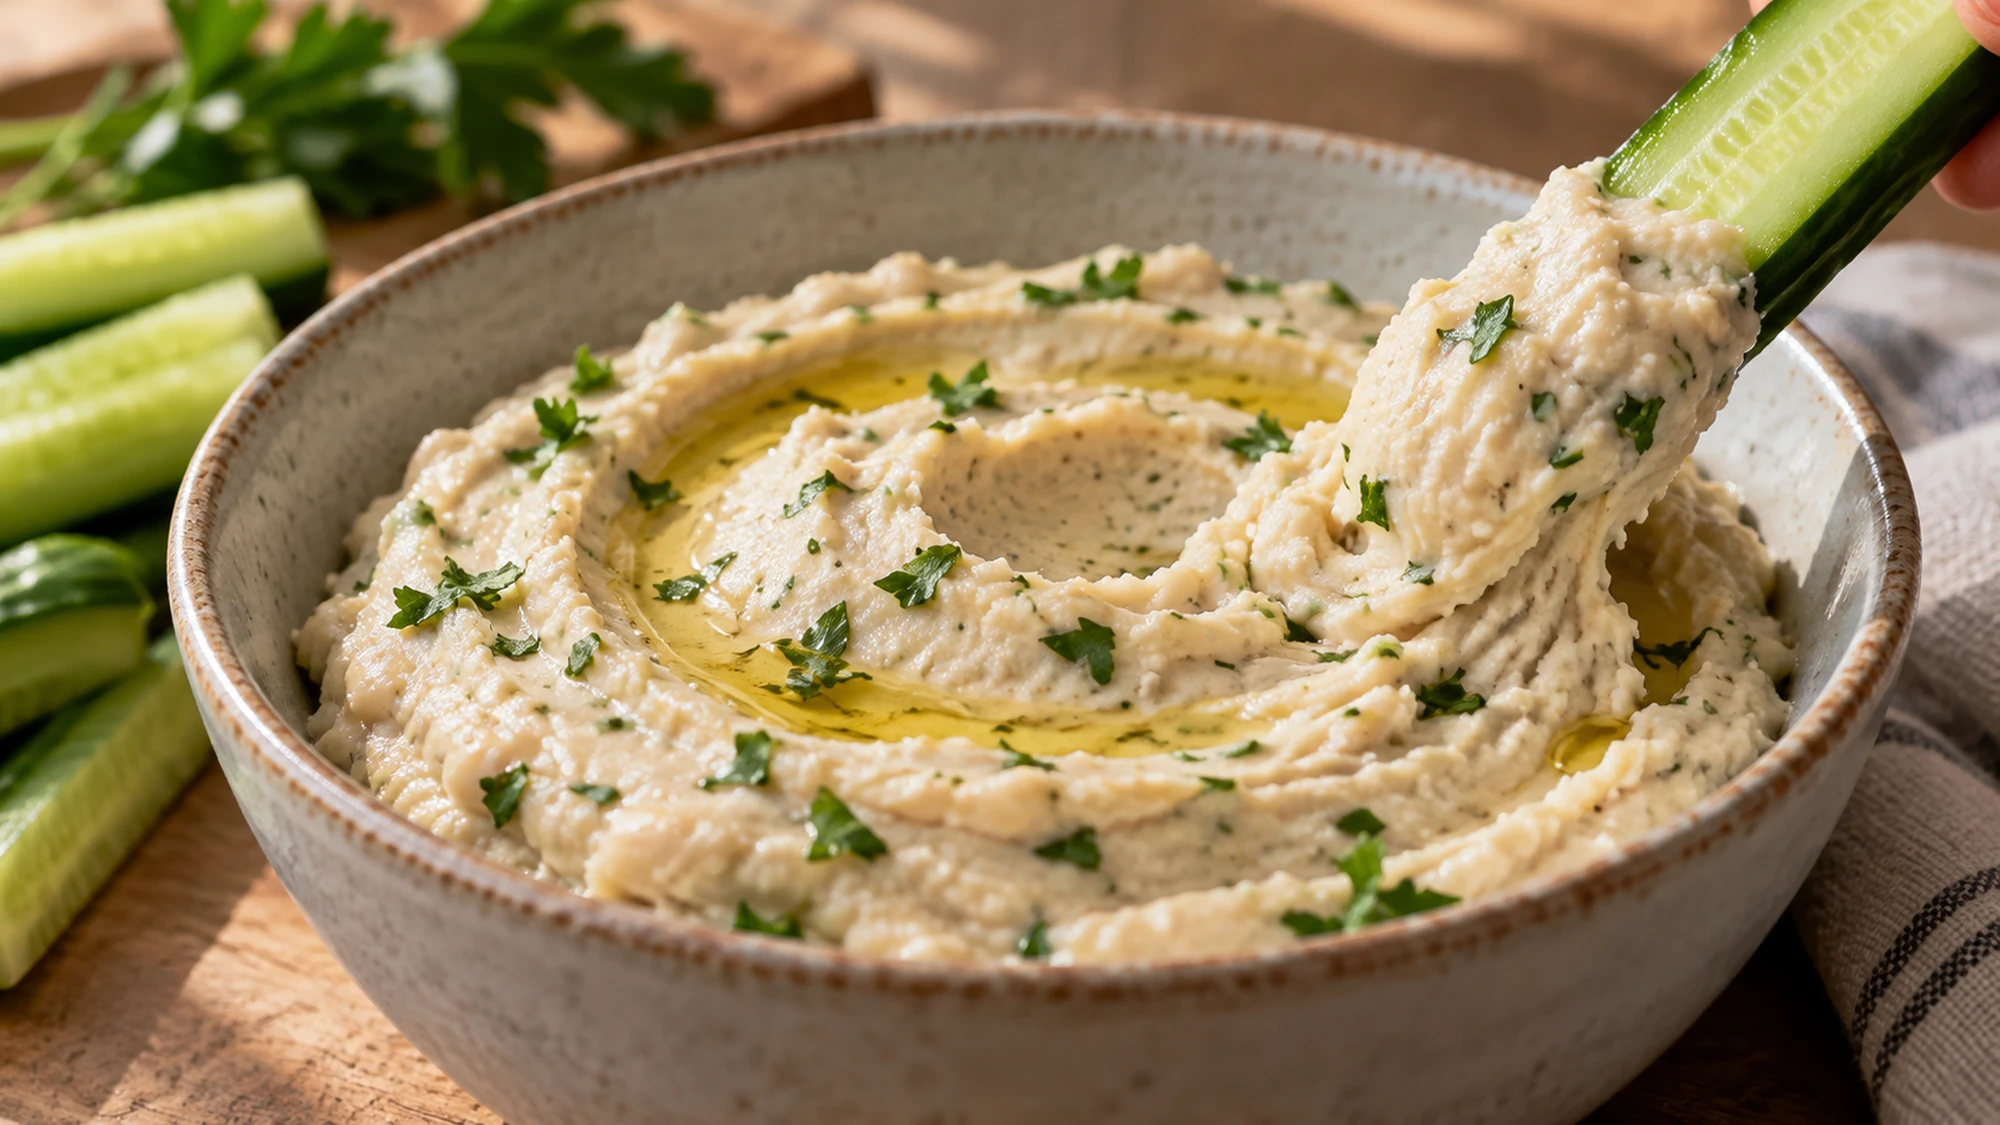
Blend first, then add cold water a tablespoon at a time. Stop when a vegetable stick lifts a generous scoop without the dip running off.
This recipe uses two cans of beans, rinsed and drained. Canned bean liquids vary in salt and thickness, so rinsing makes the starting point easier to judge. Process the beans with 1 1/2 tablespoons of the measured oil, lemon juice, zest, garlic and seasonings before reaching for water. Reserve the last 1/2 tablespoon oil for the surface, and scrape down the bowl to catch grainy pockets.
I like a little fresh parsley folded in and a little scattered across the top. It gives a clean finish without burying the beans under herbs. The dip firms slightly after refrigeration; a teaspoon of water can loosen leftovers if needed.
Serving suggestions for white bean dip
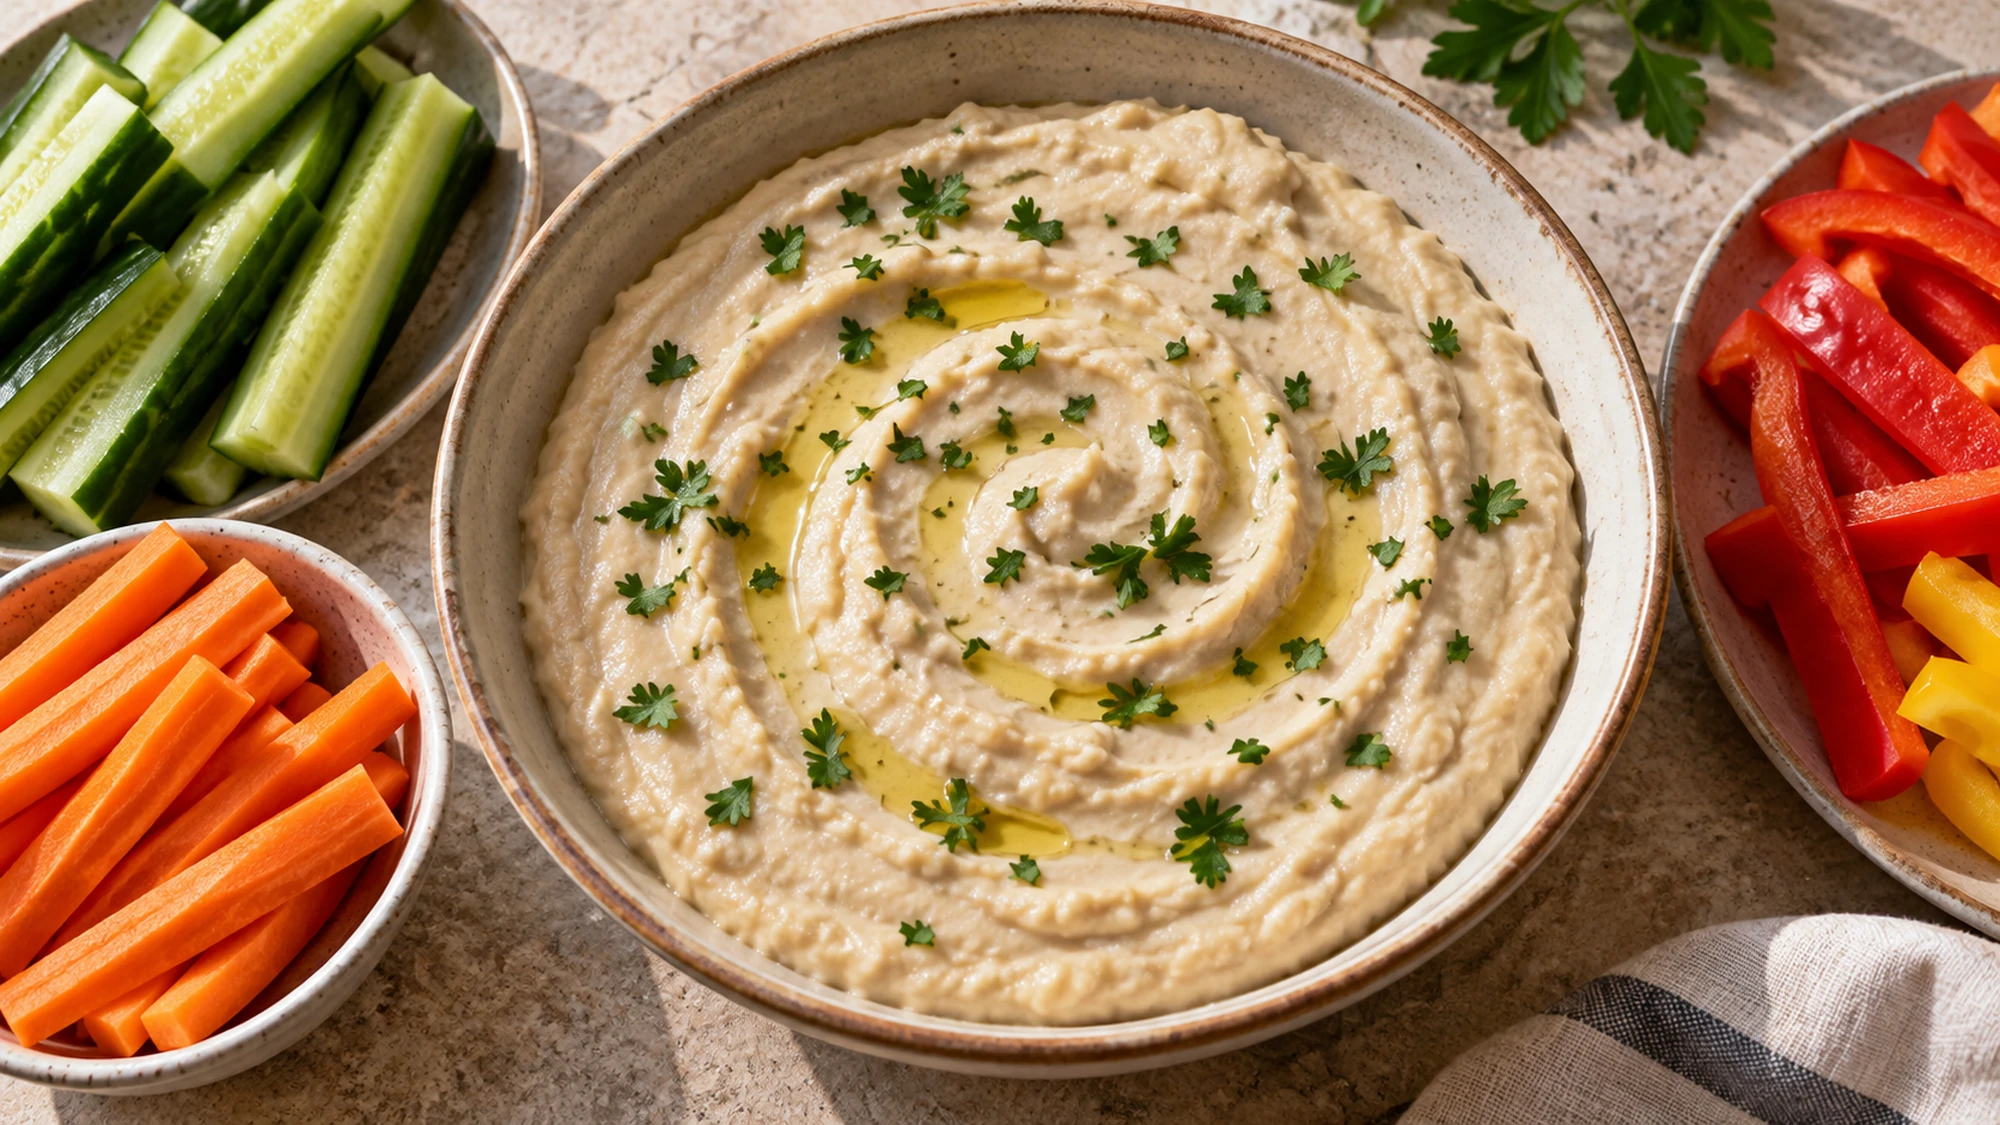
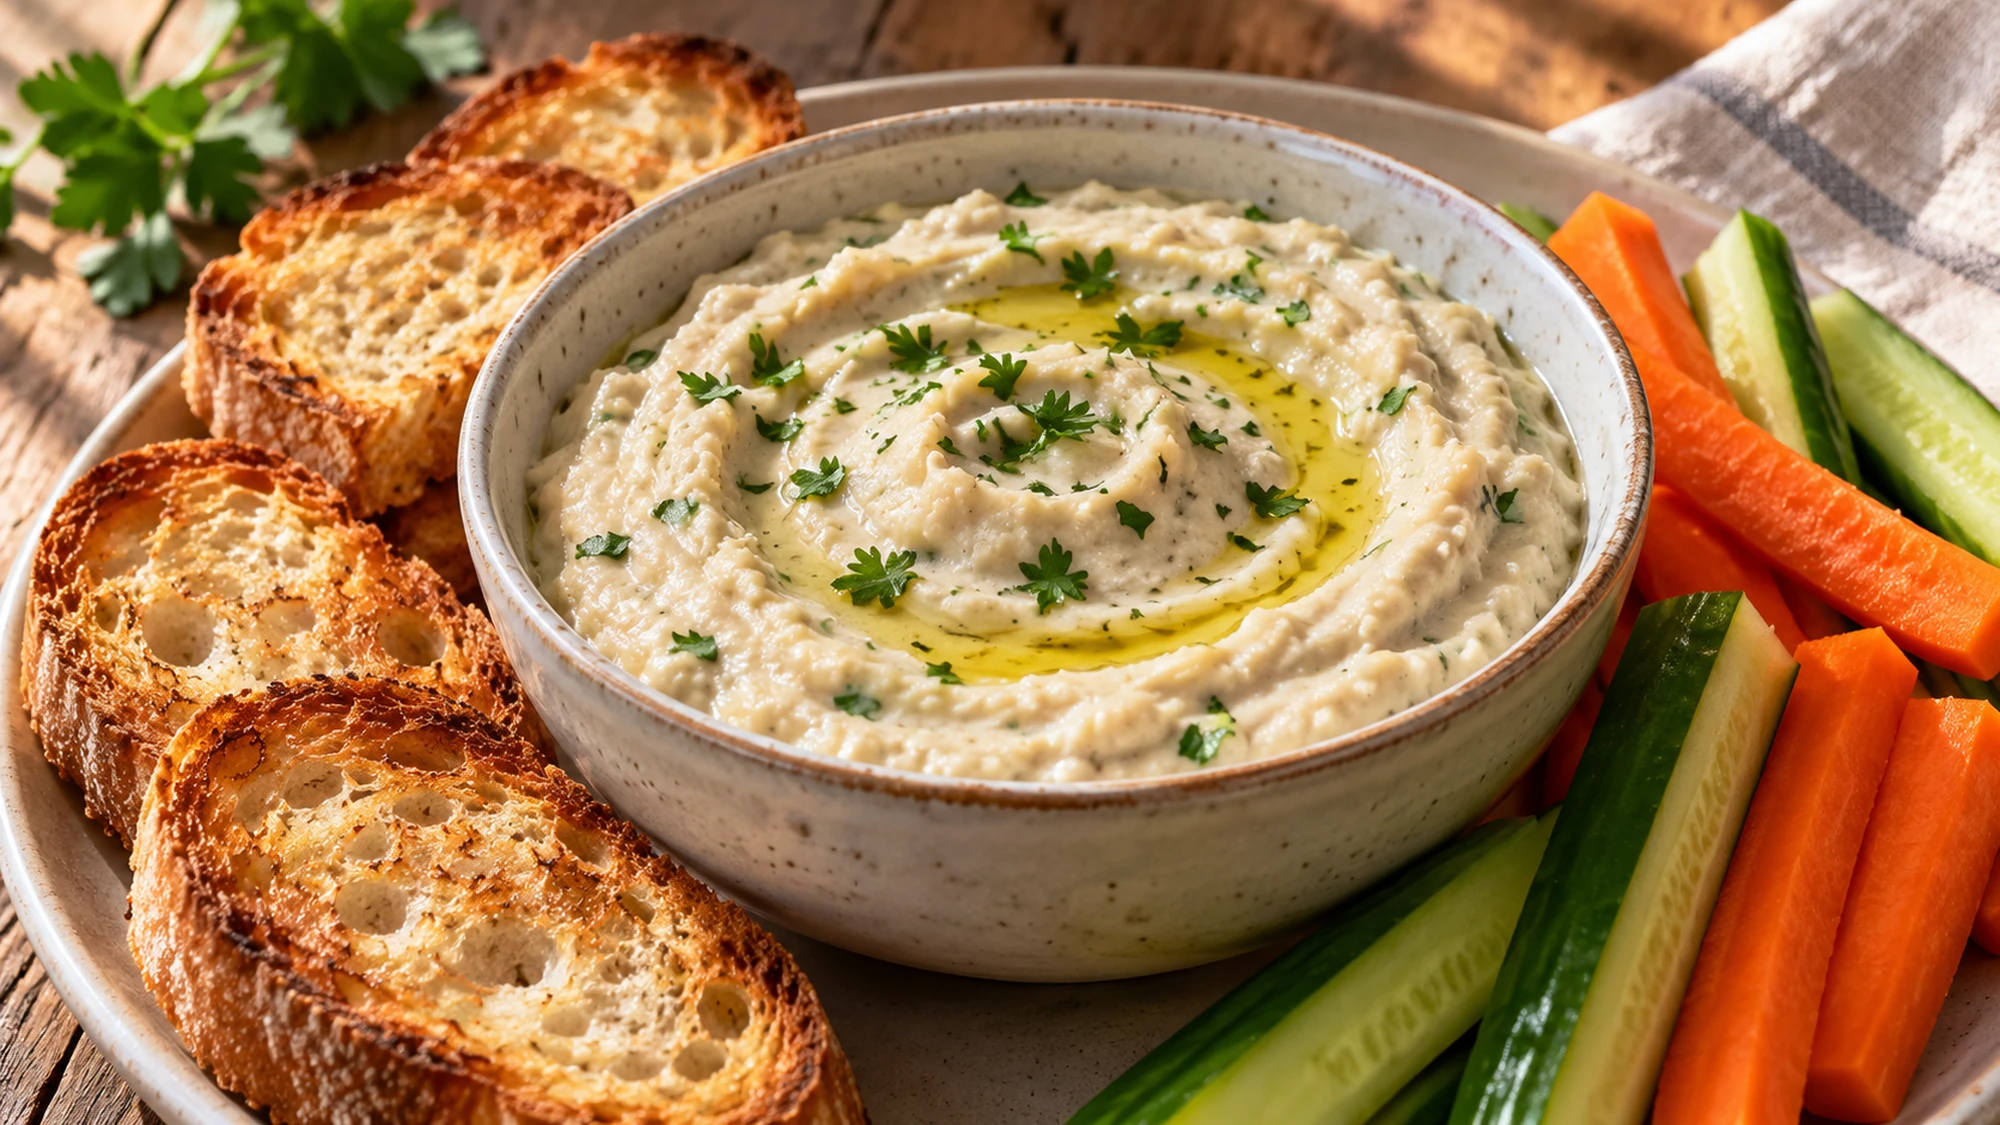
Spoon the finished dip into a shallow bowl and drizzle with the reserved oil so there is room for vegetable sticks or bread to reach it. Carrots, cucumber and bell pepper are crisp choices. Toasted baguette slices are good too; Dishora’s baguette gives you a homemade bread option. Keep the bread separate until serving so it stays crisp.
The recipe makes eight appetizer portions, roughly a few generous spoonfuls each. For a fuller lunch, spread the dip on toast and add sliced vegetables. That turns the same bean mixture into a practical sandwich base. Any vegetables, bread or crackers you serve with it add their own calories and should be counted separately from the card.
Put out crunchy things beside the bowl, and let the dip keep its soft, creamy role rather than thinning it to act as a dressing.
Variations and texture fixes
If you prefer a softer garlic flavor, use half a small clove or briefly mellow it in lemon juice before blending. A pinch of rosemary can take the dip in a more savory direction, but keep it light so the lemon still comes through. You can also swap in cooked butter beans; they make a slightly different texture and may need less water.
The Love and Lemons white bean dip uses the same useful idea of adding water slowly only when needed. Colorado State University Extension’s version includes Kalamata olives for a briny variation. This Dishora card leaves olives out, uses two cans and adds chopped parsley; the measured quantities are its own.
If the dip is grainy, scrape the sides and process a little longer before adding more liquid. If it is already too thin, extra water cannot be undone, though more drained beans can bring it back. That is why the tablespoon-by-tablespoon method matters. Taste at the end, because lemon and salt can seem different after the beans are fully blended.
A thick dip can always be loosened; a thin one takes extra beans to repair. Pause between spoonfuls of water.
Health benefits and practical balance
White beans bring plant protein and fiber to this appetizer. Based on a generic cooked-bean profile and the measured oil, an eighth of the batch is estimated at about 116 calories, 6 grams of protein and 4 grams of fiber. It is a useful option when you want something more substantial than a plain oil-based spread, though the portion is still small.
Canned-bean labels differ sharply in sodium, and rinsing changes the finished amount. The estimate in this card is only a planning guide; check your can if sodium matters to you. The lemon and garlic supply flavor, so you can taste before adding any extra salt.
The dip is perishable once opened and prepared. Refrigerate it at 40°F or below within two hours of serving, or one hour above 90°F, and use within three to four days. Keep a clean spoon with the bowl if it is out for guests. This helps leftovers stay appealing and avoids repeatedly dipping used vegetables into the batch you plan to store.
Beans, lemon and a measured spoon of oil make a satisfying starter; the sides you choose decide whether it stays a snack or becomes lunch.
Make the texture your own
The dip takes almost no cooking time because the beans are already tender. What matters is a short, attentive blend: scrape, taste and add water slowly. When it looks smooth but holds a soft ridge from the spoon, it is ready. Scatter the parsley, bring out something crisp and let the beans carry the main flavor.
White Bean Dip Recipe

Ingredients
- 2 15-oz cans cannellini beans about 480 g total drained weight, rinsed well
- 2 tablespoons extra-virgin olive oil 30 ml total; 1 1/2 tablespoons for blending, 1/2 tablespoon for finishing
- 2 tablespoons fresh lemon juice 30 ml
- 1/2 teaspoon finely grated lemon zest from the lemon, avoid bitter white pith
- 1 small clove garlic peeled, about 3 g
- 1/4 teaspoon fine salt about 1.5 g, adjust after blending
- 1/4 teaspoon ground black pepper
- 2–4 tablespoons cold water 30–60 ml, add gradually only as needed
- 2 tablespoons finely chopped parsley about 8 g, divided between dip and top
Equipment
- Food processor or high-speed blender
- Fine-mesh strainer
- Microplane or fine grater
- Measuring spoons and spatula
Instructions
- Empty the beans into a fine-mesh strainer and rinse under cool running water. Drain well; excess canning liquid changes the salt level and texture.
- Put beans, 1 1/2 tablespoons olive oil, lemon juice, zest, garlic, salt and pepper in a food processor. Pulse, scrape the bowl and process until most beans are broken down.
- With the processor running, add cold water 1 tablespoon at a time, stopping after each addition to check. Use 2–4 tablespoons only if needed. Stop when the dip is smooth enough to spread but still holds on a vegetable stick.
- Fold in about half the parsley. Taste and adjust with a few drops of lemon or a small pinch of salt if needed. Transfer to a shallow bowl and scatter the remaining measured parsley on top, then drizzle with the reserved 1/2 tablespoon olive oil. Serve with vegetables or bread; those accompaniments are not included in the nutrition estimate.
Nutrition
Video
Notes
Tried this recipe?
Let us know how it turned out!Emily Parker is DISHORA’s recipe-writing persona, bringing a warm, practical voice to everyday cooking. Her focus is simple ingredients, comforting flavors and clear steps that make a dish feel approachable. From cozy dinners to something sweet, Emily’s recipes invite readers to try something delicious and make it their own.